30
English
Installation Instructions
Attaching the Oven Door(s)
To avoid personal injury or property damage, precisely follow Steps 3 and 5.
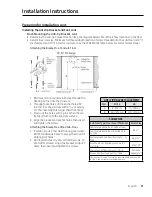
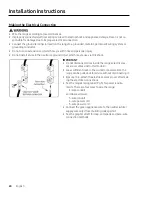
1. Peel the protective coating from all range surfaces.
2. Measure from floor to countertop. Adjust the leveling legs
as needed so the cooktop trim is flush with or above the
countertop.
3.
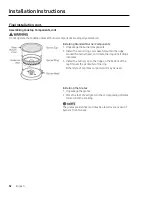
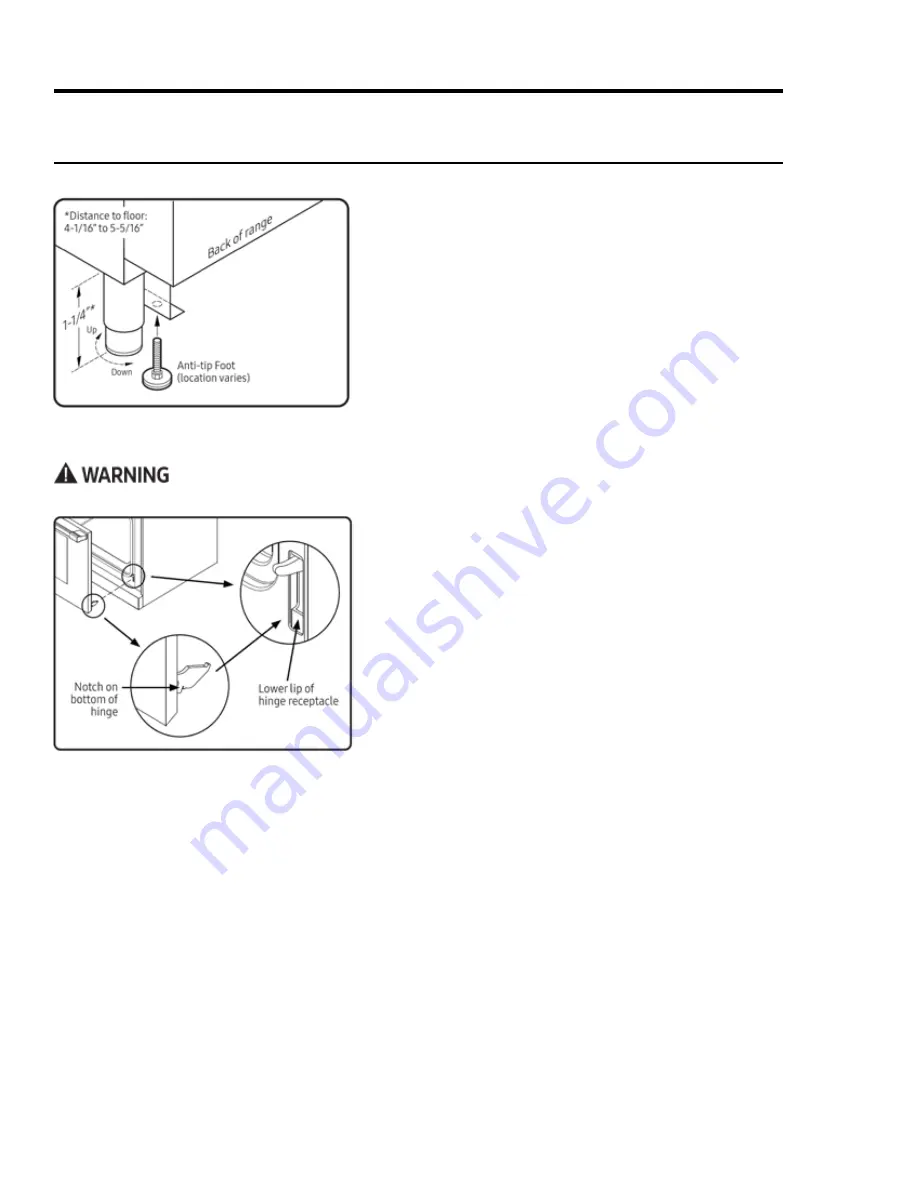
At the bottom-left rear of the range, lower (rotate) the
anti-tip foot until it is 1/16” (2 mm) off the floor.
4. Carefully slide the range into place in the cutout.
5.
With a flashlight, verify that the the anti-tip foot is under
the anti-tip bracket.
6.
With a level, check that the range does not tilt in any
direction; adjust the legs as needed to level the range.
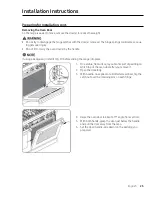
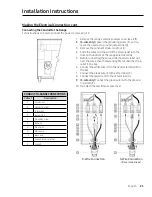
1. Grasping the oven door on each side below the handle,
and, facing the oven, tilt the door 15° out from vertical.
2. Slide the hinges into their openings, resting the hinges on
their receptacles.
3.
Keeping the door at a 15° angle, push in on the door’s bot
-
tom corners until the notch on the bottom of each hinge
slips over the lower lip of each hinge receptacle.
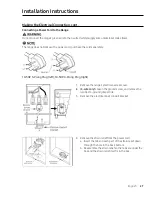
4.
Fully open the door.
5. Flip the two hinge locks toward the oven.
6. Carefully close-open-close the door completely to ensure
it is properly installed.
Final Installation
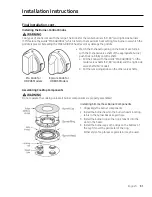
Installing the Anti-tip Foot
Содержание HDER30C/LP
Страница 9: ...9 English Product Specifications HDPR30S 36S 48S Ranges HDPR48S HDPR36S HDPR30S ...
Страница 10: ...10 English Product Specifications HDER30S 36S 48S Ranges HDER48S HDER36S HDER30S ...
Страница 35: ...35 English Notes ...
Страница 36: ...Dacor 14425 Clark Avenue City of Industry CA 91745 Phone 800 793 0093 Fax 626 403 3130 www dacor com ...

