14
TESTING
There are three methods you can use to test your
EZT Super Trainer™
depending upon your model’s features.
First, you should make sure that both units are fully
charged. Then turn on the power to the collar receiver.
Next, follow these steps:
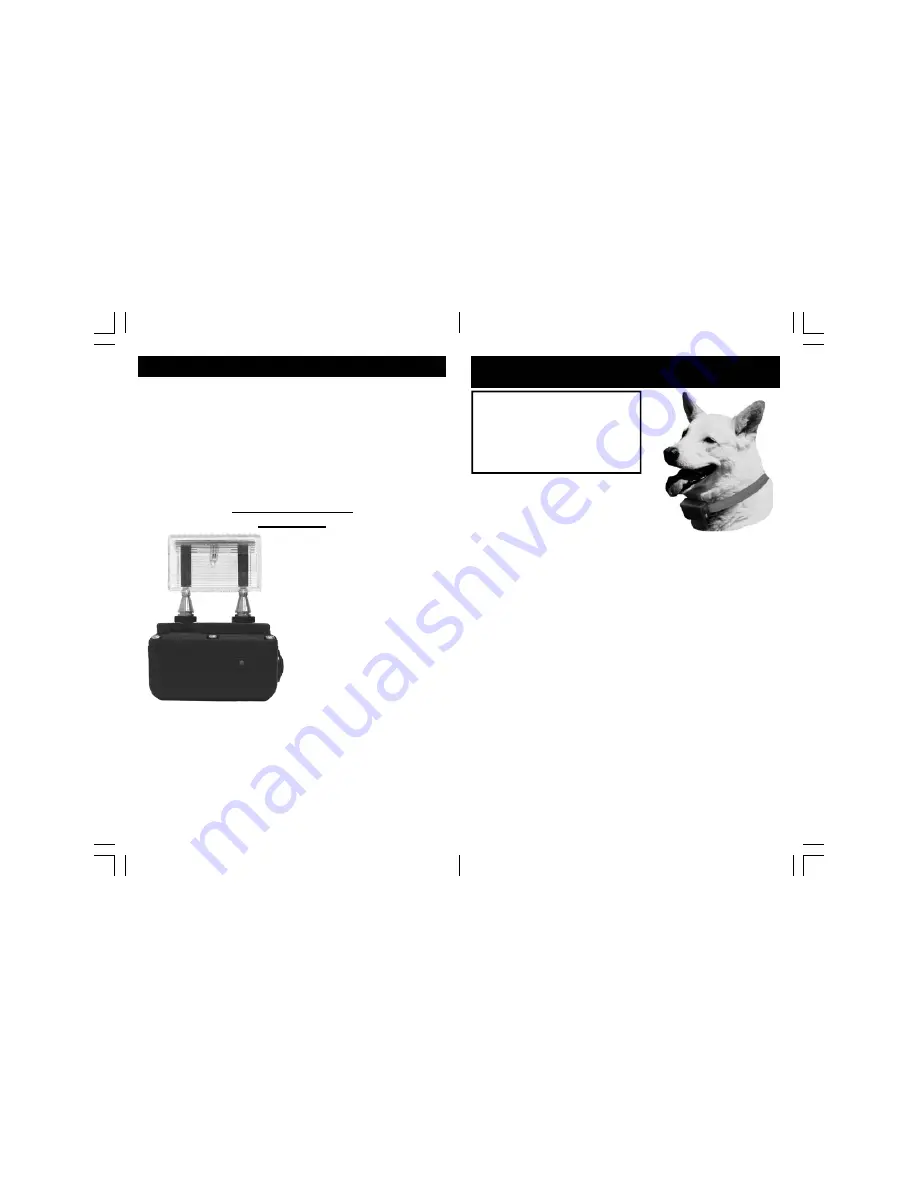
To Test the Electronic
Stimulation:
A) Place the tester firmly on
the electrodes of the collar
receiver.
B) Set the intensity (Note -
An intensity level setting of 4
or less might not be enough
to light the tester).
C) Push either the ‘NICK’,
‘STIMU’, Red buttons.
D) The tester light will
quickly flash for the Nick
function and light steadily
when the Constant Stimula-
tion or Constant and Vibration buttons are pushed. (The
higher the intensity, the brighter the test light).
7
ADJUSTING & POSITIONING YOUR
COLLAR FOR PROPER FIT
Proper collar tightness and
position are very important to
insure safety and correct
functioning every time you use
the collar.
•
All electronic collars need to be
very snug to work properly.
They must be just tight enough to
allow the “prongs” or electrodes
to make good skin contact.
•
If your collar is too loose, the stimulation may not work
properly because good skin contact is not being
achieved. This can directly affect the stimulation
performance and whether or not the dog will receive the
stimulation. Always check for good “prong” contact if it
appears that your dog is not responding to the
stimulation.
•
A loose collar can promote skin irritation from moving
or rubbing too much on a dog’s neck while they are
running or training. The proper snug fit will help
prevent this from occurring.
•
Proper fit of the collar is important. It should be tight
enough on the dog’s neck to make good skin contact and
allow the dog to breath normally. The collar should
never be so tight on the dog’s neck that it restricts the
dog’s normal breathing pattern.
•
For proper positioning of your collar receiver box, it
should be placed on the center of the dog’s neck.


