

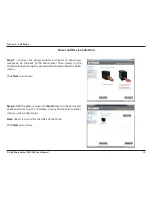

19
D-Link ShareCenter DNS-345 User Manual
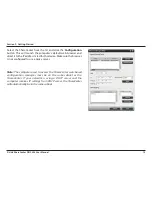
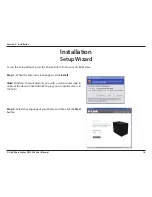
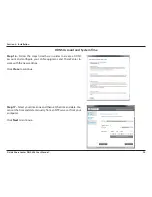
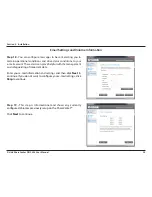
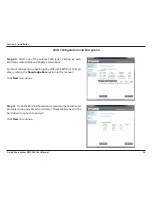
Section 3 - Installation
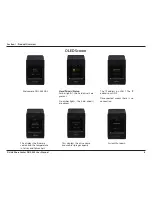
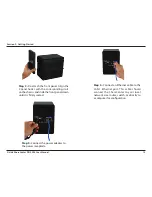
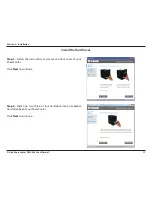
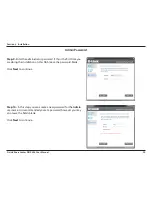
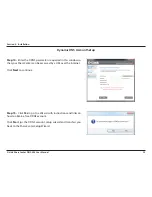
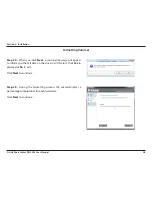
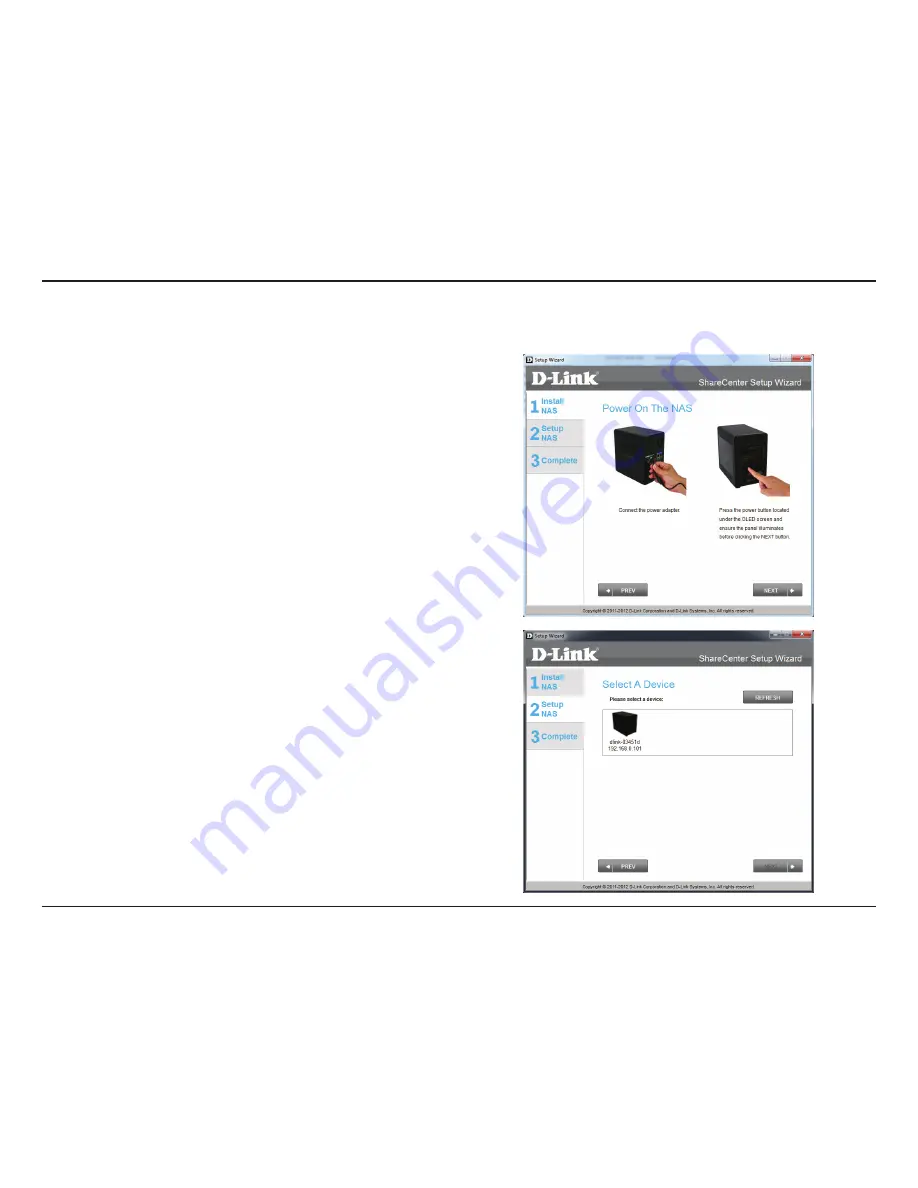
Step 7 -
Connect the power adapter connector to the power
receptacle on the back of the ShareCenter. Then, power on the
ShareCenter by pressing the power button located under the OLED
screen.
Click
Next
to continue.
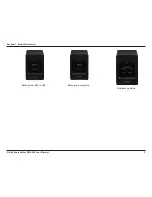
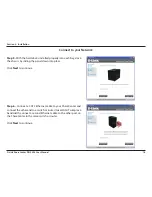
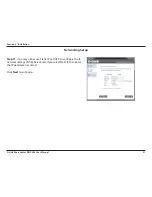
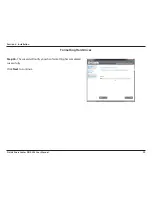
Step 8 -
With the power on, press the
Next
button on the device and
check and make sure the IP address of your ShareCenter matches
what you see on the screen.
Note:
Allow 1-2 minutes for the DNS-345 to boot up.
Click
Next
to continue.
Power and Device Selection
Содержание ShareCenter Quattro DNS-345
Страница 1: ...ShareCenterTM 4 Bay Network Storage Enclosure User Manual Version 1 20 2013 03 20 ...
Страница 44: ...39 D Link ShareCenter DNS 345 User Manual Section 4 Configuration Applications ...
Страница 114: ...109 D Link ShareCenter DNS 345 User Manual Section 4 Configuration Click the Exit button to complete the configuration ...
Страница 124: ...119 D Link ShareCenter DNS 345 User Manual Section 4 Configuration After deleting the account the table will be updated ...
Страница 143: ...138 D Link ShareCenter DNS 345 User Manual Section 4 Configuration The Virtual Volume is no longer on the table ...
Страница 259: ...254 D Link ShareCenter DNS 345 User Manual Section 4 Configuration The Photo Album now features your Album ...
Страница 278: ...273 D Link ShareCenter DNS 345 User Manual Section 4 Configuration This creates a new Photo Album ...
Страница 379: ...374 D Link ShareCenter DNS 345 User Manual Section 4 Configuration The IP address will no longer be listed in the table ...


