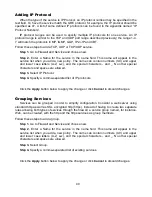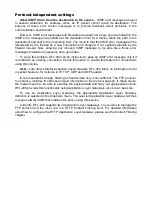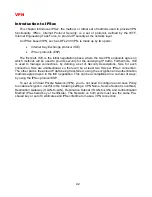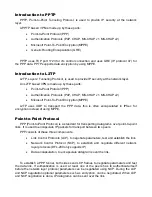
28
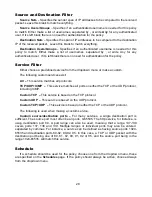
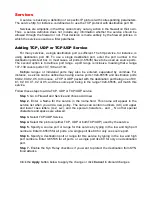
Source and Destination Filter
Source Nets
– Specifies the sender span of IP addresses to be compared to the received
packet. Leave this blank to match everything.
Source Users/Groups
– Specifies if an authenticated username is needed for this policy
to match. Either make a list of usernames, separated by
,
or write
Any
for any authenticated
user. If it’s left blank there is no need for authentication for the policy.
Destination Nets
– Specifies the span of IP addresses to be compared to the destination
IP of the received packet. Leave this blank to match everything.
Destination Users/Groups
– Specifies if an authenticated username is needed for this
policy to match. Either make a list of usernames, separated by , or write Any for any
authenticated user. If it’s left blank there is no need for authentication for the policy.
Service Filter
Either choose a predefined service from the dropdown menu or make a custom.
The following custom services exist:
All –
This service matches all protocols.
TCP+UDP+ICMP –
This service matches all ports on either the TCP or the UDP protocol,
including ICMP.
Custom TCP –
This service is based on the TCP protocol.
Custom UDP –
This service is based on the UDP protocol.
Custom TCP+UDP –
This service is based on either the TCP or the UDP protocol.
The following is used when making a custom service:
Custom source/destination ports –
For many services, a single destination port is
sufficient. The source port most often be all ports, 0-65535. The http service, for instance, is
using destination port 80. A port range can also be used, meaning that a range 137-139
covers ports 137, 138 and 139. Multiple ranges or individual ports may also be entered,
separated by commas. For instance, a service can be defined as having source ports 1024-
65535 and destination ports 80-82, 90-92, 95. In this case, a TCP or UDP packet with the
destination port being one of 80, 81, 82, 90, 91, 92 or 95, and the source port being in the
range 1024-65535, will match this service.
Schedule
If a schedule should be used for the policy, choose one from the dropdown menu, these
are specified on the
Schedules
page. If the policy should always be active, choose Always
from the dropdown menu.
Содержание DFL-200 - Security Appliance
Страница 1: ...D Link DFL 200 Network Security Firewall Manual Building Networks for People Ver 1 02 20050419 ...
Страница 102: ...102 5 Select Connect to the network at my workplace and click Next ...
Страница 103: ...6 Select Virtual Private Network connection and click Next ...
Страница 104: ...104 7 Name the connection MainOffice and click Next ...
Страница 105: ...8 Select Do not dial the initial connection and click Next ...
Страница 106: ...106 9 Type the IP address to the server 194 0 2 20 and click Next 10 Click Finish ...
Страница 129: ...VCCI Warning ...
Страница 132: ...132 ...
Страница 133: ......

