


38
D-Link DCS-6116 User Manual
Section 3 - Configuration
How does UPnP work?
UPnP networking technology provides automatic IP configuration and dynamic
discovery of devices added to a network. Services and capabilities offered by
networked devices, such as printing and file sharing, are available among each other
without bothersome network configuration. In the case of Network Cameras, you
will see Network Camera shortcuts at My Network Places.
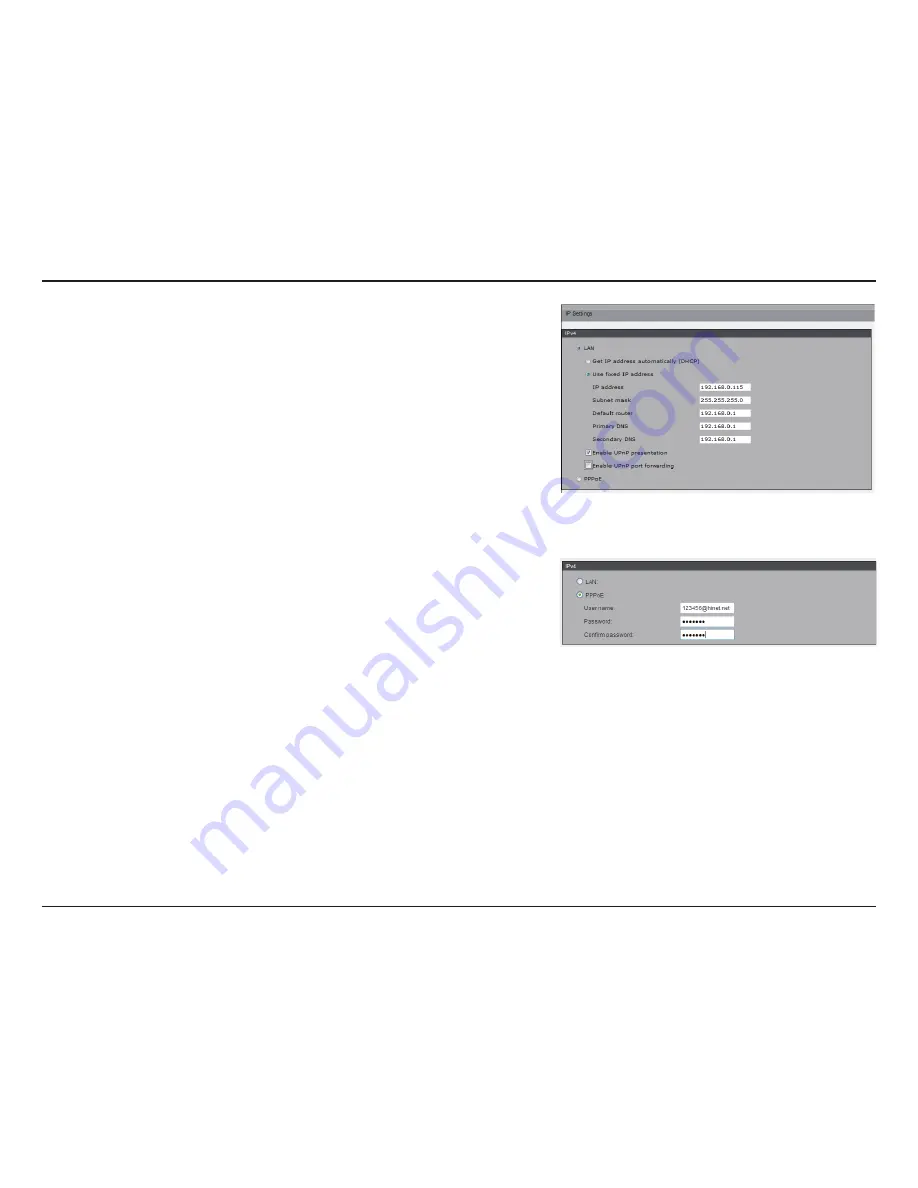
PPPoE:
Select this option to configure the camera to make it accessible from
anywhere with an Internet connection. Note that to utilize this feature, it requires an
account provided by your ISP.
Follow the steps below to acquire the camera’s public IP address:
1. Set up the camera on the LAN.
2. Go to
Live View > Setup > Event management > Event settings > Server
Settings
(please refer to Server Settings to add a new e-mail or FTP server).
3. Go to
Setup > Event management > Event settings > Media Settings
(please
refer to Media Settings). Select
System log
so that you will receive the system
log in TXT file format which contains the camera’s public IP address in your e-mail
or on the FTP server.
4. Go to
Setup > Network > IP settings
. Select
PPPoE
and enter the user name
and password provided by your ISP. Click
Save
to enable the setting.
5. The camera will reboot.
6. Disconnect the power to the camera. Remove it from the LAN environment.
IPv6
Enable IPv6:
Select this option and click
Save
to enable IPv6 setting. Please note
that this only works if your network environment and hardware equipment support
IPv6.
When IPv6 is enabled, by default, the camera will listen to router advertisements and
be assigned a link-local IPv6 address accordingly.
IPv6 Information:
Click this button to obtain the IPv6 information. If your IPv6
settings are successful, the IPv6 address list will be listed in the pop-up window.


