DivX Connected User Guide
DivX Connected User Guide
Configuring the DivX Connected Server
20
Copyright © 2007, DivX, Inc., Confidential
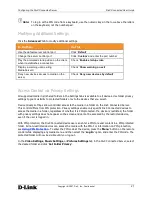
Changing the DivX Connected Server Name
Note:
The DivX Connected Server must restart to use the new name.
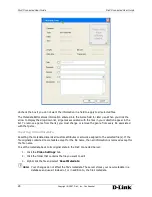
1.
Click the ‘
General
’ tab
2.
Enter a new name in the ‘
Name
’ field
3.
Click ‘
OK
’
4.
Click ‘
Yes
’ to restart the server immediately, or click ‘
No
’
to restart later
The name does not change until you restart the application. The new name appears in the title bar at the
top of the DivX Connected Server screen and on the DivX Connected device screen.
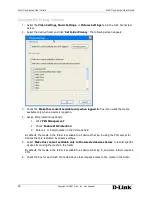
Changing General Server Settings
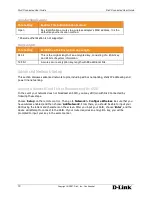
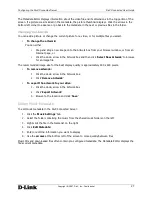
Configure general settings that apply to DivX Connected Server operation.
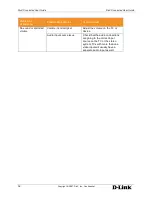
To Do This...
Do This
Start DivX Connected Server
automatically upon Windows startup.
Check the ‘
Start with Windows
’ box
Reconfigure the server by running the
setup wizard again.
Click ‘
Run Setup Wizard
’
Using PIN Protection
PIN protection secures folders containing media on the server with a PIN number. To view media that is
PIN protected, enter the PIN number on the device.
A PIN consists of numeric digits: not spaces, letters or other characters. A strong PIN:
•
Has no repeating digits, as in "5555"
•
Does not consist of an obvious series of digits, as in "12345"
•
Consists of unique digits arranged in atypical order, as in "51483"
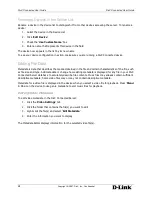
Setting Up PIN Protection
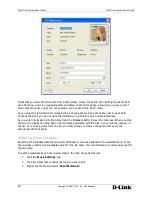
1.
Click ‘
Options
’
2.
Click the ‘
PIN Code
’ tab
3.
When the PIN Code screen appears, check the ‘
Enable PIN Protection
’ box
4.
Enter a 4 or 5 digit number in the PIN code field
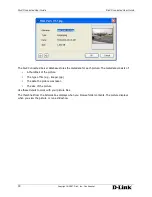
When a folder has PIN protection, a lock icon appears next to the folder name in the media folder list on
the DivX Connected Server. A DivX Connected device does not display the protected folders until you
completely log in.
For information on the login process, see
Logging In to PIN Protected Media
. For information on
applying PIN protection to a folder, see
Setting PIN Protection
.

