


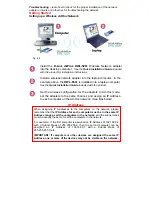

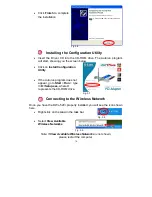


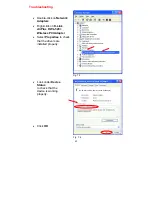


•
Select the Wireless
Network. In this case
default
Wireless
Network is selected.
Fig. 5.10
default
•
Click
Connect
You have completed the
installation of the DWL-520+.
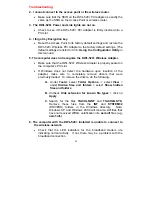
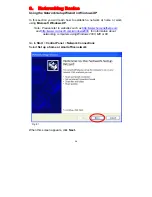
YOU HAVE COMPLETED THE INSTALLATION OF THE DRIVERS. SEE
NETWORKING BASICS IN THIS MANUAL FOR MORE
INFORMATION ON SETTING UP A NETWORK.
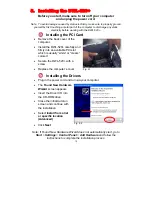
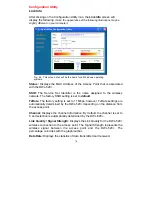
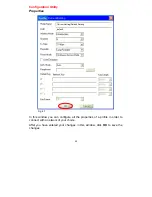
6. Using the Configuration Utility
If you want to alter the default settings or optimize the performance of the
DWL-520+, D-Link has included a configuration utility to do so.
Note: Out of the box, with its default settings, the DWL-520+ will
associate with D-Link Air / Air
Plus
wireless routers and access points.
(e.g. DI-713P, DI-714, DWL-900AP+, DWL-1000AP.)
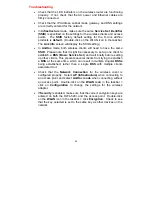
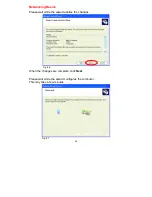
After the computer restarts, the configuration utility will automatically start
and the utility icon will appear in the bottom right hand corner of the screen
(systray).
15
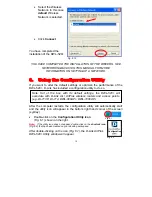
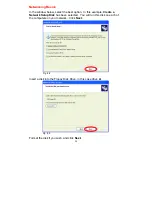
•
Double-click on the
Configuration Utility icon
(Fig. 6.1) shown on the right.
Note:
If the utility icon does not appear, double-click on the
shortcut icon
(Fig. 6.2) that has been created on your desktop workspace.
After double-clicking on the icon (Fig. 6.1), the D-Link Air
Plus
DWL-520+ Utility window will appear.
Fig. 6.1
Fig. 6.2
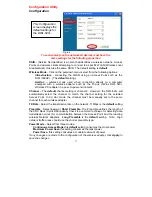
Configuration


