


Cyrus Streamline series
User Instructions
20
Alphanumeric naming buttons
Some of the menu sub-options enable the renaming of items. The
following buttons select characters when renaming -
Press the
•
or
buttons to step through all characters available
for renaming.
Press the 2 - 0 buttons on the numeric keypad repeatedly to select
•
one of the characters printed on the button.
Press the
•
button to change the keypad alphabetic character
set between upper and lower case.
Press the 1 button repeatedly to select 1 or a selection of
•
punctuation marks.
Press the
•
button to insert a space.
Press the
•
button to delete a character.
The User-Settings menu
To open the User-Settings menu
Select the User-Settings option from the System-Settings Menu
•
The User-Settings menu will open and the sub-options will be displayed.
User-Settings - Name
Highlight and select the Name option to change the name of the
•
n-remote.
The last character of the name is highlighted.
Edit the name with the Alphanumeric Naming Buttons. The maximum
•
name length is 19 characters.
Press ENTER when you have finished renaming.
•
Press the
•
button at any time to exit without changing the setting.
User-Settings - Time
The time stored in the n-remote can be changed with this option.
Highlight the Time: Hours or Time: Minutes option.
•
Press ENTER to open the time setting for editing.
•
Edit the time.
•
Press the ENTER button when the time is set correctly.
•
Press the
•
button at any time to exit without changing the setting.
User-Settings - Stand-by
This setting sets the backlight delay when a button is pressed. Enter a
time in the range 10 - 90 seconds.
Highlight and select the Standby option.
•
Edit the time.
•
Press the ENTER button when the time is set correctly.
•
Press the
•
button at any time to exit without changing the setting.
User-Settings - Brightness
You can change the brightness of the display with this setting.
Highlight and select the Brightness option.
•
Select a setting between ‘fixed 1’ (darkest) and ‘fixed 3’ (brightest),
•
or choose ‘automatic’ and the light sensor will set the brightness
according to the light in your room.
User-Settings - Change language
You can change the language setting for the menus of the n-remote with
this setting.
Highlight and select the Change Language option.
•
Choose from the languages available.
•
Press ENTER.
•
The display language will change.
User-Settings - HKEY (Hot-keys) configuration
You can assign remote controllable devices to the four Hot-Keys using
this option.
Highlight and select the HKEY configuration option.
•
A list of Hot-Keys will be displayed.
Highlight the Hot-Key you want to change.
•
Press ENTER.
•
The device options for this Hot-Key are listed.
Highlight the device you want to assign to this Hot-Key.
•
Press ENTER.
•
The Hot-Key will be renamed and the list of Hot-Keys displayed.
Select another Hot-Key to rename or press the
•
button to return to
the User-Settings menu.
User-Settings - Rename device
Select this menu to rename devices in the device list.
Highlight and select the Rename device option.
•
A list of devices will be displayed.
Highlight and select the device you want to rename.
•
The last character of the device name is highlighted.
Edit the name with the Alphanumeric Naming Buttons. The maximum
•
name length is 19 characters.
Press ENTER when you have finished renaming.
•
Press the
•
button at any time to exit without changing the setting.
User-Settings - Delete device
Select this option to delete a device from the device list.
NOTE: This operation cannot be undone.
Highlight and select the Delete Device option.
•
Choose from the devices available.
•
Press ENTER.
•
The device will be deleted.
User Settings - Add zone
Select this option to add a new zone.
Highlight and select the Add zone option.
•
You will now be prompted to name the new zone.
Edit the name with the Alphanumeric Naming Buttons.
•
Press ENTER when you have finished renaming.
•
The new zone will be added.
Press the
•
button at any time to exit without changing the setting.
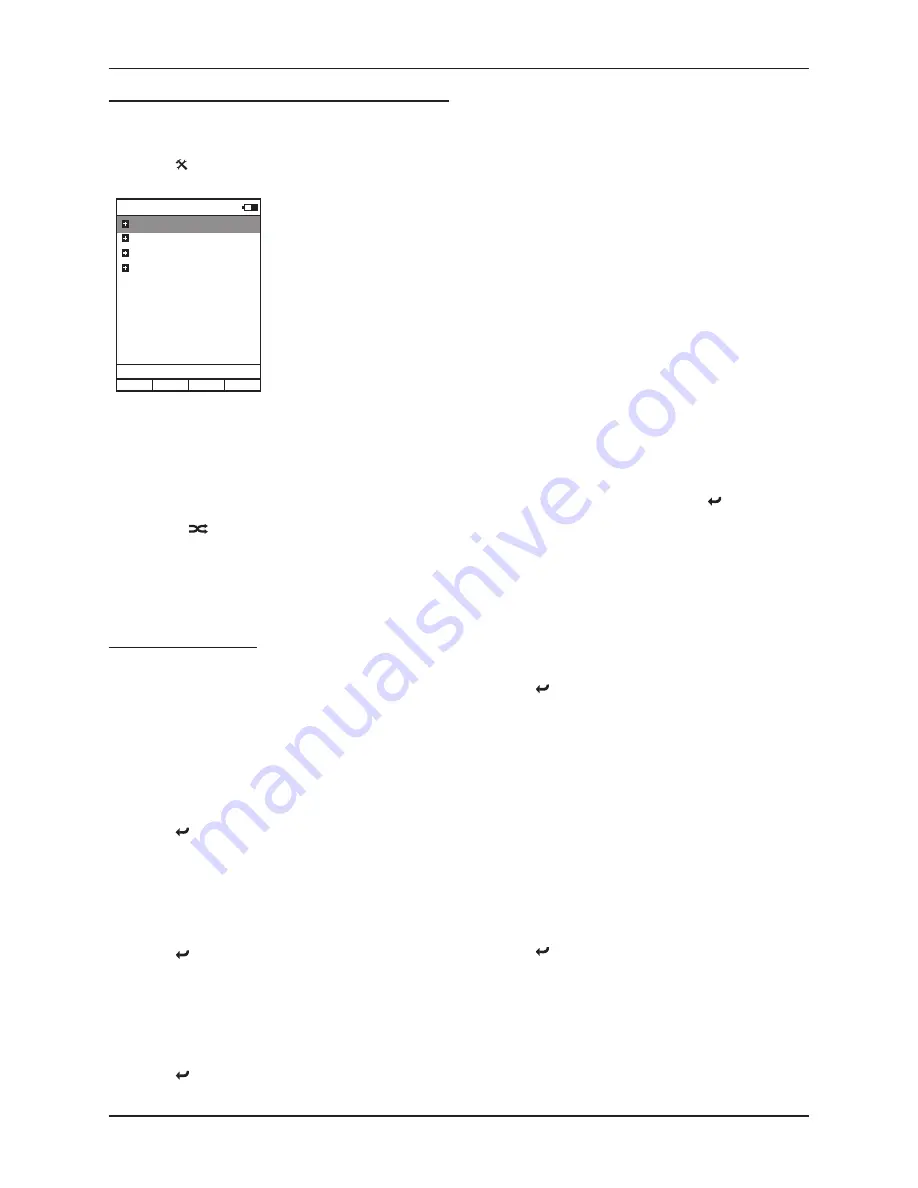
System-Settings
User-Settings
Device Selection
Change Zone
System Information
Start Pairing
Stream CyIR
12:30 Not connected
Setting up the n-remote
The n-remote set-up screens are navigated in the same way as music
lists etc. Details of the settings you can change are listed in this section.
To open the Settings Menu
Press the
•
button.
The System-Settings menu will open.
There are five options within the
System-Settings menu
User-Settings
•
Device Selection
•
Change Zone
•
System Information
•
These four options include sub-menu
options. Selecting an option will
display the sub-menu.
Start Pairing
•


