<23>
Ethernet
setup
Ethernet
setup
Not
Not
ch
ch
Pos
Pos
iti
iti
on
on .
........................
:
..:
Low
Low
Si
Si
de
de
Not
Not
ch
ch
Thr
Thr
esh
esh
old
old
(5)
( )
.....................
:
:
50%
50%
Notch Distan
ce
[mm
[
]
]
( )
(5)
............
..:
+20.0
Pap
Pap
erE
erE
nd
nd
Buf
Buf
fer
fer
Cl
Cl
ear
ear
............
:
..:
Dis
Dis
abl
abl
ed
ed
Print Densit
y..
...........................
.:
0%
[LF
[LF
]
]
ent
ent
er
er
Pri
Pri
nte
nte
r S
r S
etu
etu
p
p
[FF
[
]
]
ent
er
Eth
ern
et Set
up
p
[S1]
ent
er
Clock Set
up
[S2]
skip Setu
p
DHCP Client.
.......................
:
Disabled
FTP Se
rver
........................ :
Enabled
IP
IP
Add
Add
ress..
........................
. :
192
192
1
. 1
68
68.
10
10.
3
3
7
7
Subnet Mask
.....................
. :
255. 255. 240.
0
Def
aul
t G
ateway
..................
:
192. 168.
1
.
23
MAC Addre
ss .................... :
00-0E-E2-67-07-04
For advanced printer setup please connect
to the site
http://192.168.10.37
DHCP Client........................ :
Disabled
(only for models with Ethernet interface)
NOTE:
See chapter 1 for FEED key functions.
GB
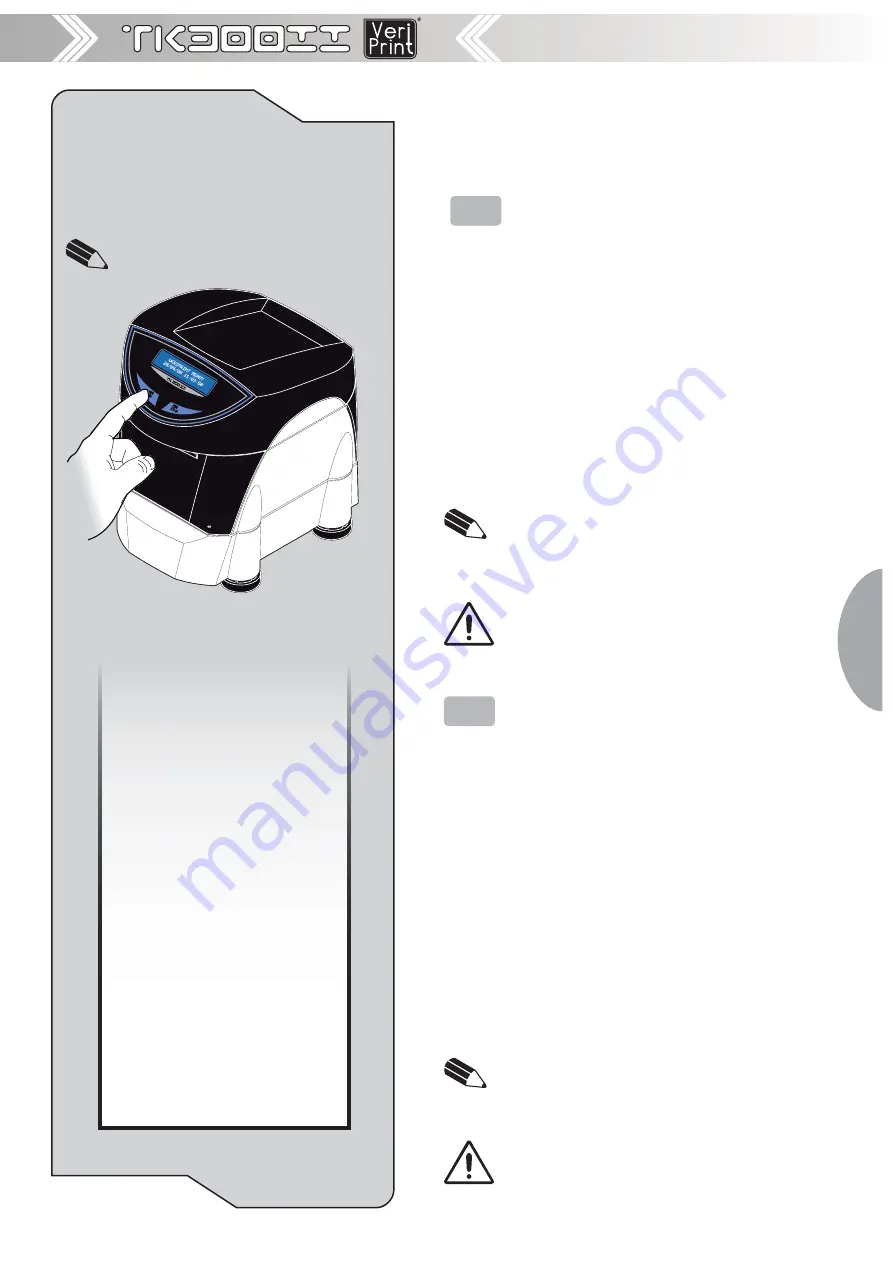
1 Go
into
ETHERNET SETUP
mode by pressing the
FORM FEED key after printing the Setup report.
2 The printer should print all list of the ethernet pa-
rameters:
DHCP Client:
•
Disabled
D
, Enabled.
FTP Server:
•
Disabled
D
, Enabled
IP Address:
•
printer IP network address; the
network administrator assigns it.
Subnet Mask:
•
this parameter identifi es the lo-
cal network address.
Default gateway:
•
this parameter identifi es the
Gateway IP address used to send applications
to the external network.
Mac address:
•
this is the number, provided by
the constructor, that identifi es the printer; this
number is univocal. This parameter can’t be
modifi ed by set up.
General note:
The parameters marked with the symbol
•
D
are the
default values.
Settings remain active even after the printer has
•
been turned off.
ATTENTION:
Any changes to network parameters will inter-
rupt browser connection!!! If the server not responding you
MUST reconnect to the new IP address set.
I
1 Entrare nel
SETUP ETHERNET
premendo il tasto
FORM FEED dopo la stampa del rapporto di Se-
tup.
2 La stampante stamperà la lista di tutti i parametri
ethernet:
DHCP Client:
•
Disabled
D
,Enabled.
FTP Server:
•
Disabled
D
,Enabled.
IP Address:
•
Indirizzo IP in rete della stampante;
questo numero viene assegnato dall’ammini-
stratore di rete.
Subnet Mask:
•
Maschera di sottorete; questo
parametro identifi ca l’indirizzo della rete locale.
Default gateway:
•
Indirizzo del gateway pre-
defi nito; questo parametro indica l’indirizzo IP
del gateway utilizzato per inviare i pacchetti
all’esterno della rete locale.
Mac address:
•
Indirizzo MAC; è il numero iden-
tifi cativo fi sico della macchina che viene fornito
dal costruttore ed è univoco. Questo parametro
non è modifi cabile da setup.
Note generali:
I valori indicati con il simbolo
•
D
sono quelli impostati
di defautl.
I settaggi eseguiti rimangono attivi anche dopo lo spe-
•
gnimento della stampante.
ATTENZIONE:
Ogni modifi ca sui parametri di confi gurazione
della rete interrompono la connessione!!! Se il server non
risponde è necessario ricollegarsi al nuovo indirizzo IP.
VERIPRINT READY
28/04/08 11:03:50
Содержание TK300II
Страница 2: ......
Страница 4: ......
Страница 6: ... 2 BLANK PAGE ...
Страница 18: ... 14 VRRR ...
Страница 21: ... 17 ...
Страница 22: ... 18 VRRR ...
Страница 24: ... 20 BLANK PAGE ...
Страница 28: ... 24 BLANK PAGE ...
Страница 30: ... 26 BLANK PAGE ...
Страница 33: ... 29 Appendix Appendix 4 3 2 1 ...
Страница 42: ... 38 Appendix Appendix B 2 Dimensions 254 216 257 PRINTER READY 28 04 08 11 03 50 ...
Страница 59: ......


