Step 1
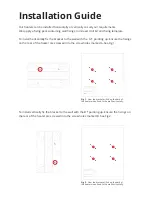
Please remove transportation screws before installation. Place the bracket on the wall
centrally where you wish to install the heater then mark the fixing holes or use the template
provided.
Step 2
Drill the holes with the drill bit supplied then use the correct wall fixings to secure the bracket
to the wall:
Step 3
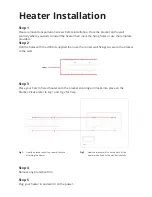
Place your Cürv Infrared heater onto the bracket ensuring all it locks into place on the
bracket. Please refer to Fig 1 and Fig 2 for help.
Heater Installation
Step 4
Remove any protective film.
Step 5
Plug your heater in and switch on the power.
Fig 2. How the bracket will sit on the back of the
heater when fixed to the wall horizontally.
Fig 1. How the bracket will sit on the wall before
attaching the heater.
Fixings


