8
9
www.conferencesystems.com
Lock and unlock channels/frequencies
Press and release the SET button three times to open the channel lock/unlock
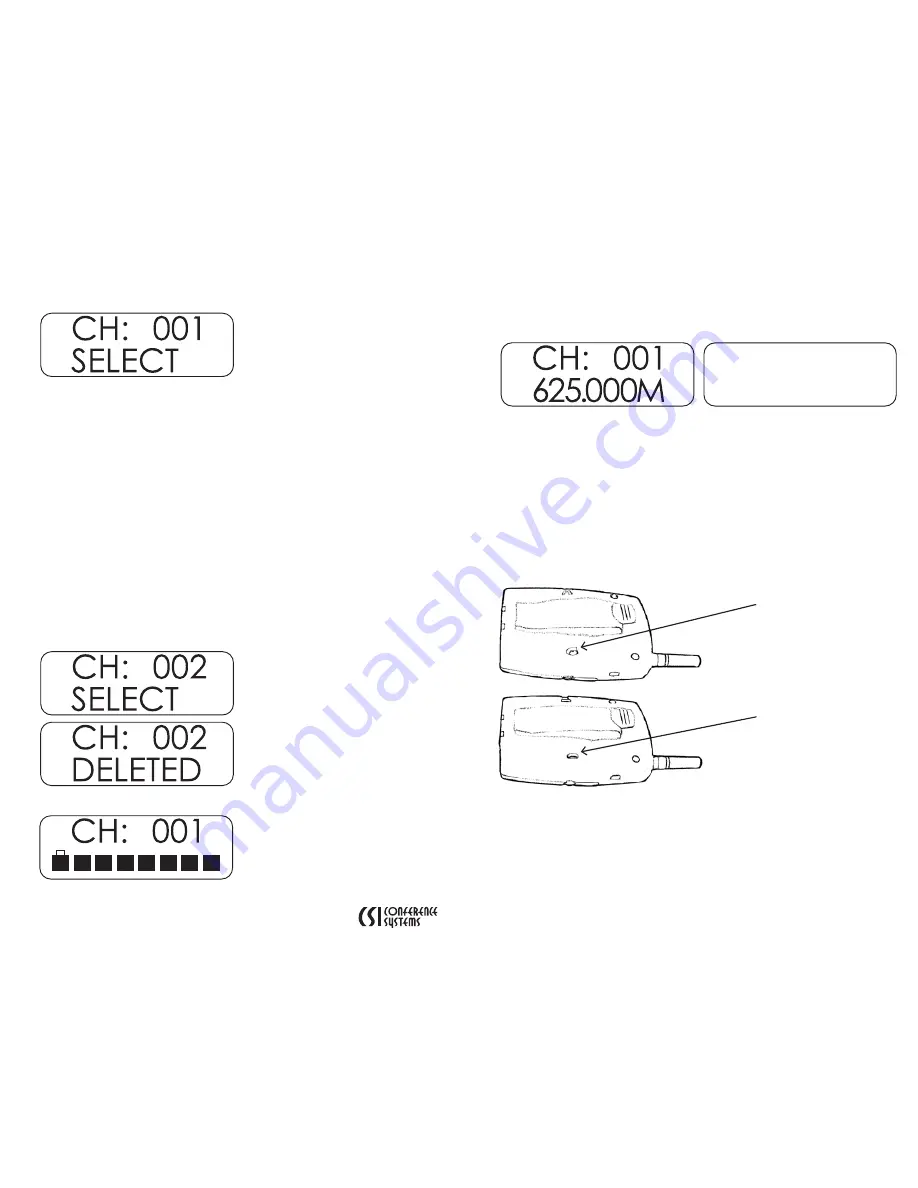
menu. The following screen will appear:
The word “SELECT” listed underneath a channel indicates that the channel
in question is unlocked. The word “DELETED” listed underneath a channel
indicates that the channel in question is locked.
A channel that is unlocked will be available in the channel selection menu. A
channel that is locked will not be available in the channel selection menu.
The default channel lock/unlock menu when the CT-711 transmitter arrives to
you brand new will show all 100 channels unlocked (i.e. the word “SELECT” will
appear underneath each channel.) You may see this by scrolling through the
channels with the up or down button.
As an example, we wish to remove Channel 002 from the channel/frequency
selection menu. Assuming that you have already pressed the SET button three
times to enter the channel lock/unlock menu, press the up or down button to
scroll to Channel 002.
Note that if you are already on Channel 002 when you enter the channel
lock/unlock menu, you will need to navigate away from Channel 002 and
then return to Channel 002 using the up or down button.
Press and release the SET button once so that the word “SELECT” is replaced
by the word “DELETED” on the screen.
Release all buttons and wait for the default screen to appear.
Now you will no longer be able to select Channel 002 from the channel
selection menu. You may try this out by pressing the SET button once and
using the up or down button to scroll through the available
channels/frequencies.
If you press the up button when on Channel 001, you should then see
Channel 003 on the screen.
You may use the same procedure to unlock a channel. As an example, we
now want to unlock Channel 002. Assuming that you have already pressed
the SET button three times to enter the channel lock/unlock menu, press the
up or down button to scroll to Channel 002.
When Channel 002 appears on the screen, press the SET button, so that the
word “DELETED” is replaced by the word “SELECT”. Release all buttons and
wait for the default screen to appear.
Close the battery compartment.
Complete setup
Turn the CT-711 transmitter over so that the LCD screen is face down. Press the
tabs on the back of the unit down into the locked position
CH: 003
625.500M
Tabs up in
unlocked position
Tabs down in
locked position


