


Page 2
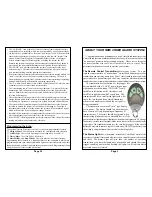
About Your New Crime Guard System ................................. 3-4
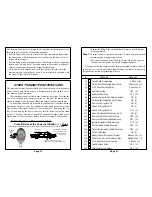
The Remote Transmitter, Status Light & Valet Switch
Using Your Crime Guard System ........................................... 4
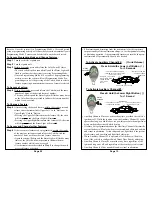
Remote Arming By Transmitter ............................................... 4-6
Arming Bypass
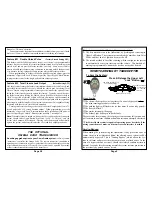
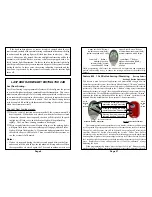
Last Door Arming By Exiting The Car .................................. 6-7
System Armed and Activated ................................................. 7-8
Disarming The System ............................................................ 8-10
Safety Disarm, Activation Alert, Automatic Rearming
Disarming By Emergency Override ....................................... 10-11
Enhanced Remote Panic .......................................................... 11-12
Other Transmitter Operations ................................................. 12-13
Silent Arm/Disarm, Auxiliary Channel #2, Auxiliary Channel #3
Valet Mode ............................................................................... 14
Status Light ............................................................................... 15
Impact Sensor ............................................................................ 16
Remote Sensor Bypass
Backup Battery ......................................................................... 16-17
Vehicle Recovery ..................................................................... 17-18
Transmitter Protection ............................................................. 18
Programming Transmitters ...................................................... 19
How To Program Features ...................................................... 19-21
Features Programming Checklist ........................................... 21
Programmable Features ........................................................... 22-28
Optional Echo Transceiver ..................................................... 28-31
Limited Lifetime Warranty .............................................. Back Cover
TABLE OF CONTENTS
Page 31
• While the Echo programming must be “scrolled” through, programming mode
can be exited at any point within the menu by simply not pressing any buttons for
12 seconds. The Echo chirps once when it exits programming mode.
• If the Echo is configured for “MUTE” operation (vibrates instead chirping), then
in programming it will not play the musical melodies. Instead, it vibrates when
the remote start Melody and Stop Melody are accessed for programming.
2) After 5 seconds the Echo chirps twice; release the “P” button
; the
upper rear of the vehicle will flash; Vehicle Type may be chosen now.
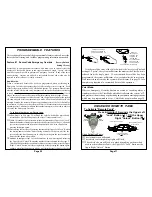
3) Press and release the “:” button
; each press of the button changes the
vehicle from Passenger Car, then to Pickup Truck, and then to Van/SUV. When
the desired type is flashing,
press and release the “P” button
; the Time’s
“Hours” will flash, and may be set now.
4) Press and release the “:” button
to advance the hours, or
press and
release the “ ” button
to reverse the hours. When the Hours are correct
(please note “AM” or “PM”),
press and release the “P” button
. The
Time’s “Minutes” will flash, and may be set now.
5) Press and release the “:” button
to advance the minutes or
press and
release the “ ” button
to reverse the minutes. When the minutes are cor-
rect
press and release the “P” button
. The Echo will play a musical
melody; this is the Start Melody which plays upon remote starting. One of five
melodies may be chosen now.
6) Press and release the “:” button
. Each press of the button changes to the
next melody, note that the LCD screen displays “S” and a numeral, which is the
melody number. When the desired musical tone has been the last one played
press and release the “P” button
.
7)
The Echo will play another musical melody; this is the Stop Melody which
plays when remote start engine run period ends. There are five different melody
choices which can be made.
Press and release the “:” button
. Each press
of the button changes to the next melody, note that the LCD screen displays a
numeral, which is the melody number. When the desired musical tone has been
the last one played, you may
leave the Echo undisturbed for 12 seconds, until it chirps once
A-
During this time Chirp or Mute can be chosen by pressing
the “:” button for 1 second.
B-
Hold this button for 5 seconds to enter programming mode.
OR
1) Press and
hold the
“P” button
press and release the “P” button to scroll back through the features.
OR
...
...


