


3
6.
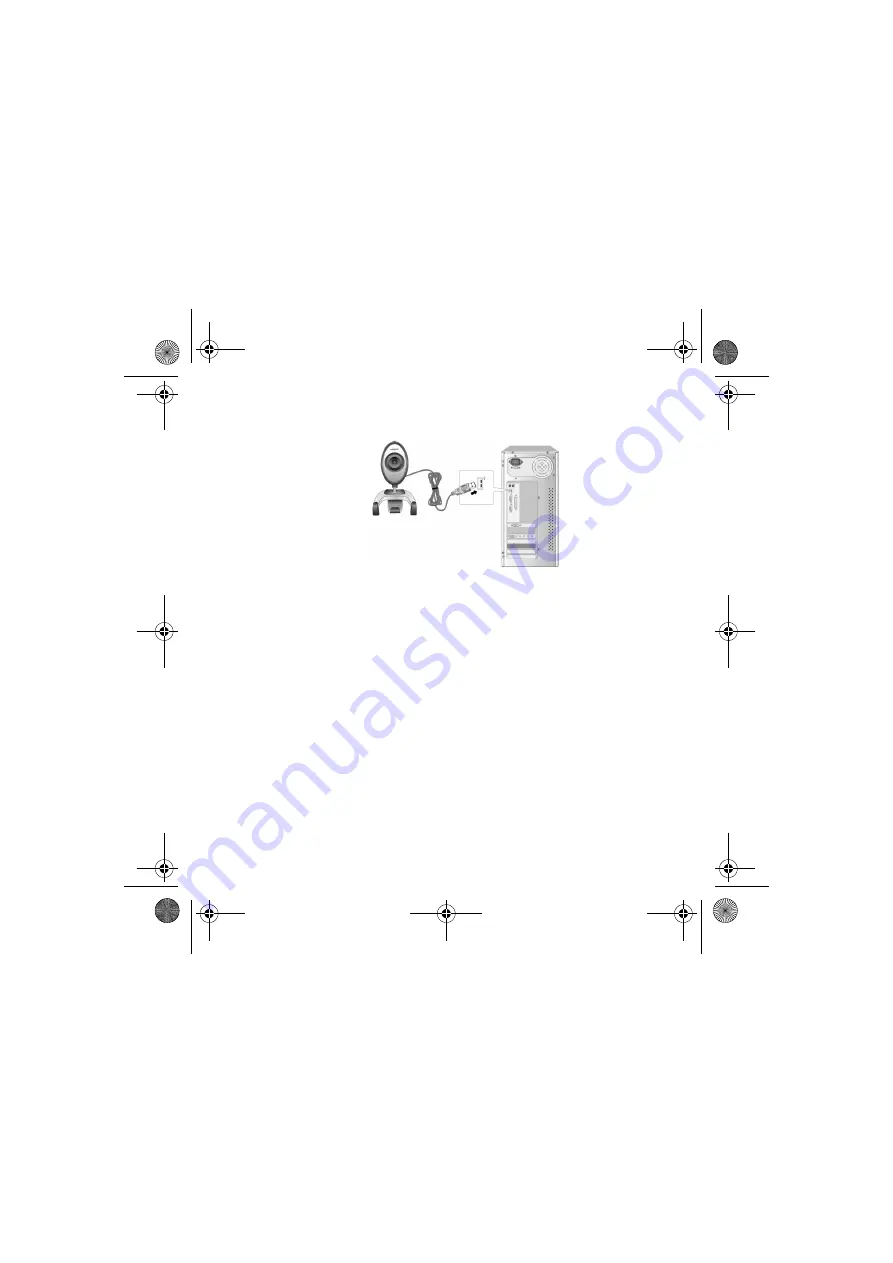
Connect your Creative WebCam Live!'s USB cable to an available USB port on your
computer (see Figure 3). Windows automatically detects the device.
In Windows
®
XP only:
i.
When the
Found New Hardware Wizard
dialog box appears, select
Install the software
automatically (Recommended)
, and then click the
Next
button.
ii.
When a
Hardware Installation
dialog box appears, click the
Continue Anyway
button.
In Windows 2000 only:
When a
Digital Signature Not Found
dialog box appears, telling you that Creative WebCam
Live! has been detected, click the
Yes
button.
In Windows Me and Windows 98 SE only:
i.
If you are prompted to insert the Windows 98 SE or Windows Me CD, replace the Creative
WebCam Live! Installation CD with the appropriate CD.
ii.
In the
Insert Disk
dialog box, click the
OK
button.
7.
Follow the instructions on screen to complete the installation.
8.
Restart your computer if you are prompted to do so.
Figure 3
CLI_WebCam_Live!_QSB.book Page 3 Thursday, May 27, 2004 2:22 PM
Содержание Live! Cam Chat IM VF0530
Страница 2: ...ii Language TOC fm Page ii Monday May 31 2004 2 40 PM...
Страница 39: ...37 Creative WebCam Live WebCam Live WebCam Center USB USB USB 1 12x12 template_4JP_6 fm 1...
Страница 51: ...49...
Страница 52: ...50...


