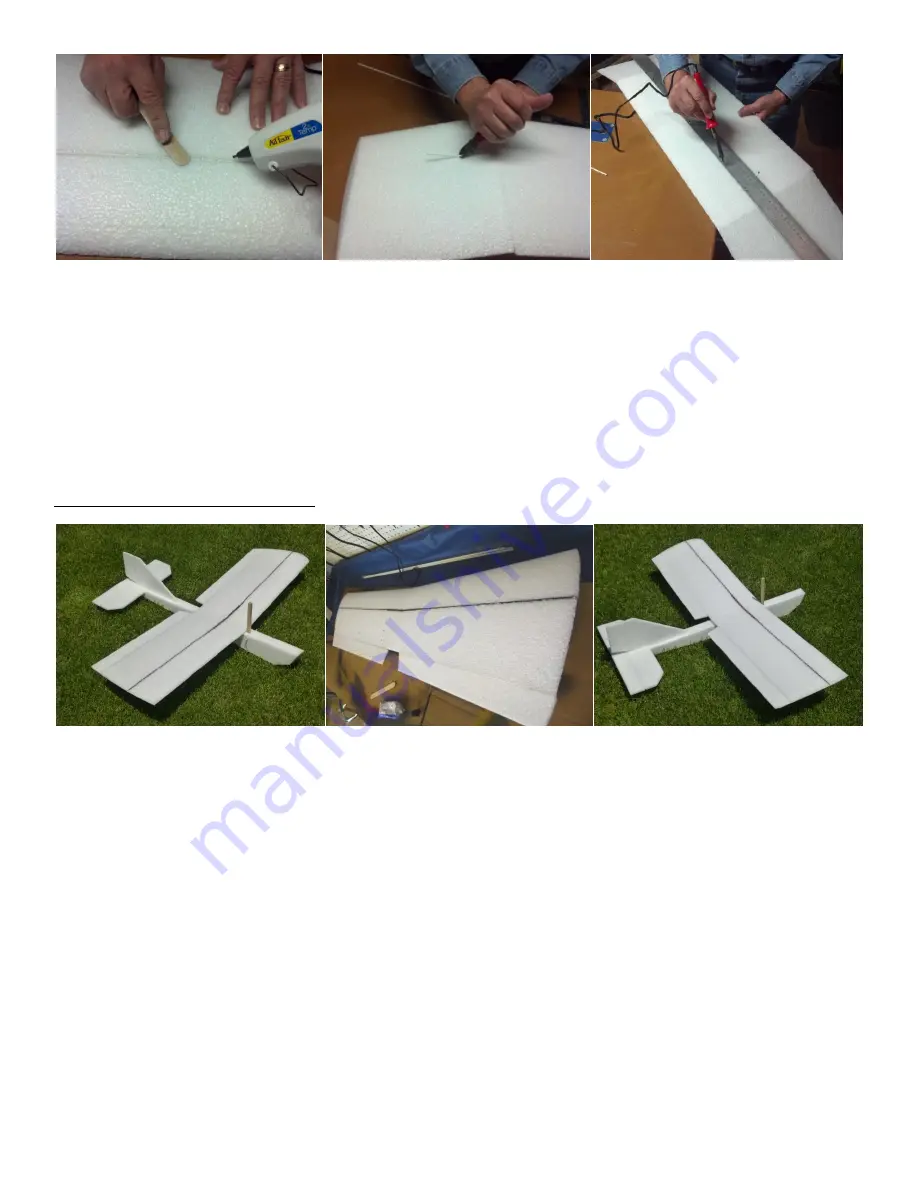
25. Put hot glue in the slot, and then insert the spar. Fill in any gaps above the spar with hot glue, and smooth the surface.
26. Use snips to cut off any excess spar sticking out on the sides.
27. Measure where the center of the wing is, and place a mark on the leading and trailing edges of the wing at the center point.
28. Glue the tongue depressors centered on top and bottom, on the leading and trailing edges of the wing.
29. Apply a thin layer of Goop glue along the entire leading edge of the wing, to protect the foam from chipping in case of impact.
30. There are not servos or linkages in the polyhedral wing.
31. Many flyers like to make a cut out in the back center of the poly wing that looks a lot like the back of the aileron wing to give a
thicker trailing edge where the rubber bands go over the back of the wing.
32. If you are building a single fuselage and planning on using both the poly wing and aileron wing on the same fuselage, you can
either put two rear dowels in the fuselage for the different wing chords or cut the back of the poly wing to match the aileron wing.
WING WITH AILERONS CONSTRUCTION
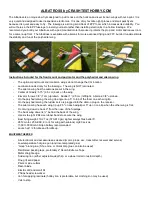
33. Look at the dihedral wing pictures above. I used black spars for the pictures but you will get white spars in the kit.
34. There are top and bottom spars back 4' from the front of the wing joined in the middle with a wood dihedral brace.
35. The dihedral (the bend) in the wing is necessary to stabilize the plane and help it turn smoothly.
36. The aileron wing is cut from heavier EPP foam with ailerons pre-cut into the wing
so it doesn’t need to be laminated.
37. The wood brace (shown below) is the full thickness of the wing and presses into a precut slot in the wing.
38. The spars will touch in the middle on both the top and bottom of the wing in front of the wood brace.
39. Flex the aileron up and down a few times to loosen it up. If it is still tight, fold it up and iron along the bottom edge of hinge line.
40. If the hinge line seems weak or tears put a layer of Goop glue along the hinge line like was done on the tail hinge lines.
41. Glue the two foam wing halves together with one wing flat on the table and the
top of the other wing tip 5" off the table.
42. It helps to have the brace temporarily in the slot to get the slots in the foam wing halves to align.
43. Glue the brace in place with thin CA glue. You can also use Goop or Quick Grip Glue if you prefer.
44. Use a soldering iron if needed to make the slot for the spars in front of the wood brace on both the top and bottom of the wing.


