Act1 Electrofusion Welder
06/06/2011
www.ProcessPipes.co.uk
Pg 8
Using the equipment
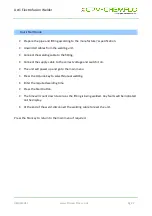
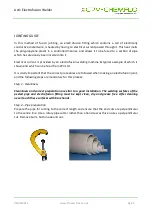
Prepare and clamp the pipe and fittings inline with the manufacturers recommendations.
Connect the welding cable to the unit and the fitting to be welded. Connect the supply cable to
the correct supply voltage and switch the unit on.
The screen will show a welcome message along with the software version and date. The owner
details are then shown
The main menu is now shown on the display. During operation, except while welding, pressing the
star key on the keypad will jump back to this menu.
Notes:
The operation of the unit can be customised by turning welding modes on and off, along with
some features like the cooling time. This manual details all available modes and features. For
information on how to customise the welding unit see the “Set Up” section later on in this manual.
The welding unit is fitted with an alpha-numeric keypad, which is used by the operator to input
data. Down the right hand side there are four Quick-Keys, A B C D. These act as quick shortcut
keys, their function being prompted on the screen.
When entering data, letters and numbers can be selected by repeatedly pressing the same key,
e.g. A B C 2 A B C 2 . After a short pause the cursor will move to the next position. Special
characters and spaces can be selected by pressing the 1 or 0 keys. (This is the same method used
for text with mobile cell phones.) Pressing the B Quick-Key will step Back one position. Pressing
the C Quick-Key will Clear the input field.
Содержание Act1
Страница 1: ...Act1 Electrofusion Welder ...
Страница 27: ......


