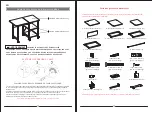
Assembly Instructions
6
6
7
A
B
8
8
A
B
F
G
F/G
5
B
Assembly Instructions
2
F/G
G
F
F
F
G
C
C
C
F/G
1
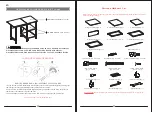
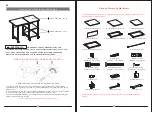
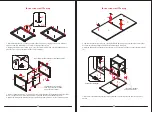
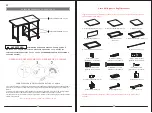
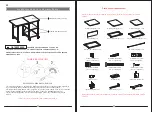
1. Unpack the unit and confirm that you have all the hardware and required parts. Assemble the unit on
a carpeted floor or the empty carton to avoid any scratch.
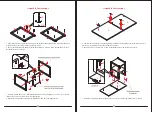
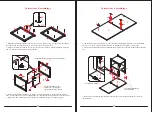
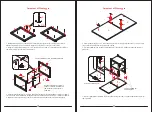
2. Lay out the End Frames (F and G) with the holes facing up. Securely screw the Cam Bolts (2) into
the threaded sockets as shown.
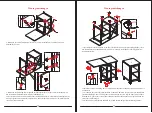
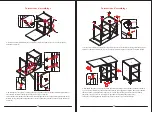
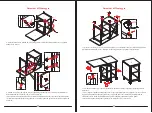
5. Combine the Top Panels (A and B) together by attaching two Butt Hinges (8) at the joint with six 15
mm Screws (6) per hinge, using the pilot holes as a guide.
6. Securely screw one Locator Pin (7) into the threaded insert on the Large Top Panel (A).
7. Attach the assembled pedestal to the Small Top Panel (B) with four 50 mm Bolts (5) as shown.
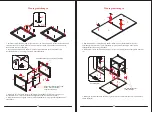
3. Attach two Fixed Shelves (C) to the Middle End Frame (F) by engaging two Cam Locks (1) in each
(Refer to the Cam Lock system operation suppl ement).
4. Repeat the same procedure to attach the Right End Frame (G) at the opposite end.
04
05


