Standard Operation Procedure
4
Components
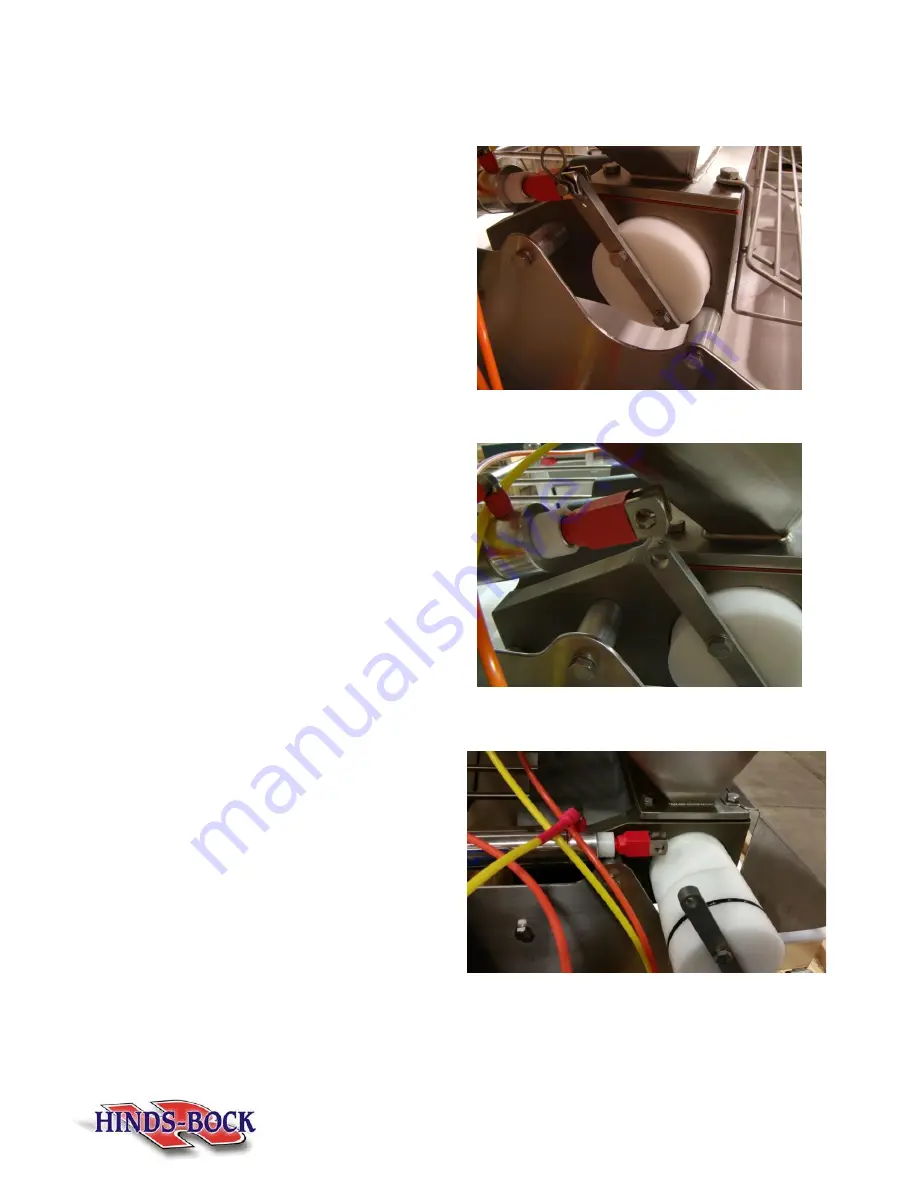
Product Valve
Provides a flow path for the product from the
hopper to the product head bores during the
suction stroke, and then switches to provide a
flow path from the bores to the pan.
Figure 1: Product Valve
Removing the Product Valve
To remove the product valve, make sure that
the supply air is turned off and disconnected.
Once that is done, remove the pin that
attached the product valve arm to the air
cylinder and lift the lock bar, which is located
on the opposite side of the product head,
away from the product valve. Pull the product
valve out with a rotational motion to avoid
breaking the O-rings.
Figure 2: Removing the Product Valve
Checking the Product Valve
With the product valve out of the product
head, check to see if there is any damage to
the valve or O-rings. If the O-rings show any
signs of wear (i.e. knicks, gouges, grooves, or
flat spots) then they will need to be replaced.
Figure 3: Checking the Product Valve


