7
3 Taking and Managing the Pictures
Before you take pictures, please read this note first:
NOTE:
Never remove batteries from the camera, or unplug the adaptor while a picture is being saved. Doing so will prevent the
current picture being saved and may corrupt other pictures already stored in the memory.
• Taking a Picture
1. Turn on the camera. You can see “Camera” appears on the Status LCD. It
means that it is in Still Picture mode and ready to take pictures. The Status
LCD shows a number, indicating the number of pictures can be taken.
2. Frame your subject using the camera viewfinder.
3. Press the Shutter button to take a picture. Hold the camera steady. A
sound is emitted when the picture has been taken. The picture counter will
decrease by one.
Shutter Button
NOTE:
The LCD can only display 3 digits, the maximum number displayed will only be 999 even if the no. of pictures or the
length of audio/video clips taken exceeds 999.
• Set Flash Mode
Turn on the camera, press the Flash button to cycle through the flash settings and select the one you
need.
The camera has three flash modes. Different flash setting applied to different situation:
Flash Mode on, the flash fires for every picture. Use this setting indoors in low light.
(no icon) Flash Mode off, the flash does not fire. Use this setting for outdoor pictures or where flash is
prohibited or may be distracting. Also use when shooting toward a reflective surface, such as a
window or mirror. If you do not have enough light when using this setting, your pictures will be
too dark.
A
Auto Flash Mode, the flash fires automatically as needed. Use this setting to take most pictures.
NOTE:
• Flash modes are not available in Video mode.
• Never touch or block the flash or the exposure lens with your fingers. Doing so can soil these components and interfere
with correct flash operation.
• Setting Picture Resolution
Picture resolution refers to the number of pixels in a digital picture. Picture quality depends on the JPEG
file compression that the camera applies when the picture is taken. Pictures with higher resolution and less
compression make better quality which occupies more memory space. Pictures with smaller size pictures
and normal quality are easier to email while larger size and fine quality are better for printing.
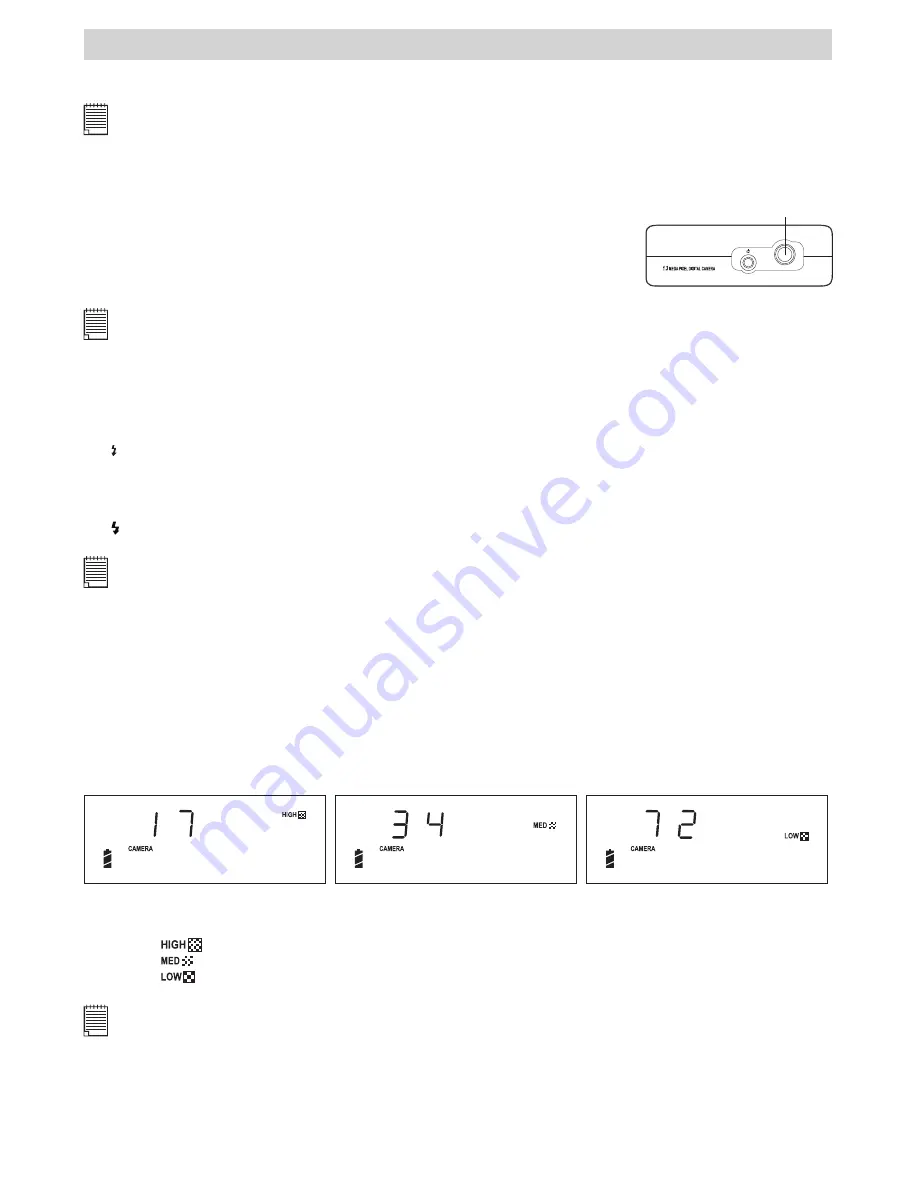
Turn on the camera. Press Select button to select the picture quality you need. The Status LCD shows the
number of pictures can take under the picture quality selected.
Medium Resolution
High Resolution
Low Resolution
Here are the approximate numbers of pictures you can expect the camera to hold at each setting based on
the internal memory:
High
: 1280 X 1024 17 pictures
Medium
: 1280 X 1024 34 pictures
Low
: 640 X 480
72 pictures
NOTE:
Scene complexity affects a picture’s file size. For example, a picture of trees in autumn has a larger file size than a picture
of blue sky at the same resolution and quality setting. Therefore, the number of pictures you can store on a memory card
may vary. The number of pictures on the Status LCD is for reference only.
Содержание AQUA 1300
Страница 1: ...TM CIC 221 AQUA 1300 User s Manual ...


