7.
VGA-
Press this button to select 640 x 480 as output resolution.
8.
SVGA-
Press this button to select 800 x 600 as output resolution.
9.
XGA-
Press this button to select 1024 x 768 as output resolution.
10.
SXGA-
Press this button to select 1280 x 1024 as output resolution.
11.
480p-
Press this button to select 852 x 480p as output resolution.
12.
576p-
Press this button to select 852 x 576p as output resolution.
13.
720p-
Press this button to select 1280 x 720p as output resolution
14.
1080i-
press this button to select 1920 x 1080i (interlaced) as output
resolution.
15.
Aspect Ratio-
Press the button to switch between standard (4:3) and
wide (16:9) aspect ratio.
16.
IR-Set-
When the front panel is locked out; press this button for over
15 seconds and it will lift the lockout.
17.
3D-
Press to turn on or off the 3D enhance.
18.
NR-
Press this button to turn on or off the digital noise reduction.
19.
Mode-
Press this button to toggle through the following adjustments:
Source- Resolution-Output-Aspect-3D Enhance-Digital NR.
20.
Picture-
Press this button to toggle through the following picture
adjustments: Contrast- Bright- Colour- Tint- Sharpness.
21.
Reset-
Press this button and it will revert picture adjust back to factory
preset values.
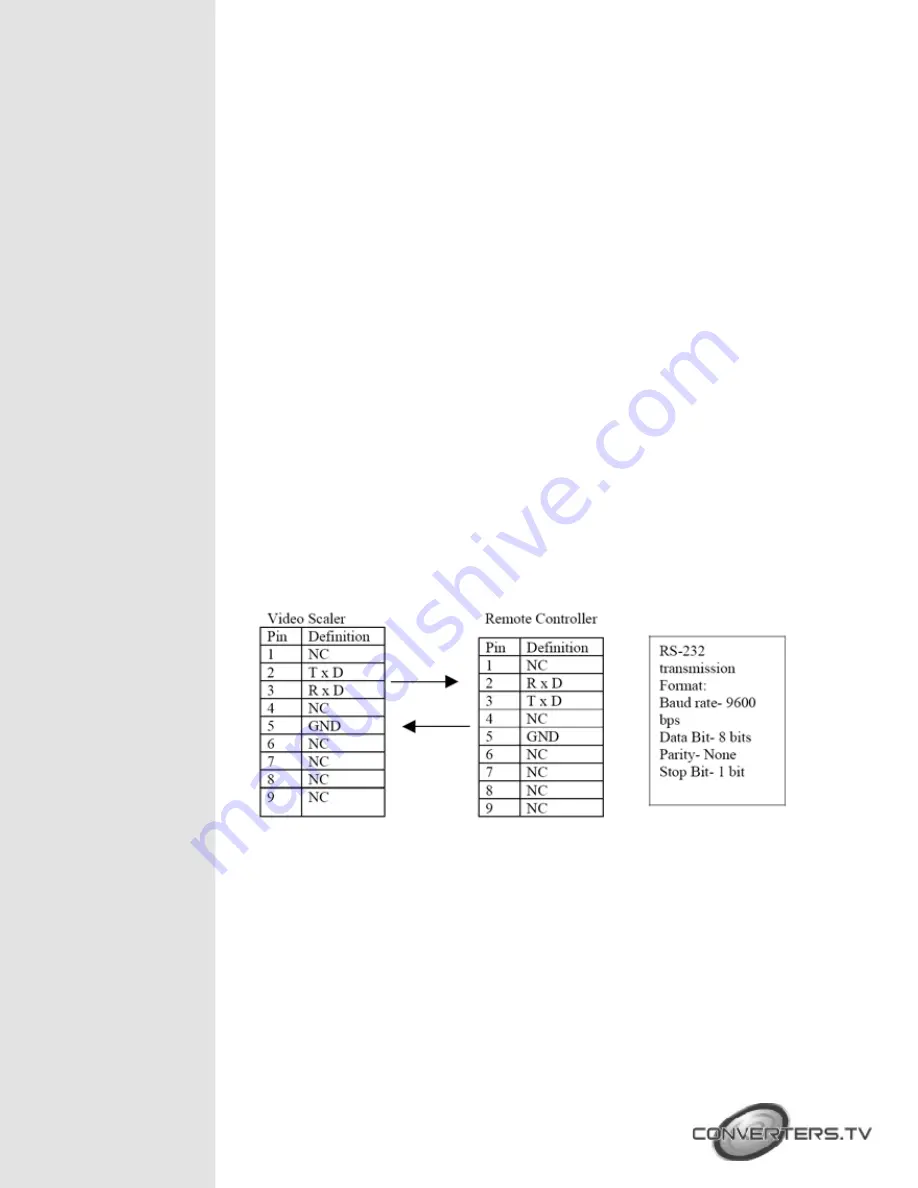
NOTE-
the connection between the unit and the RS 232 remote controller
is made with a modem cable.
Connection and
Installation
The AC adaptor power unit should not be plugged into a wall outlet until
all connections are complete.
- Connect your Video or DVD device using the appropriate connector
cable to the Composite Video (Number 1 on rear panel), S-Video
(Number 2 on rear panel) or YCbCr input port (Number 3 on rear panel).
- Connect your PC, Notebook or MAC to the PC In port (Number 4 on
rear panel).
- Connect your projector or HDTV to the RGB/YPbPr Output port
(Number 5 on the rear panel). The HD-15 D-Sub connector is shared by
PC/RGBHV output and HDTV/YPbPr output. When PC/RGBHV output


