7
Add and configure in Composer Pro
After the touch screen is installed and appears on the home
network, use Composer Pro to add it to the Control4 system and
configure it.
Use the Composer Pro
System Design
and
Connections
views to
add and configure this device.
To add and configure a T3 touch screen to a project:
1
Add the
T3-T7
or
T3-T10 In-Wall Touch Screen
driver to your
project.
2
To configure the properties, click
System Design
.
3
In the project tree, select the
T3 7
"
or
T3 10
"
In-Wall Touch
Screen
.
4
View and change the properties in the
Properties
pane as
needed.
Properties include:
•
Network Connection
—Reports the touch screen’s current
network connection type.
•
Back Light
—Use the arrows or type numbers to set the
light level, then click
Set
.
Advanced properties include:
•
Enable Camera
—Allows you to enable or disable the
camera.
Intercom (nested under the touch screen) properties:
•
Appearance
—Select to hide the touch screen from
appearing in Navigators as an available device.
•
Behavior
—Select the modes you want this touch screen to
support.
•
Audio Control
—Select the volume of individual audio
settings.
•
Sip Information
—Information for integrating the touch
screen into your SIP/VoIP system.
•
Custom Buttons
—Select to enable and label the two
available custom buttons.
•
Alternate Camera
—Select to use an external camera for
the video associated with the touch screen, for example, a
security camera mounted to the side of the entrance and
pointing at the door.
Troubleshooting
Boot up time
When the device is booting up, it may take 30 seconds or longer
before the Green LED turns on. When it turns on, it blinks slowly
for a time and then turns off. After that, you’ll see an image on
the touch screen.
Unresponsive screen
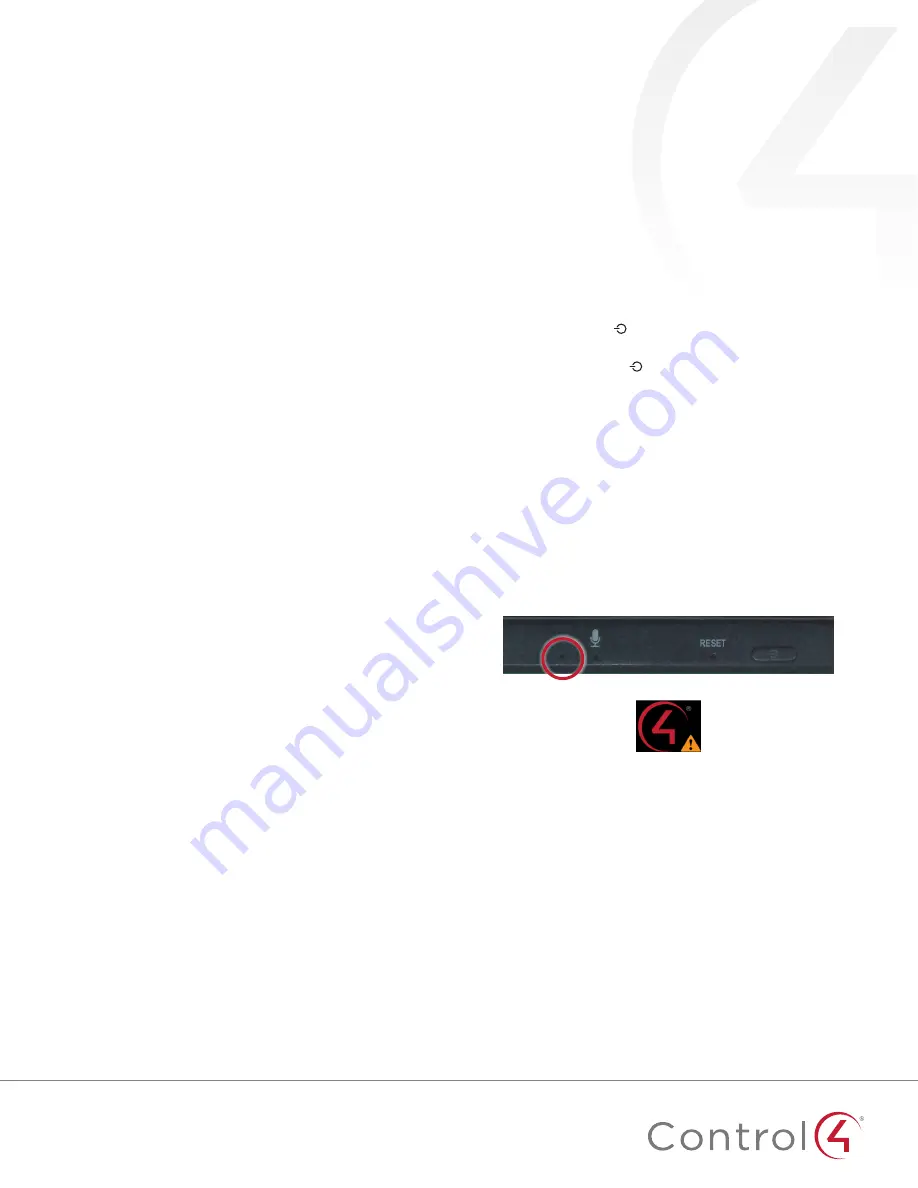
If the camera’s LED blinks on and off for more than 30 seconds,
the device may need to be power cycled. If power cycling doesn’t
solve the problem, the touch screen may need to be restored to
factory defaults.
To power cycle the touch screen:
1
Press and hold the (power) button for several seconds
until the touch screen turns off.
2
Press and release the (power) button again to turn on.
To restore to factory defaults:
1
On the touch screen’s main screen, tap
Settings
,
System
Info
, then
Factory data reset
.
- OR -
If the touch screen has not yet been configured, tap
About
,
then
Factory data reset
.
- OR -
To reset without using the display screen, insert a
straightened paper clip into the pinhole to the
left
of the
microphone on top of the touch screen, then press and
hold it while pressing the
RESET
pinhole button for several
seconds until the the icon below appears on the display.


