54
LAN IPv6 Link-Local Address Configuration
Heading
Description
EUI-64
Use EUI-64 algorithm to calculate link-local address from MAC
address
User Setting
Use the Interface Identifier field to define a link-local address
Static LAN IPv6 Address Configuration
Heading
Description
Interface Address
(prefix length is
required):
Configure static LAN IPv6 address and subnet prefix
length
IPv6 LAN Applications
Heading
Description
Stateless
Use stateless configuration
Refresh Time (sec):
The information refresh time option specifies how long a
client should wait before refreshing information retrieved
from DHCPv6
Stateful
Use stateful configuration
Start interface ID:
Start of interface ID to be assigned to dhcpv6 client
End interface ID:
End of interface ID to be assigned to dhcpv6 client
Leased Time (hour):
Lease time for dhcpv6 client to use the assigned IP address
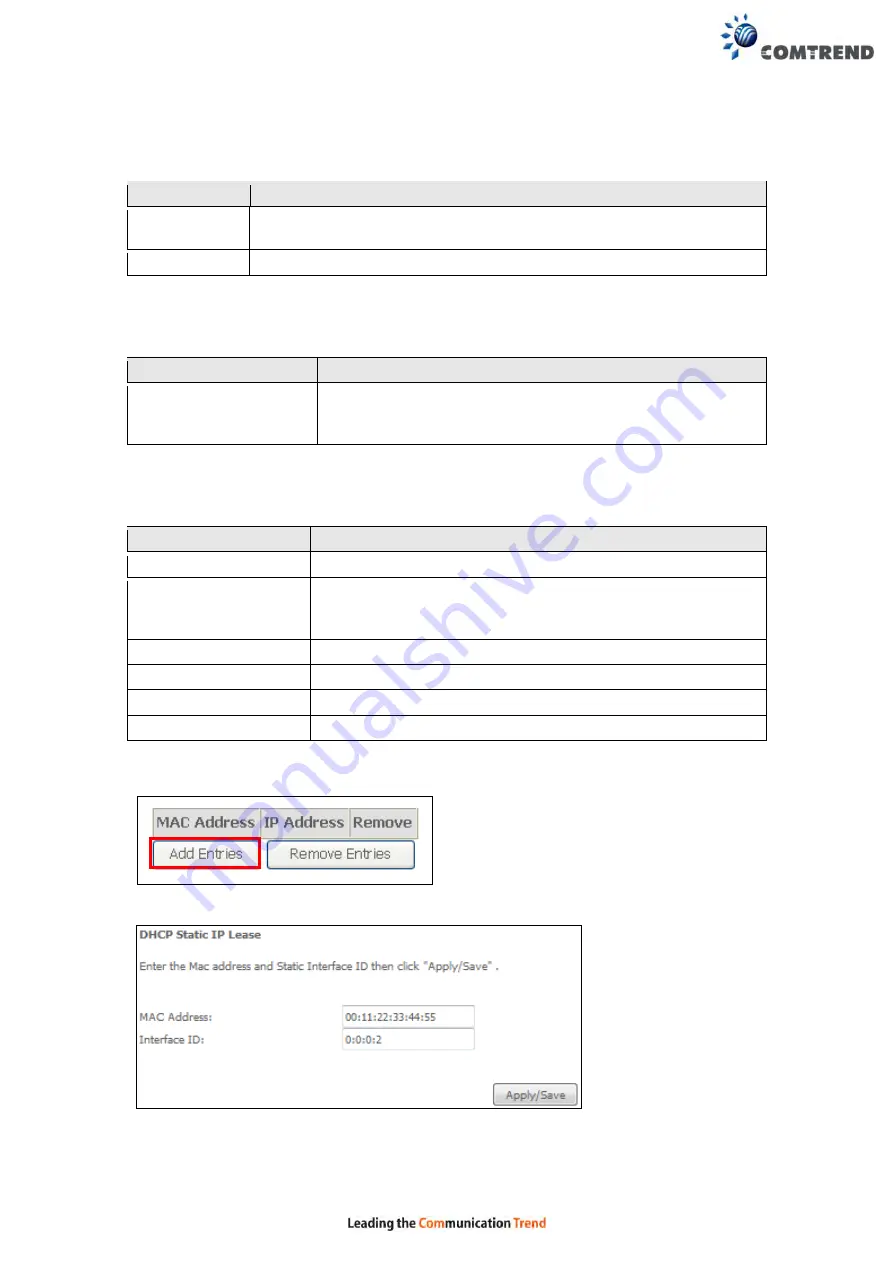
Static IP Lease List:
A maximum of 32 entries can be configured.
To add an entry, enter MAC address and Interface ID and then click
Apply/Save
.
Содержание VR-3060
Страница 1: ...261099 038 VR 3060 Multi DSL Router User Manual Version A1 0 December 22 2015...
Страница 18: ...17 This screen shows hardware software IP settings and other related information...
Страница 39: ...38 4 11 2 Site Survey The graph displays wireless APs found in your neighborhood by channel 5GHz...
Страница 40: ...39 2 4GHz...
Страница 58: ...57 5 3 3 UPnP Select the checkbox provided and click Apply Save to enable UPnP protocol...
Страница 71: ...70 A maximum of 100 entries can be added to the URL Filter list...
Страница 88: ...87...
Страница 139: ...138 Enter the MAC address in the box provided and click Apply Save...
Страница 160: ...159 Note Passwords may be as long as 16 characters but must not contain a space Click Save Apply to continue...
Страница 175: ...174 STEP 3 Click Next to continue when you see the dialog box below STEP 4 Select Network Printer and click Next...
Страница 177: ...176 STEP 7 Select driver file directory on CD ROM and click OK STEP 8 Once the printer name appears click OK...
Страница 178: ...177 STEP 9 Choose Yes or No for default printer setting and click Next STEP 10 Click Finish...
Страница 179: ...178 STEP 11 Check the status of printer from Windows Control Panel printer window Status should show as Ready...
Страница 203: ...202 F2 4 PPP over ATM PPPoA STEP 1 Click Next to continue...


