


163
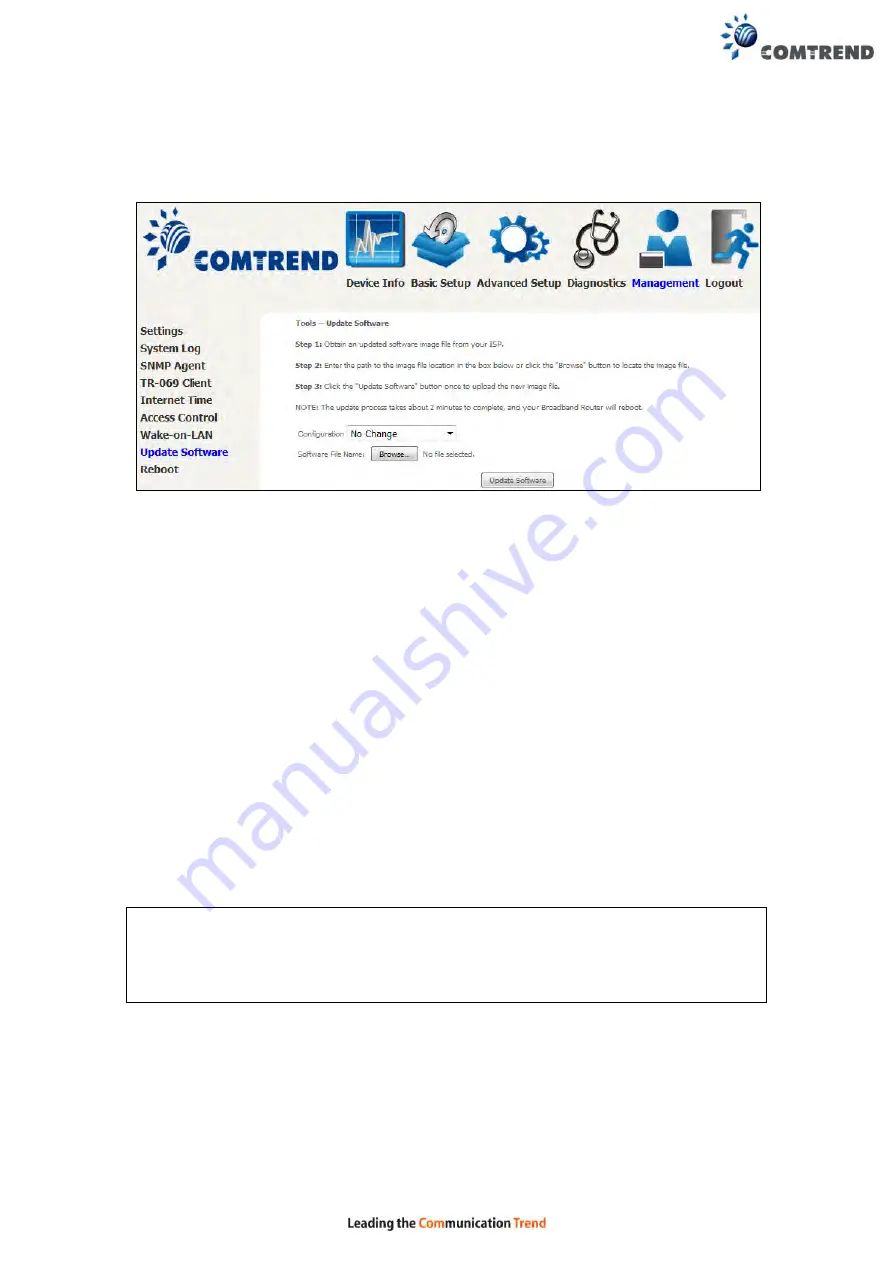
8.8 Update Software
This option allows for firmware upgrades from a locally stored file.
STEP 1:
Obtain an updated software image file from your ISP.
STEP 2
: Select the configuration from the drop-down menu.
Configuration options:
No change
– upgrade software directly.
Erase current config
– If the router has save_default configuration, this option will
erase the current configuration and restore to save_default configuration after
software upgrade.
Erase All
– Router will be restored to factory default configuration after software
upgrade.
STEP 3
: Enter the path and filename of the firmware image file in the
Software
File Name
field or click the Browse button to locate the image file.
STEP 4
: Click the
Update Software
button once to upload and install the file.
NOTE
: The update process will take about 2 minutes to complete. The device
will reboot and the browser window will refresh to the default screen upon
successful installation. It is recommended that you compare the
Software Version
screen with the firmware
version installed, to confirm the installation was successful.
Содержание VR-3060
Страница 1: ...261099 038 VR 3060 Multi DSL Router User Manual Version A1 0 December 22 2015...
Страница 18: ...17 This screen shows hardware software IP settings and other related information...
Страница 39: ...38 4 11 2 Site Survey The graph displays wireless APs found in your neighborhood by channel 5GHz...
Страница 40: ...39 2 4GHz...
Страница 58: ...57 5 3 3 UPnP Select the checkbox provided and click Apply Save to enable UPnP protocol...
Страница 71: ...70 A maximum of 100 entries can be added to the URL Filter list...
Страница 88: ...87...
Страница 139: ...138 Enter the MAC address in the box provided and click Apply Save...
Страница 160: ...159 Note Passwords may be as long as 16 characters but must not contain a space Click Save Apply to continue...
Страница 175: ...174 STEP 3 Click Next to continue when you see the dialog box below STEP 4 Select Network Printer and click Next...
Страница 177: ...176 STEP 7 Select driver file directory on CD ROM and click OK STEP 8 Once the printer name appears click OK...
Страница 178: ...177 STEP 9 Choose Yes or No for default printer setting and click Next STEP 10 Click Finish...
Страница 179: ...178 STEP 11 Check the status of printer from Windows Control Panel printer window Status should show as Ready...
Страница 203: ...202 F2 4 PPP over ATM PPPoA STEP 1 Click Next to continue...