3
150 Series
— CompX refrigerator eLock Instructions
TO DELETE A USER WITH A SPECIFIC SLOT
ASSIGNMENT
1. Input a valid Supervisor PIN and press “ENTER” or present
valid Supervisor card
2. Press and hold “CLEAR” until beeping stops
3. Enter slot number to be cleared and press “ENTER” (example:
to clear slot 6 type 006)
4. Enter slot number to be cleared again and press “ENTER”
(example: to clear slot 6 type 006)
OPERATION INSTRUCTIONS
Follow the below instructions to open the eLock
KEYPAD
: Enter in a valid PIN (4 to 14 digits) and press
“ENTER”.
CARD
: If the eLock is also equipped with a card reader (HID
Prox or HID iCLASS), present a valid card.
DUAL CREDENTIAL
: If the valid Supervisor/User is a dual
credential (programmable only in LockView) enter the first
credential (PIN or card) and then enter the second credential
(PIN) and press “ENTER”. Note the second credential must
be a 4 to 14 digit PIN.
The latch bolt will extend automatically after the factory
default time or custom programmed time as set in LockView
has expired - press “CLEAR” to extend the bolt immediately.
SETUP MODE
: Required to allow the eLock to be added to
LockView software and to perform a FACTORY RESET. Press
and hold “CLEAR” until the audible beeping stops. Enter
the SETUP CODE (Setup Cd) and press “ENTER”. See green
sticker set for setup code.
FACTORY RESET
WARNING: FACTORY RESET will delete all previously
programmed credentials
With the eLock in SETUP MODE, while pressing and holding
“CLEAR”, press and continue to hold “8” and then press “6”.
The eLock will make a short series of audible major tones and
the green LED will blink continuously. Programming can begin
again as if the eLock was “OUT OF THE BOX” (see page 2).
Methods to begin building
a database of eLocks in
CompX’s LockView Software
For complete details on how to build a database of users
and eLocks, see the
CompX LockView Software Instruction
Manual.
CompX LockView Software v5 (not included) must be
installed and the eLock must be in
SETUP
mode before
continuing. See page 3 for Setup Mode Instructions.
Stand-alone eLocks (Direct USB connection to laptop
computer with LockView is required)
There are two methods
that can be used to add eLocks to the LockView software.
Automatic Method
Note: Supervisors and/or Users that already exist in the
eLock will automatically be carried into LockView once the
eLock has been enrolled.
1. With the eLock in
SETUP
mode, connect the eLock via the
USB cable to the computer on which LockView is installed.
2. Login to LockView.
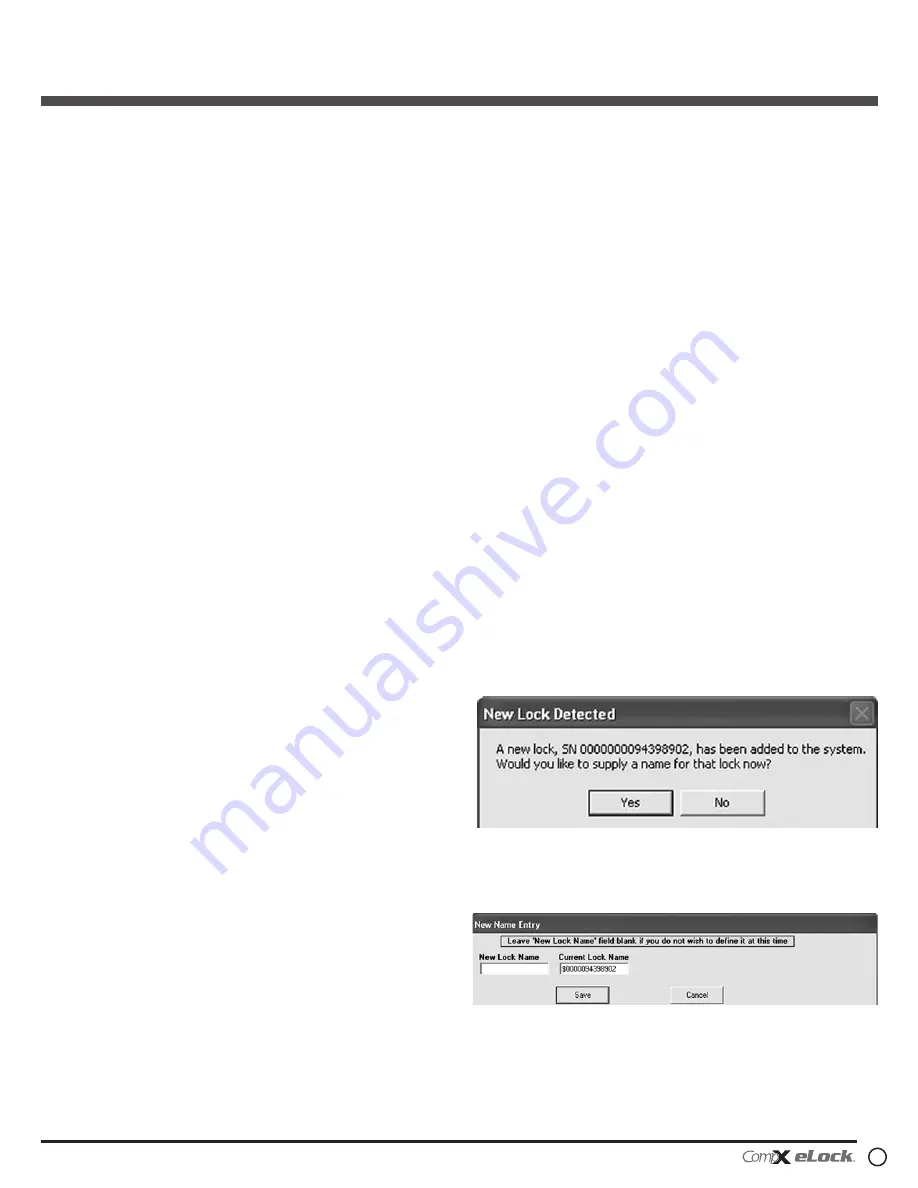
3. After 30 seconds, the below will appear.
NOTE: After 5 minutes of inactivity, the eLock will exit
SETUP
mode.
4. Click
Yes
.
5. The below will appear. Type in the name of the lock.
6. Click
Save
when done.
7. Go to
Lock Editor
tab in
Lock/User Editor
.
150 Series
Refrigerator eLock — Programming / Operation


