background image

 36


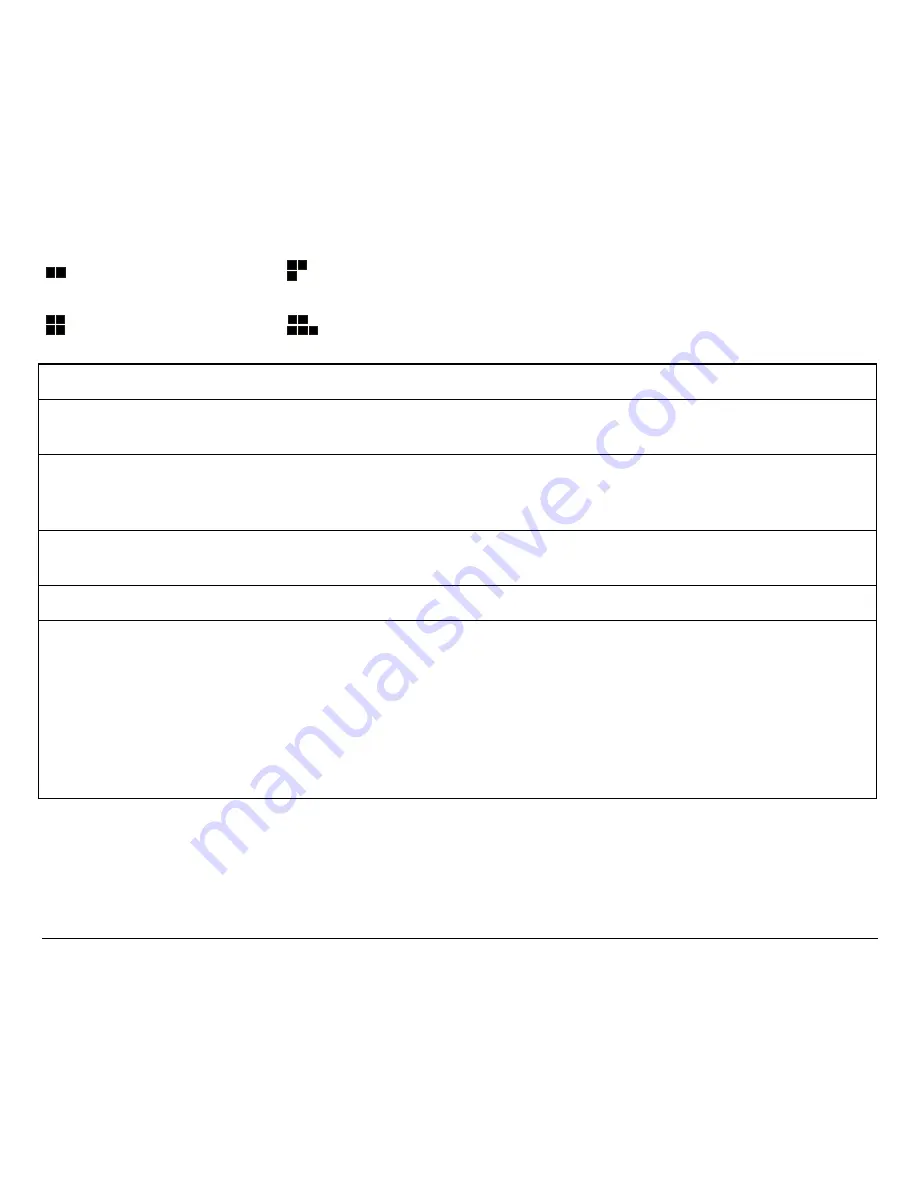
PROGRAM 1


PROGRAM  2


PROGRAM  3


PROGRAM  4


Setup Parameter


Values


Description


PROTOCOL


EPSON 570, IBM XL24E, IBM
XL24E AGM, IBM 2390


Defines the printer protocol.


FONT


Draft, Courier, OCR-B, Gothic,
Prestige, Presentor, OCR-A,
Script, Boldface, locked Draft


Selects the font. If you set 

locked Draft

 the printer

prints always with this font, independently from the font
set via software.


HORIZONTAL
PITCH


10 cpi, 12 cpi, 15 cpi, 17 cpi, 20
cpi


Selects the character spacing in characters per inch (cpi).


VERTICAL PITCH


5 lpi, 6 lpi, 8 lpi,


Selects the line spacing in lines per inch (lpi).


FORM LENGTH


# lines, A4, letter, A5, legal


Sets the page length in number of lines or standard
formats A4, Letter, A5 or Legal. If you select  

# lines

,

you must indicate the number of lines you want to set in
the scheme below this selection. The values range
between 0 and 255. To set the values combine the
numbers considering that the first line corresponds to the
hundreds, the second line to the tens and the third line to
the units. See the example below.


Содержание MDP40T plus

Страница 1: ...M MD DP P4 40 0T T p pl lu us s U Us se er r M Ma an nu ua al l Rev 002...

Страница 2: ...consumables with original packaging identified by its holographic label In this way a proper use of the printer at quality level stated in the product characteristics can be assured All typical usage...

Страница 3: ...Function keys 18 Leds 21 Software Driver Selection 22 Connection to the Host 23 Setting the Interface Parameters 24 Parallel Interface 24 Serial Interface 24 Printing a Test Page 26 Printer Setup 28 P...

Страница 4: ......

Страница 5: ...tic paper thickness adjustment The print head detects automatically the paper thickness for correct printing on any type of document Easy paper handling The cut sheets are placed on the front table by...

Страница 6: ...therefore performed correctly independently from the paper loading position Storage of four complete configurations for instant recall Standard parallel and serial interface and automatic switch over...

Страница 7: ...e following items are included in the shipment box Notify any damage to your supplier Paper stand Ribbon cartridge Power cable CD ROM with the printer documentation and drivers Always keep the packing...

Страница 8: ...4 P Pr ri in nt te er r P Pa ar rt ts s Never remove any printer part unless it is expressly indicated in this manual F Fr ro on nt t V Vi ie ew w Paper Stand Operator Panel Printer Cover...

Страница 9: ...5 R Re ea ar r V Vi ie ew w Rear cover...

Страница 10: ...sunlight extreme heat cold dust or humidity You need an AC power outlet compatible with the plug of the printer s power cord The voltage of the outlet must match the voltage shown on the printer s Nam...

Страница 11: ...7 I In ns st ta al ll li in ng g t th he e P Pa ap pe er r S St ta an nd d 1 Open the printer cover 2 Match the hooks on the lower side of the paper stand with the clefts on the printer front part...

Страница 12: ...s into the printer clefts 4 Lower the paper stand to horizontal position making sure that the two holders on both sides are correctly inserted into the corresponding slots Press the paper stand down u...

Страница 13: ...your power supply matches the power rating of the printer In case the power rating does not correspond DO NOT CONNECT THE PRINTER TO THE MAINS Consult your dealer for help Always use a grounded outle...

Страница 14: ...tr ri id dg ge e To install the ribbon cartridge the printer must be powered on 1 Remove the cartridge from its bag Turn the tension knob in the direction of the arrow to tighten the ribbon 2 Open th...

Страница 15: ...o the print head carriage leading the cartridge pins into the fixing guides In this way you assure the correct ribbon mask position in front of the print head Push the cartridge onto the print carriag...

Страница 16: ...ed in the following paragraph The paper alignment sensors determine the alignment of the upper and left paper margins adjusting them if necessary The print head determines the thickness of the documen...

Страница 17: ...y not exceed the limits of the paper stand Left Limit Right Limit The documents having a width of at least 90 mm must be inserted on the left hand side over the grooved area on the paper stand The doc...

Страница 18: ...documents having a width of less than 90 mm make sure that in the program menu the MANUAL LOADING item is enabled hold the paper against the left paper guide of the paper support while inserting it in...

Страница 19: ...d d P Pa ap pe er r The fanfold paper is loaded form the rear of the printer 1 Lower the two levers of the rear printer cover and unhook it from the printer 2 Unhook the right tractor moving the tract...

Страница 20: ...Insert the perforation of the fanfold paper on the left paper tractor Close the tractor door Insert the paper on the right paper tractor and close the tractor door The upper margin of the inserted pa...

Страница 21: ...lever towards the inside of the printer Make sure that the paper is not too taught otherwise it may tear 6 Hook the rear tractor cover into the corresponding slots 1 and push it against the printer u...

Страница 22: ...OAD PARK PROGRAM MICRO FEED P3 P1 P4 P2 ONLINE F Fu un nc ct ti io on n k ke ey ys s Turns the printer on or off To turn the printer off this key must be pressed for at least 3 seconds LQ Toggles betw...

Страница 23: ...ON LINE indicator on and there are no data to be printed The PARK key has different effects depending on the selection for the PARK MODE item in the Program Setup See the description of this item lat...

Страница 24: ...he printer is offline or when the printer is online and no print data are in the buffer When pressed while powering the printer on selects the offset adjustment page See Offset Adjustment later in thi...

Страница 25: ...d for data transmission the P1 indicator blinks If the INTERFACE TYPE function is set to auto blink when line 2 serial interface is selected for data transmission the P2 indicator blinks In case of fa...

Страница 26: ...onment Together with the printer you receive a CD ROM containing the printer drivers for the Windows environment This printer supports the Plug Play facility in the Windows95 98 environment If you wan...

Страница 27: ...that both the host and the printer are turned off 2 With the help of the following figure identify the connector for the interface you want to connect and insert the cable firmly into it 3 Fix the par...

Страница 28: ...rations when you use the serial interface you will need to set the parameters accordingly To assure a correct functioning of the printer connected through the serial interface the transmission paramet...

Страница 29: ...s the currently set value Do not fill in the marker beside the title of the preprinted form otherwise the printer will not be able to read that page 6 Once the serial interface parameters have been si...

Страница 30: ...printout is correct The following printout example shows also the printer setup default values SELF TEST MDP40T plus Code Version Vx x xxxxxxxx CharGen xxxxxxxx ver x xx CONFIGURATION SETUP PROGRAM p...

Страница 31: ...USA USA USA USA CODE PAGE CP437 CP437 CP437 CP437 LINE MODE LF LF CR CR LF LF CR CR LF LF CR CR LF LF CR CR WRAP MODE autowrap Autowrap autowrap autowrap SLASHED ZERO disabled Disabled disabled disab...

Страница 32: ...up Parameters paragraph later in this manual To enter the Printer Setup Mode press and hold the LQ key for at least 1 second while powering the printer on The printer enters the Setup Mode P Pr ri in...

Страница 33: ...change and you can select the Setup Page you want to print as follows P1 P2 P3 P4 All setup pages P1 P2 P3 P4 Program 2 page P1 P2 P3 P4 Configuration page P1 P2 P3 P4 Program 3 page P1 P2 P3 P4 Prog...

Страница 34: ...ram couples P1 P3 or P2 P4 you can define one parameters set for printing on cut sheets and one for fanfold P1 and P2 define the values for printing on cut sheets whereas P3 and P4 define the printing...

Страница 35: ...nores these parameters and maintains the currently set value Do not fill in the marker beside the title of the preprinted form otherwise the printer will not be able to read that page R Re ea ad di in...

Страница 36: ...t tu up p F Fl lo ow w C Ch ha ar rt t P2 P3 P1 P4 LQ ONLINE PROGRAM PROGRAM PROGRAM PROGRAM LQ LQ LQ LQ LQ S elf Test Norm al M ode Printer Powered off P2 P3 P1 P4 P2 P3 P1 P4 P2 P3 P1 P4 P2 P3 P1 P4...

Страница 37: ...p are reset to the factory default values PROGRAM progr 1 progr 2 progr 3 progr 4 progr 1 3 progr 2 4 Defines the default Program Setup or Setup couple The program couples may be selected only if the...

Страница 38: ...paper empty condition disabled or not enabled AUTOFEED SIGNAL disabled enabled The parallel interface uses enabled or does not use disabled the AUTOFEED signal SLCT IN SIGNAL disabled enabled The par...

Страница 39: ...e check is performed at the first line The other values correspond to the physical distance from the first line SKIP PERFORATION disabled enabled If the passage of the paper perforation under the prin...

Страница 40: ...15 cpi 17 cpi 20 cpi Selects the character spacing in characters per inch cpi VERTICAL PITCH 5 lpi 6 lpi 8 lpi Selects the line spacing in lines per inch lpi FORM LENGTH lines A4 letter A5 legal Sets...

Страница 41: ...x Sets the left margin in number of columns The values range between 0 and 90 The physical position of margin depends on the current character spacing To set the values combine the numbers considering...

Страница 42: ...hird line to the units See the example below Example How to set the Right Margin to 101 RIGHT MARGIN Minimum 0 Maximum 190 Current 0 0 1 2 3 4 5 6 7 8 9 100 x 10 x 1 x Setup Parameter Values Descripti...

Страница 43: ...ottom margin to 34 lines BOTTOM MARGIN Minimum 0 Maximum 90 Current 0 0 1 2 3 4 5 6 7 8 9 10 x 1 x Setup Parameter Values Description IBM COMPRESS 17 1 cpi 20 cpi Selects the pitch for the compressed...

Страница 44: ...ms a carriage return If the printer receives a CR code CR it performs a carriage return followed by a line feed If the printer receives a LF code LF it performs a line feed If the printer receives a L...

Страница 45: ...k command the printer immediately parks the paper When pressing the PARK key the printer automatically parks the paper When receiving a park command via software 1 If the current page is not empty the...

Страница 46: ...bled the printer loads any kind of document according to the described procedures Select disabled when a more precise paper alignment is necessary With this selection it is not possible to load docume...

Страница 47: ...the position of the printed characters on a pre printed form this printer allows to easily adjust the first line and the first printing column as follows 1 Press the PROGRAM key while powering the pri...

Страница 48: ...g 1 60 INCH X X X X X X X X X X X X X PROGRAM 1 PROGRAM 2 PROGRAM 3 PROGRAM 4 6 5 4 3 2 1 0 1 2 3 4 5 6 Horizontal Position Offset 1 10 INCH PROGRAM 1 PROGRAM 2 PROGRAM 3 PROGRAM 4 6 5 4 3 2 1 0 1 2 3...

Страница 49: ...u need to change the default position of the first print line the vertical offset can be set in the Vertical Position Offset lines and or the horizontal offset in the Vertical Position Offset lines Bo...

Страница 50: ...of this printer is designed for trouble free handling of a great variety of documents In case a paper jam condition occurs proceed as follows 1 Open the printer cover 2 Pull the lever on the right inn...

Страница 51: ...paper 4 In case it is not possible to remove the jammed paper because you cannot reach it with your hand or it is embedded so that you cannot move it rotate the white cog wheel beside the paper path l...

Страница 52: ...48 5 To close the paper path push the paper path cover down until it locks in position...

Страница 53: ...ibbon Cartridge Turn the ribbon tension knob to verify that the ribbon is not blocked If the problem is not solved change the ribbon cartridge The ribbon is used up or torn Change the ribbon cartridge...

Страница 54: ...ey until all leds briefly light up while powering the printer on 2 The data sent to the printer are printed in three columns where the first column indicates the number of the line the second shows th...

Страница 55: ...be printed must not contain foreign material Form opacity must be at least 75 Forms with a lower opacity may cause feed errors Never print on documents with metallic or hard plastic fasteners or stap...

Страница 56: ...ness is higher than 0 2 mm 70 mm manual alignment 90 mm automatic alignment B Form length 711 2 mm 68 6 mm C Distance between dot position and left or right paper edge 3 0 mm if length is less than 35...

Страница 57: ...right vertical paper perforation and the leftmost or rightmost printing dot 3 0 mm D Distance between the upper page margin and the upper margin of the first print line 1 mm E Distance between the lo...

Страница 58: ...rier Gothic Prestige Presentor Script OCR A OCR B Boldface Character Set PC standard set CS1 CS2 13 National Epson sets CP437 USA CP437G Greek CP850 Multilanguage CP851 Greek CP852 Latin 2 CP853 Turki...

Страница 59: ...buffer Special Functions Automatic Gap Adjustment AGA Auto Alignment Auto Border Recognition Bar Code Reading in horizontal vertical mode option Ribbon Life 4 million characters black Reliability MTBF...

Страница 60: ...r consumption 120 W max printing 10 W standby Environmental conditions Temperature working 5 40 C stock 25 60 C Humidity working from 20 to 85 r h stock from 10 to 90 r h without condensing Standard E...

Страница 61: ...experienced radio TV technician for help A shielded Centronics IEEE1284 compliant bi directional parallel cable maximum length 3 meters 10 feet and a shielded RS 232 serial cable maximum length 15 met...

Отзывы: