Building Instructions
Landing Gear
As the main landing gear is installed in the
fuselage, rather than in the wings, it’s a good
idea to install this first, so that you can lock
the gear in the ‘down’ position while building
the rest of the model - protecting the bottom
surface of the fuselage.
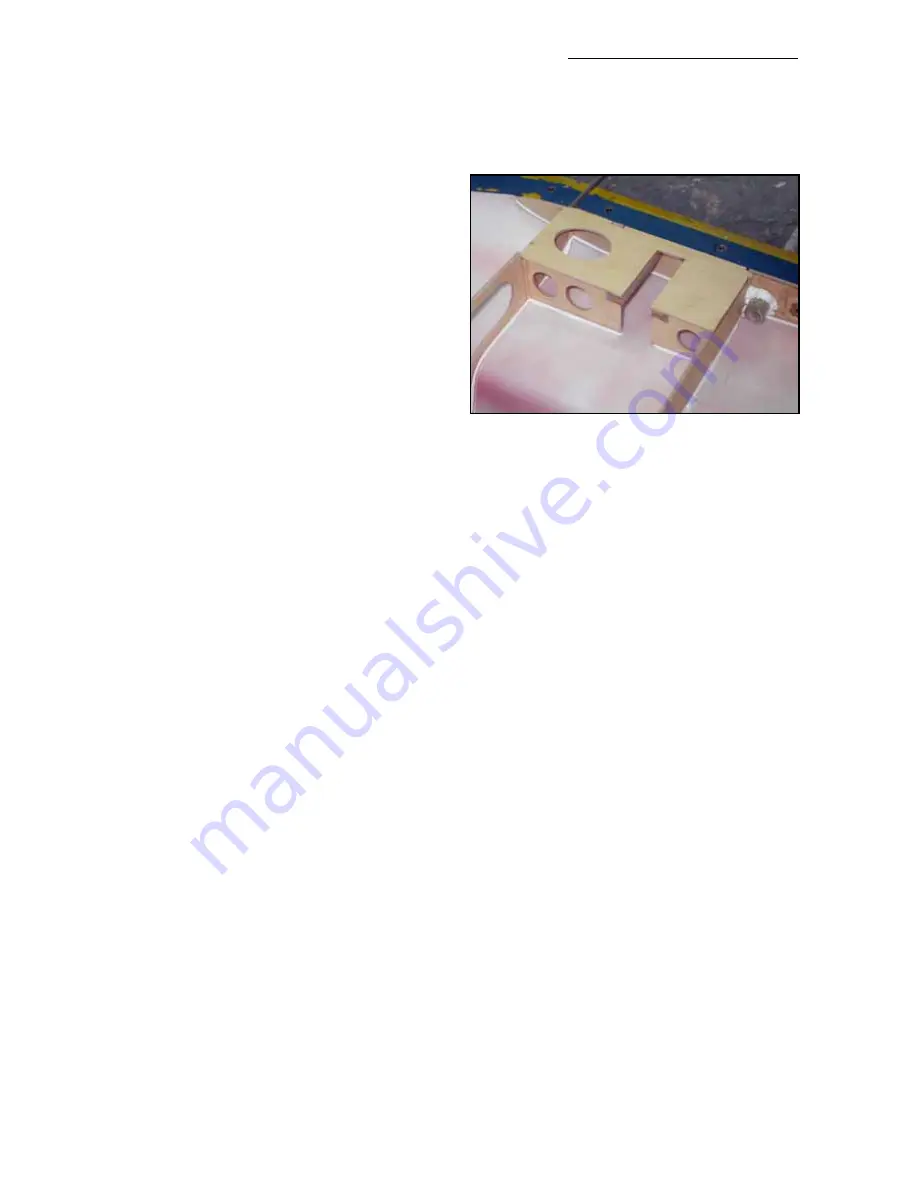
The cutouts in the bottom fuselage skin for
all 3 retracts are already done at the factory
for you, but may be adjusted to suit your
retracts and leg lengths as needed. Likewise
the ‘U’ shaped cutouts in the plywood mount-
ing plates are of a generic size and fit many
standard retract sets, but can be adjusted to
suit your landing gear.
The landing gear mounts are carefully installed in the factory, but please check them anyway,
and add epoxy glue to any joints as you feel necessary. If you are using a smaller retract size
than the pre-milled cutouts, you can add some scrap vertical grain hard balsa or ply strips
inside the ‘U’ shaped cutouts as needed.
No gear doors are provided, and this model is not designed to have them anyway.
Main Gear
Fix your retract units to the 2 plywood mounting plates using your chosen method. In the pho-
tos here we have used M4 bolts and T-nuts. Alternatively you could even use 15mm (5/8”) long
sheetmetal screws. The cutouts for the wheels are made at the factory to suit 3.5” diameter
wheels. Adjust if required.
Route the air tubes from each retract (and wheel brake) forward through the holes in the main
bulkhead for connection in the cockpit area later. Install the oleos or wire legs and main
wheels, remembering to grind small ‘flats’ on the legs for any set-screws if used, and add a
drop of Loctite to all important bolts. Finally set the angle of the wheels. For the best ground
handling they should have a very little bit of ‘toe-in’ - that is the wheels should angle inwards at
the front
very slightly
. The roots of the fuselage sides are almost parallel so you can use a
straight edge on the wheels to set this slight toe-in. (see photo P3)
The ‘new’ Rookie has the main landing gear position 25mm (1”) further behind the Centre of
Gravity than the original Rookie/Kangaroo, which helps to prevent any tendency to ‘bounce’ if
landed at too high speed. If flying from grass, or rough, fields, keep all the leg lengths as short
as possible to reduce the bending loads on the legs.
Nose Gear
This is installed in exactly the same way as the main retracts. Bolt or sheetmetal-screw into
the plywood mount as shown. Depending on which type of retract units you are using make
sure that the steering arm clears the sides of the fuselage and the back nosegear mount bulk-
head. The cutout in the bottom of the fuselage is already done at the factory, and can be
Composite-ARF New Rookie
6
The plywood landing gear mount is now even
stronger than the original Rookie, and is aligned
with a jig in the mould before joining.


