Page 1 CM Automation Motor Mix Operations Manual v 2.0 2/00
Pro Tools Set Up & Quickstart
QuickStart, Setting up a
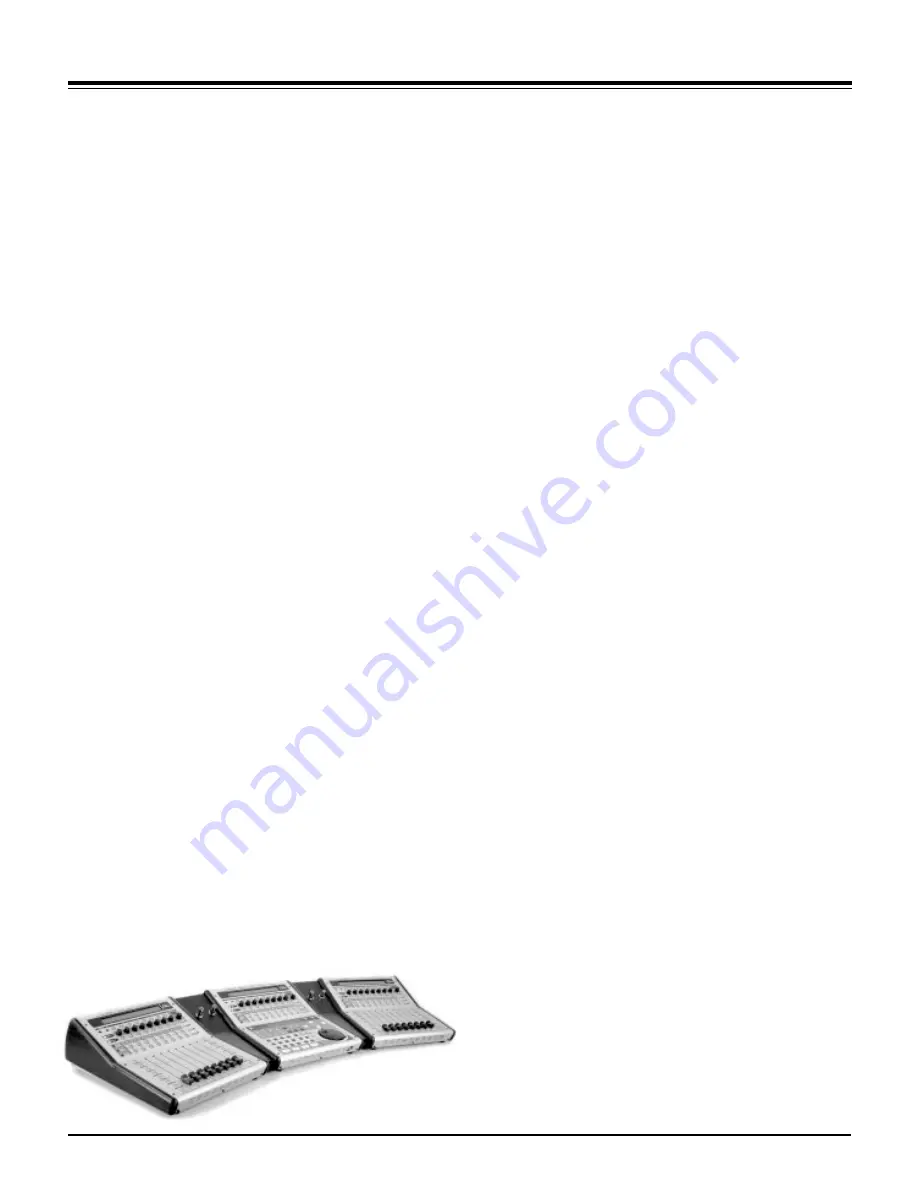
Pro Tools /Motor Mix System
1.)
You will need a Pro Tools system with software version 4.1
or later.
2.)
Connect Motor Mix MIDI IN and OUT to the MIDI OUT and IN on
one port of your functioning MIDI interface.
3.)
Launch OMS setup and define Motor Mix: Is controller on MIDI
channel 1 (only 2 boxes checked). Note: If you are using
multiple Motor Mix units with Pro Tools, each unit must be
connected to the MIDI interface with two MIDI cables. Repeat
step 3 for each unit, but create a unique name for each unit,
like: Motor Mix 1, Motor Mix 2 etc.
4.)
Open a Pro Tools session and select “controllers” in the
peripherals menu.
5.)
Select “HUI” and then select Motor Mix and the number of
channels = 8. Note: If you are using multiple Motor Mix units
with Pro Tools, repeat step 3 for each unit, but create a unique
name for each unit, like: Motor Mix 1, Motor Mix 2 etc.
6.)
If you are using Pro Tools 5.xx, pull down the MIDI menu and
select “MIDI Input Devices”. Click on each Motor Mix listed.
This will enable Pro Tools to receive its MIDI input.
7.)
In Pro Tools 5.x and higher, go to the Set up window and choose
Preferences. In the Preferences box, click on Operation. Then
select ‘Classic’ located in the Numeric Keypad Mode Section.
Classic Numeric Keypad allows you use the Locate function on
Motor Mix.
8.)
Move a Motor Mix fader and the corresponding fader should
move in the Pro Tools mix window.
9.)
If you need to operate software other than Pro Tools, you must
first exit the Pro Tools mode by pressing the "PLAY" and
"ESCAPE" switches on Motor Mix. The LCD will say "Pro Tools
mode - OFF -". Motor Mix will remain in normal operation
mode until returned to Pro Tools mode by pressing the "PLAY"
and "ESCAPE" switches a second time.
10.)
Each time when you use Pro Tools you should have Motor Mix
powered up first to insure that Motor Mix gets a complete
update of your most recent session settings.


