


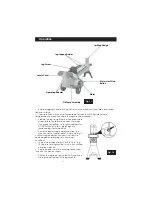


Fig. 7
4.
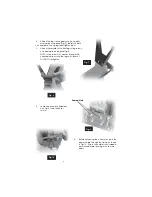
Loosen and remove 2 domed
nuts Fig. 9, store safely for
re-use.
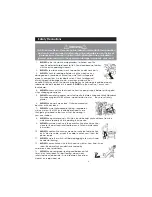
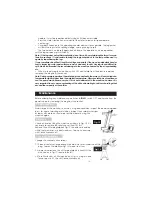
2.
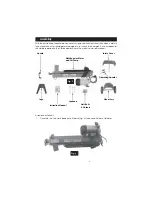
Attach the legs to the body using nuts bolts
and washers supplied (Fig. 7), loosely fit both
nuts and bolts, line up legs and tighten bolts.
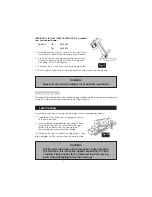
3.
Attach the handle to the front legs using screws,
nuts and washers supplied Fig. 8.
NOTE: insert screw with washer through the
handle and secure to the legs with locknut.
DO NOT Overtighten.
Fig. 9
Domed Nuts
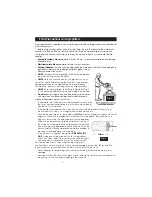
4.
Before attaching the wheel assy, pass the
power cable through the frame as shown
in Fig. 10. Ensure the cable is not trapped
anywhere before securing assy to main
body.
Fig. 10
-9-
Fig. 8
Содержание Log Buster 3
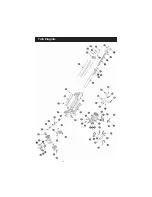
Страница 15: ...Parts Diagram 15...
Страница 18: ...18...


