O
PREPARATION
1. SPINDLE TURNING
If you are not experienced at the art of wood
turning, we suggest that you practice using the
various wood turning tools, starting with turning
a small spindle.
1.8 Place the wood between the centres and
advance the tailstock so that the rotating
centre is forced into the spindle at the exact
centre mark, rotating the spindle as you do
so.
1.9 Adjust the tool rest approx. 3mm away
from the corners of the wood and 3mm
above the centre line. Note the angled
position of the tool rest base.
9
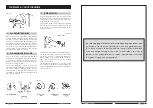
1.1 Select a piece of wood 50x50x305mm.
1.2 Draw diagonal lines on each end to locate
the centres.
1.3 On one end, make a saw cut approximately
2mm deep on each diagonal line. This is
for the spur centre.
You may also remove the drive centre from
the spindle, as described on p.10
‘Faceplate Turning’, and place the
point of the centre on the wood where the
diagonal lines cross.
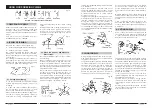
Drive the centre into the wood. Use a
wooden mallet or a plastic hammer, but put
a piece of wood on the end of the centre
to protect it.
1.6 Replace the Drive Centre, ensuring it is tight.
Positioning the Tailstock
1.7 Position the tailstock at the appropriate
distance for the job in hand. To move the
tailstock, slacken the securing nut located
underneath. Always allowing a little
room for the advancement of the rotating
centre.
Wooden Mallet
or
Plastic Hammer
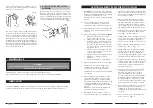
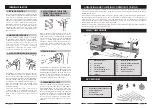
Fig. 4
Fig. 6
Fig. 5
1.10 Check to ensure there are no spanners/
wrenches/pieces of wood or other debris
in the area, and that your clothing is
properly adjusted before pushing the ON
button.
The procedure for cutting and the use of
woodworking chisels is described under
“Using Woodworking Chisels, starting on
page 12.
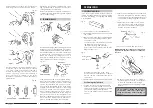
Fig. 7
Lock the trool rest base and the tool rest
IMPORTANT. ALWAYS rotate the wood by hand
to guarantee that the corners do not strike the
tool rest..
and mounted on this chuck. thus mounted, the
remaining contours can be turned to shape.
After being chucked the remaining face of the
ring can be turned to the proper contour, thus
cutting away the centre portion.
Work of this type take constant measurements,
or better still, use a template to guard against
over or under cutting.
5. TURNING BALLS
Another method of turning a ring makes use of
a recessed chuck. The work stock is mounted
on a screw centre and one half of the ring is
formed, but the ring is not cut away from its
centre. The stock is then removed and a
recessed chuck, mounted on the large
faceplate, is prepared to receive the ring in a
tight press fit.
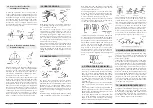
Wooden balls of large size are first roughly turned
between centres, using standard procedures.
Smaller balls can be mounted as face plates on
the small faceplate of screw centre. Lines drawn
to indicate the centre and ends of the ball
shape are helpful in plotting the curve. A
template should always be used for accurate
visual observation of the work progress.
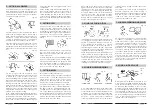
If the ball is mounted as a faceplate turning,
almost the entire surface can be turned before
it becomes necessary to rechuck it. Rechucking
can be accomplished in a deep cut chuck,
which will hold the finished portion of the ball in
a tight press fit. Another method of rechucking
is to use a shallow cup chuck which will not
support the ball alone, but must be used in
conjunction with the tailstock. When using the
shallow chuck, a wood block is fitted to the
tailstock so that the ball can revolve upon it. This
block should be lubricated with beeswax or
grease. In using the shallow chuck method,
24
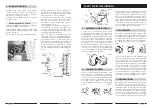
Fig. 49
Fig. 65
Fig. 48
Fig. 47


