19
STEP 2: HINGING THE ELEVATOR
❑
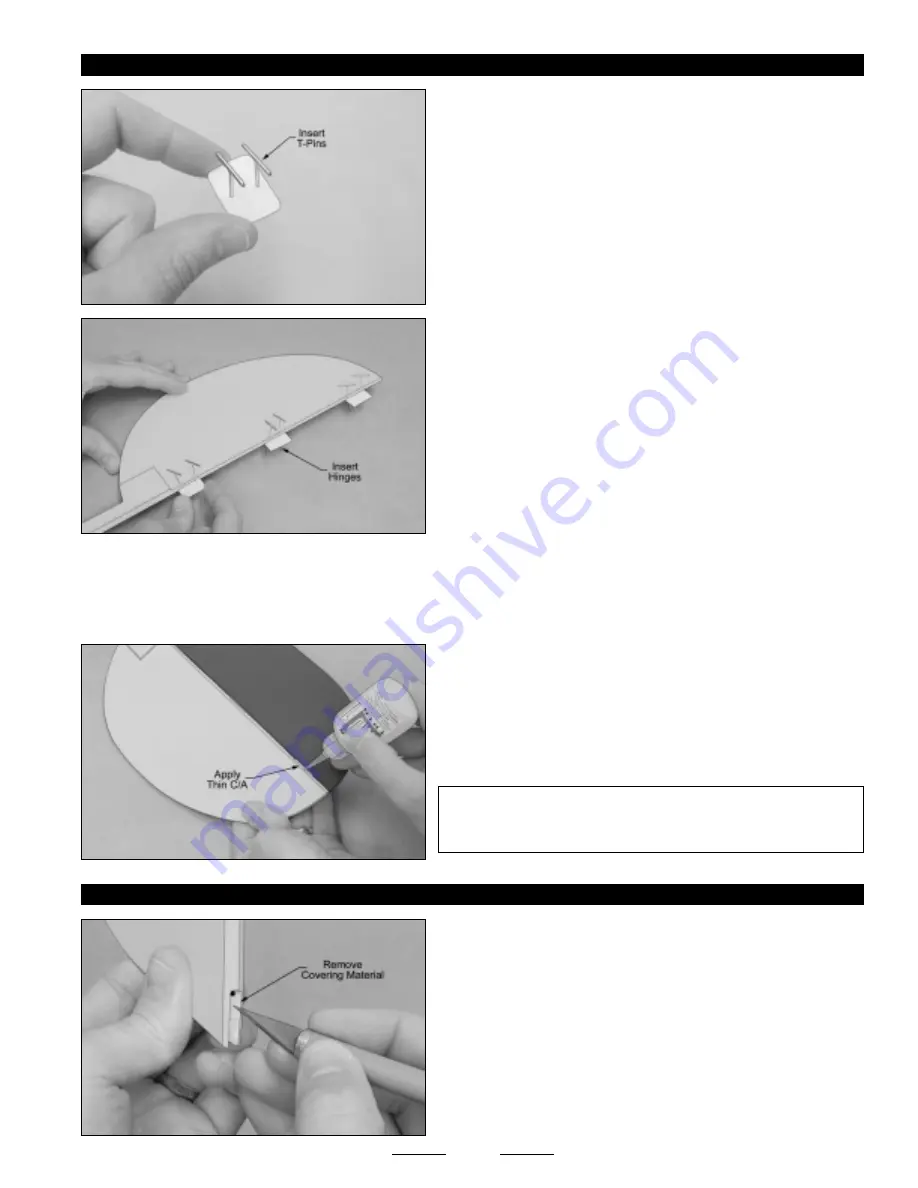
Push two T-Pins through the center of six C/A-style elevator hinges,
as shown.
☞
The T-Pins will keep the hinges centered and square to the
hinge line while you are hinging the elevator.
❑
Slide one hinge into each hinge slot in the elevator, making sure that
you push each hinge in up to the T-Pins.
☞
Don't glue the hinges into the elevator yet.
❑
Push the elevator and its hinges into the hinge slots in the trailing edge of the horizontal stabilizer.
❑
Remove the T-Pins and push the elevator into its final position. The elevator should be pushed firmly up against the trailing
edge, so that there is a minimal hinge gap (no more than 1/32" wide), and the tips of the elevator should be even with the tips of
the stabilizer.
❑
While holding the elevator tight against the trailing edge of the
stabilizer, pivot the elevator down about 45º and apply 5-6 drops of thin
C/A to the exposed area of each hinge. Turn the fuselage over and
repeat for the other side of the hinges.
☞
Remove any C/A that may run down the hinge line, using C/A
Debonder.
✦
✦
✦
✦
✦
IMPORTANT
✦
✦
✦
✦
✦
After the C/A fully cures, pull on the elevator to
check the integrity of the hinges. If one or more hinges is loose, apply
more C/A to those hinges to secure them into place.
STEP 3: INSTALLING THE TAIL WHEEL WIRE
❑
Using a modeling knife, carefully cut away and remove the covering
material from over the precut groove in the bottom of the leading edge
of the rudder.
☞
Notice that there is a predrilled hole in the top of the precut groove to
accept the tail wheel wire.
Continued On Next Page
☛
☛
☛
☛
☛


