21
CLAGE
7. Initial operation
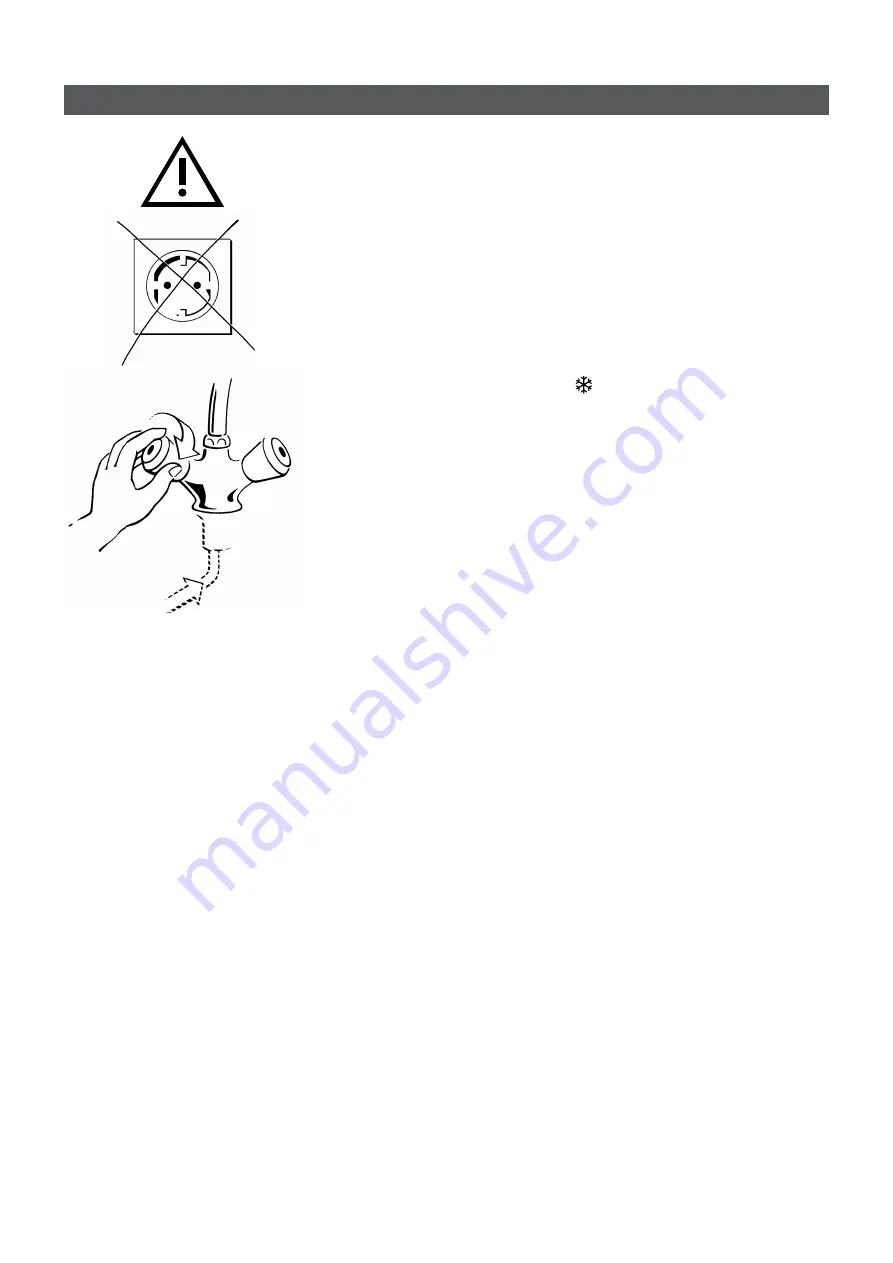
Important: The appliance must be completely filled with water before being
started up!
S 10 / S 15 for operation on 230 V AC and must be connected to a professionally
installed, earthed socket outlet. Multiple connectors must not be used.
1. Ensure that the appliance is not plugged in and that the fuse is deactivated.
2. Slightly open the relief valve for pressure-type installation
(see chapter “Maintenance“).
3. Turn on the main water tap or shut-off valve and the hot water tap of the installed
mixing battery to fill the appliance until bubble-free water emerges from the outlet.
4. Flush the water storage heater for 3 minutes with fully opened hot water tap.
5. Check the system for leaks and remedy these if necessary.
6. Set the temperature selector to position .
7. Plug the appliance into the mains power supply.
8. Set the required temperature and remain in attendance while the water heats up.
The indicator lamp lights up while the water is being heated. Water due to expan-
sion drips from the outlet of a low-pressure fitting and from the overflow relief valve
of a pressure-type installation while the water is being heated.
9. Check the relief valve after 4 minutes. Due to expansion water drips out of the out-
let of a low-pressure fitting or out of the relief valve while the water is heated.
Attention! If no expansion water drips out, shut off the power supply immedi-
ately. Open the hot water tap to release the pressure. For troubleshooting you
can find hints in the chapter “Troubleshooting and service”.
10. If the indicator light switches off, the water has reached the set temperature.
Note:
Flush the water storage heater when you put it into operation for the first time
or if it was out of usage for more than a week.
1. After heating, let the water stay in the storage water heater for one hour.
2. Open the hot water tap and wait until cold water drains out.
3. Close the hot water tap.
4. Repeat the steps 1-3 three times.


