


16
DEX Next
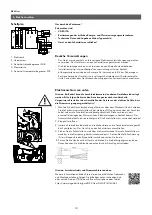
Main menu
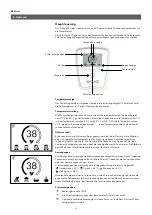
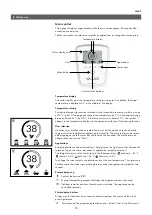
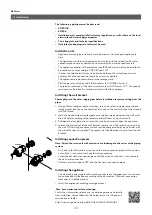
Press the menu button to enter the main menu. All function menus and saved values of
the appliance can be selected from here.
to get further informations.
Maximum temperature reached: The temperature cannot be increased any fur
ther since the set temperature limit has been reached. The temperature limit
can be changed in the main menu under “Settings”.
Heating activated: As soon as the appliance heats water, this symbol appears.
Power limit: The full output of the instantaneous water heater does not suffice
to heat the tapped quantity of water to desired temperature. Reduce the quan
tity of warm water at the tap.
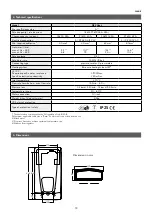
3. How to use
• Plastic surfaces and fittings should only be wiped with a damp cloth. Do not use
abrasive or chlorinebased cleaning agents or solvents.
• For a good water supply, the outlet fittings (special tap aerators and shower heads)
should be unscrewed and cleaned at regular intervals. Every three years, the electri
cal and plumbing components should be inspected by an authorised professional in
order to ensure proper functioning and operational safety at all times.
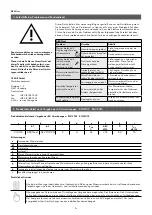
Cleaning and maintenance
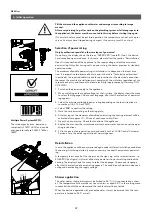
This instantaneous water heater features an automatic air bubble protection to prevent
it from inadvertently running dry. Nevertheless, the appliance must be vented before
using it for the first time. Each time the appliance is emptied (e.g. after work on the
plumbing system, if there is a risk of frost or following repair work), the appliance must
be revented before it is used again.
1. Disconnect the instantaneous water heater from the mains (e.g. via deactivating the
fuses).
2. Unscrew the jet regulator on the outlet fitting and open the cold water tap valve to
rinse out the water pipe and avoid contaminating the appliance or the jet regulator.
3. Open and close the hot water tap until no more air emerges from the pipe and all
air has been eliminated from the water heater.
4. Only then should you reconnect the power supply again (e.g. via activating the
fuses) to the instantaneous water heater and screw the jet regulator back in.
5. The appliance activates the heater after approx. 10 seconds of continuous water
flow.
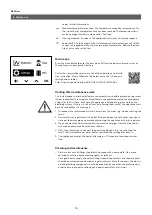
Venting after maintenance work
For further informations please use the online operation and installa
tion instruction. Please follow the link below or use the QR code via
smartphone or tablet.
https://www.clage.de/links/gma/DEXNextGMA912034382


