4-13
Cisco Video Surveillance 7530PD IP Camera Installation Guide
Chapter 4 Camera Management
Viewing Live Video
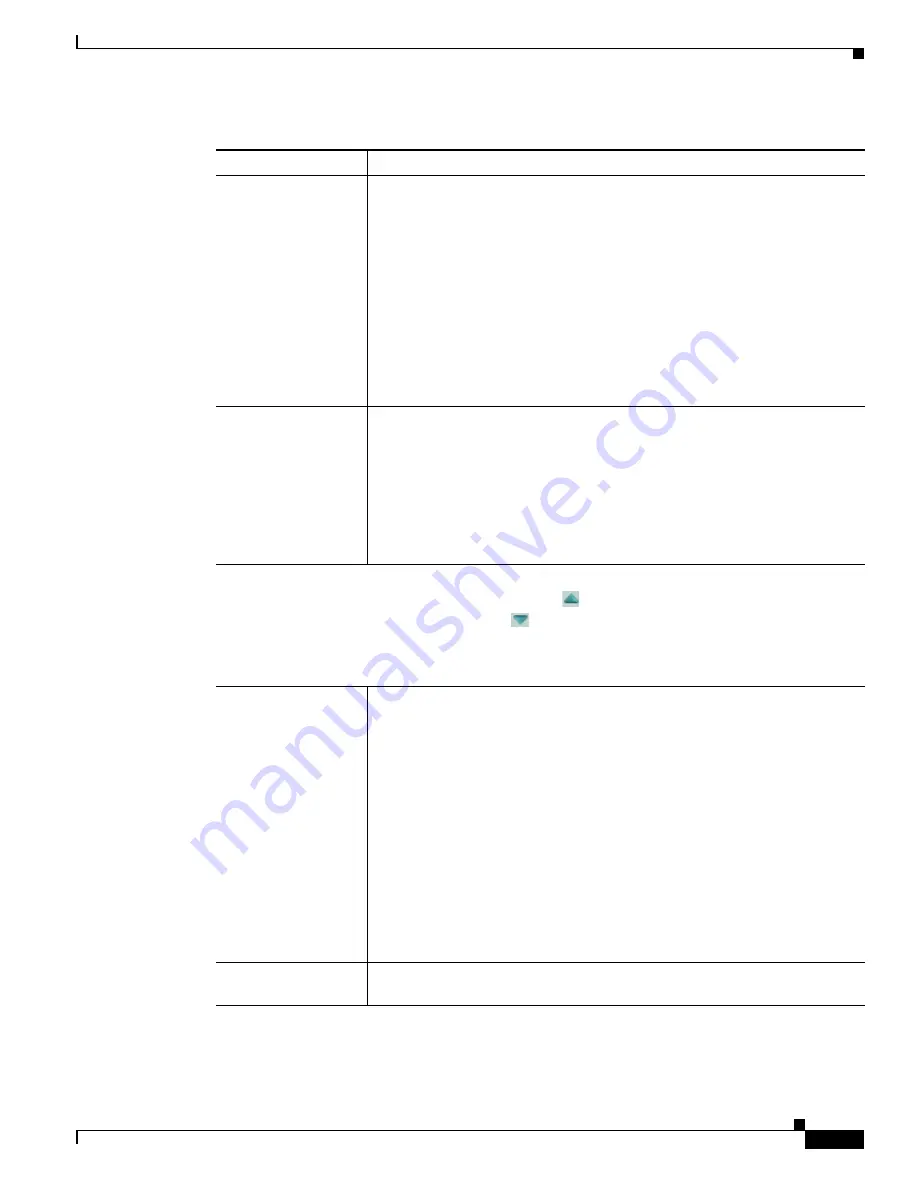
Specify Region
check
box
To automatically adjust the focus with priority given to a particular region in
the field of view:
1.
Check the
Specify Region
check box.
2.
Right-click the video image and choose
Draw Region
.
3.
Hold down the left mouse button and draw the region, which is indicated
by a green rectangle.
To move a region, left-click it and drag its window to the desired area.
To resize a region, left-click it and drag a box in the edge or corner of the
region.
To remove a region, uncheck the
Specify Region
check box.
Full Auto Focus
button
Click to have the IP camera automatically adjust its focus. This adjustment
uses smaller steps that the auto focus feature (see the
row
in this table), but can result in a sharper focus and takes more time to complete
than an auto focus.
The full auto focus process can take some time, and the Focus/Zoom controls
are dimmed during this process. If you see a dialog with the message
“Operation still in progress,” click
OK
. When the process completes, click
OK
in the dialog box that displays the message “Set Full Auto Focus successfully.”
Privacy Zone
Note
To display these controls click the Expand icon
next to Privacy Zone under the video image.
The icon changes to the Collapse icon
. Click the Collapse icon to hide these controls.
If you make changes to any of the Privacy Zone options, click the
Save
button to save the
changes.
Enable Privacy
Region
check box
Enables the Privacy Zone feature.
You can create up to four user-defined masking zones that can used to provide
regions of privacy in the camera field of view. When the Privacy Zone feature
is enabled, video within privacy each region is not recorded in the camera, nor
sent in the video stream. Instead of the actual video, privacy regions display as
solid rectangles that you choose from the Region Color drop-down list.
To designate regions, right-click the video image, choose
Draw Region
, then
hold down the left mouse button and draw the region, which is indicated by a
green rectangle.
To move a region, left-click it and drag its window to the desired area.
To resize a region, left-click it and drag a box in the edge or corner of the
region.
To remove a region, left-click it, then right-click it and choose
Delete Region
.
Region Color
drop-down menu
Choose the color in which the system displays the zones that are defined by
privacy regions. You can choose
Red
,
Green
,
Black
, or
Blue
.
Table 4-4
Camera Video & Control Window Controls (continued)
Control
Description


