51-20
Page 32
All
EFFECTIVITY:
C I R R U S
A I R P L A N E M A I N T E N A N C E M A N U A L
M O D E L S R 2 0
15 Jun 2010
1
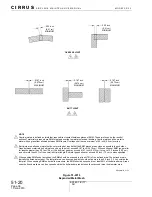
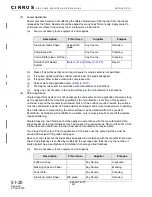
Using the template, warp axis and/or 0° reference line, align and center the final,
largest repair ply over release film or peel ply.
2
Repeat above step for each subsequent repair ply, working from largest to smallest
ply.
3
Apply a coat of resin to repair ply assembly using a clean brush.
4
“Stipple” the ply assembly with brush to work the resin into the plies and work the air
bubbles to the edge of the plies. If necessary, add resin to saturate dry areas.
5
When excess resin has been brought to the surface with the stippling process and
all air bubbles have been removed, coat the ply with a thin layer of resin.
6
Center and place second sheet of release film over the stacked repair plies.
7
Using squeegee, work out trapped air and excess resin from repair ply assembly
with a squeegee.
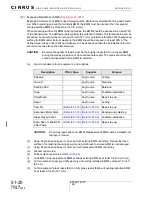
(n)
At repair area, apply thin coat of resin using a clean brush.
(o)
Peel second sheet of release film away from the last repair ply laid-up on the stack.
(p)
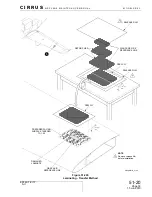
Carefully lift stacked repair plies and turn over so smallest repair ply is on bottom.
(q)
Using the warp axis and/or 0° reference line, align, center, and install stacked plies to
repair area.
(r)
Peel remaining sheet of release film away from stacked plies.
(s)
“Stipple” or tap the ply, to work air bubbles to the edge of the repair plies. If necessary, add
resin to saturate dry areas. When repair plies are saturated and air bubbles have been
removed, coat the repair plies with a thin layer of resin.
(t)
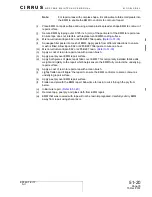
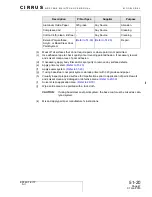
If repairing an outside, finished surface apply peel ply as follows:
1
Apply a thin coat of resin to repair area using a clean brush.
2
Apply peel ply over repair area.
3
Lightly flatten the ply with the brush. Allow time for resin to wick through the ply from
below.
Note:
Peel ply can be worked more aggressively than repair plies and
becomes transparent when saturated with resin.
4
“Stipple” or tap the ply, to work air bubbles to the edge of the ply. If necessary, add
resin to saturate dry areas.
(u)
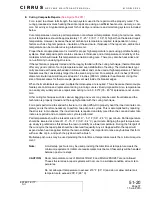
Cure repair.
(v)
If applicable, install EMM.

