28
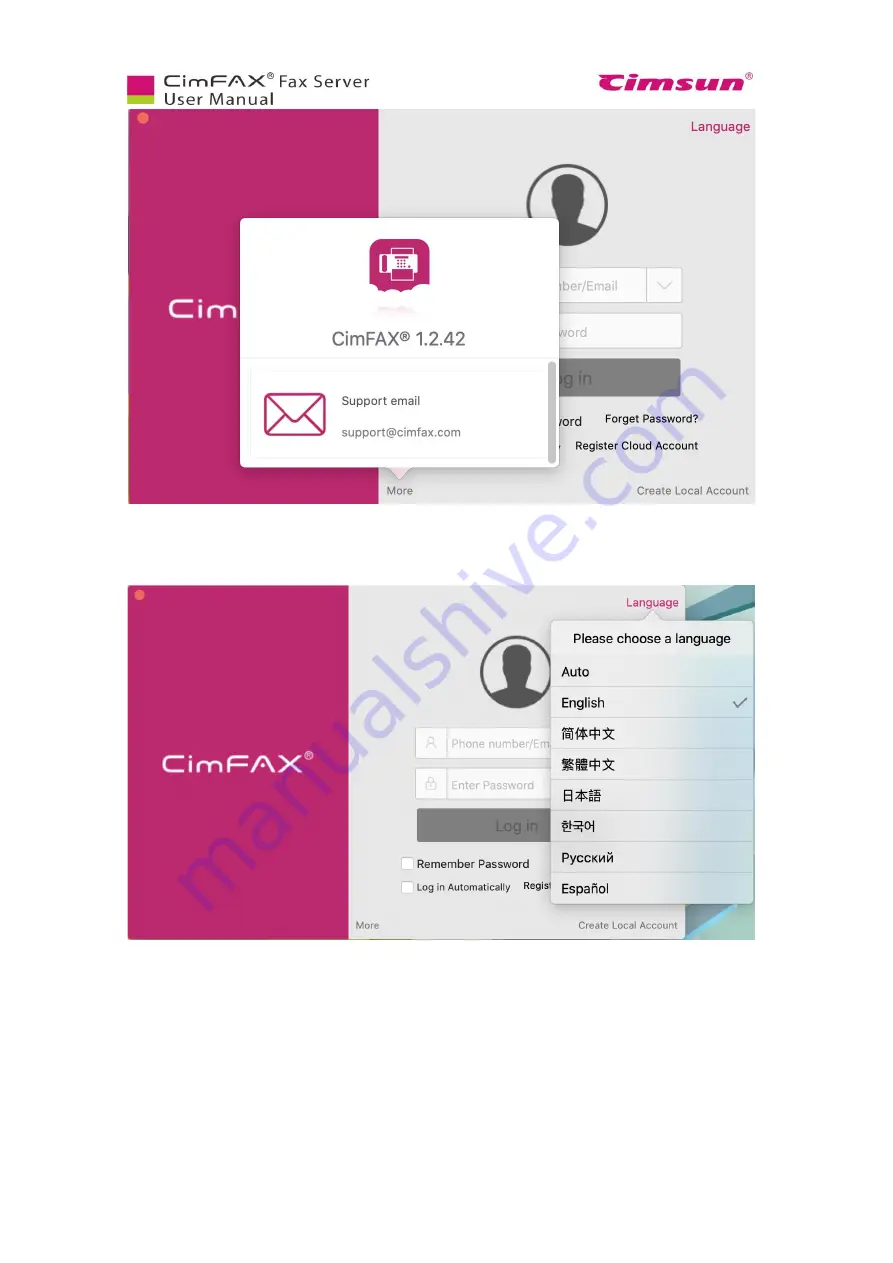
5. Click “Language” to choose the software language.
7. You can choose to either register a local account or a cloud. A cloud account will have synchronized
data across your Mac and iOS mobile devices. You will need to verify with your phone number or email
address to register a cloud account while if you just want to have a local account, you don’t have to do
so.
Содержание CimFAX
Страница 1: ...CimFAX Fax Server User Manual V5 0 ...
Страница 16: ...10 2 Equipment Setup This chapter illustrates how to set up the server and connect it correctly ...
Страница 27: ...21 4 Click Next or Browse to choose file location 5 Click Install ...
Страница 28: ...22 6 Wait for file copy complete 7 Wait for the installation of CimFAX virtual printer ...
Страница 30: ...24 ...
Страница 31: ...25 4 Software Installation on MacOS This chapter steps you through CimFAX client installation on Mac computer ...
Страница 33: ...27 3 You will see the login window 4 Click More to check the software version and CimFAX support information ...
Страница 36: ...30 10 Create a cloud account Enter your phone number or email address to get 6 digit verification code ...
Страница 37: ...31 11 Click Next Enter your name and password to complete the registration ...
Страница 77: ...71 6 10 8 OCR options This function is not available any more ...
Страница 80: ...74 6 13 Language Configuration Click Options menu bar Language Select the language you want for the client ...
Страница 81: ...75 7 Instructions for CimFAX on Mac ...
Страница 95: ...89 ...
Страница 97: ...91 If you click Add country code the country code you set up in Settings will be auto add to the fax number ...
Страница 104: ...98 Here are the screenshots of fax sending progress ...
Страница 105: ...99 ...
Страница 106: ...100 ...
Страница 108: ...102 Click trash can icon to view deleted faxes ...
Страница 109: ...103 7 16 Change Software Language Click settings icon on the lower left corner to set up software language ...
Страница 111: ...105 8 Fax Mode ...


