Page 5
SKU 45790
2.
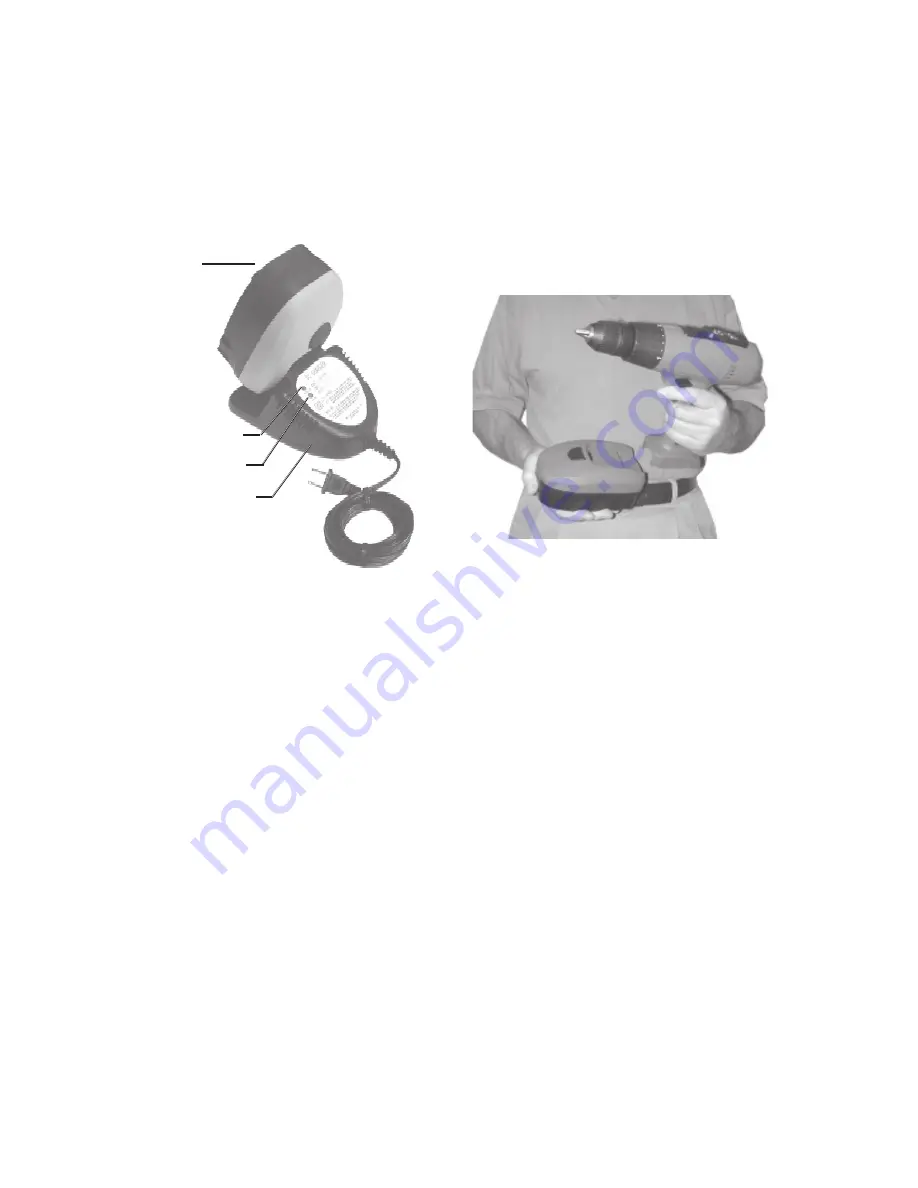
Plug the Battery Charger (31) into an electrical outlet.
Verify that the charging indicator light comes on. If it does not come on, check the
power connection or try a different wall outlet. Charge the new battery until the
charging indicator goes off, and the charged indicator comes on. When battery is fully
charged, the charger will automatically shut off.
Note: Avoid damage to the battery by not overcharging, or storing in an area of high tempera-
ture.
3.
After charging, unplug the Battery Charger from the electrical outlet.
4.
Slide the Battery (25) into the receptacle at the handle-bottom of the drill.
Note: the operation time of a new battery will ramp up as it is properly used and recharged
(minimum of five recharges).
If charging more than one battery, allow the Battery Charger to cool down before reusing.
Operation
Inserting and Removing Drill and Screw Bits
The cordless drill is equipped with a keyless chuck. Follow these steps to insert bit. Refer to
the photo on next page.
1.
Hold the Chuck Sleeve firmly while turning the Chuck (29) counterclockwise until the
opening is large enough to accept the drill bit or screw driver bit.
2.
Insert bit and turn Chuck clockwise until it is locked on the bit.
3.
Reverse procedures to remove a bit.
Charging Indicator
Charged Indicator
Battery (25)
Battery Charger (31)


