21
4.
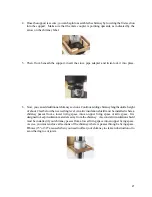
Once the support is secure, you can begin to assemble the chimney by lowering the first section
into the support. Make sure that the male coupler is pointing upwards, as indicated by the
arrow on the chimney label.
5.
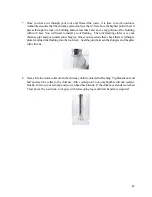
Then, from beneath the support, insert the stove pipe adapter and twist-lock it into place.
6.
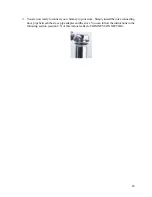
Now, you can add additional chimney sections. Continue adding chimney lengths until a height
of about 2 feet below the next ceiling level. An attic insulation shield must be installed where a
chimney passes from a lower living space into an upper living space or attic space. It is
designed to keep insulation materials away from the chimney. A second attic insulation shield
must be installed if your chimney passes from a lower living space into an upper living space.
As wee, you must enclose all sections of the chimney where is passes through a living space.
Elbows (15
o
or 30
o)
are used when you need to offset your chimney to clear an obstruction or to
avoid having to cut joists.
Содержание FW2470
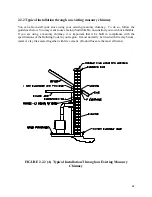
Страница 20: ...19 Typical installation through the ceiling FIGURE 2 2 1 B Typical Installation Through the Ceiling ...
Страница 26: ...25 FIGURE 2 2 2 B Factory Built Thimble ...
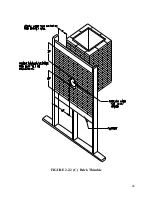
Страница 27: ...26 FIGURE 2 2 2 C Brick Thimble ...
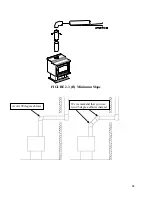
Страница 29: ...28 FIGURE 2 3 B Minimum Slope Avoid 90 degree eblows We recommend that you use two 45 degree elbows instead ...
Страница 47: ...46 ...

