


43
Section 3 - Maintenance
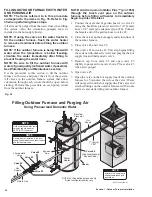
Fig. 48
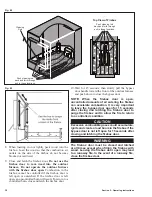
7. Using Fig. 46 as a reference, push the cleaning rod
back and forth through the ash in the bottom of the
firebox in the locations indicated by the lines.
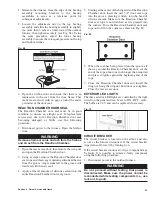
3-5. Firebox Door Seal and Bushings
Make sure the firebox door is properly latched and
check the condition of the firebox door seal. If it is not
sealing properly (indicated by a uniform indentation, as
shown in Fig. 64), replace the seal. If the firebox door
does not close tightly, it may be necessary to adjust the
firebox door latch bearings. See Owner Serviceable
Items for both procedures. Whenever needed, lubricate
the door latch bearings with motor oil.
3-6. Chimney
Remove the chimney inspection cover. Inspect the
chimney outlet and chimney for excessive creosote, ash
or deposits and clean as necessary.
NOTE: The chimney inspection cover must fit
tightly. Check and clean if necessary the groove
for the cover to prevent air from leaking out.
Leaking air caused by an improperly fitting cover
can cause corrosion.
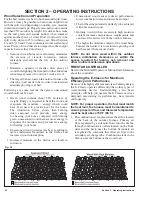
Fig. 49
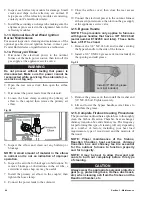
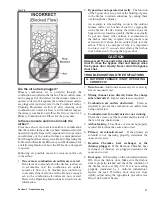
3-7. Heat Exchangers
1. Press the Power button on the FireStar controller
to turn it off.
CAUTION
Be sure to turn off the FireStar controller before
doing this procedure.
2. Remove the top rear panels, insulation and the
access covers to the heat exchangers.
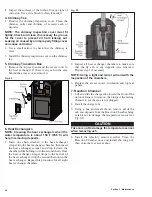
3. Open the rear access door; then open the Reaction
Chamber door (see Fig. 51).
NOTE: Cleaning the heat exchangers when the
water temperature is about 150˚F (65.5˚C) will
help in removing deposits.
4. Insert one chain attached to the heat exchanger
scraper into the heat exchanger chamber; then insert
the heat exchanger scraper and drop it down the
chamber while holding on to the second chain.
5. Once the heat exchanger scraper drops to the bottom
of the heat exchanger, drop the second chain down
the heat exchanger. Repeat this procedure for all
eight heat exchanger chambers.
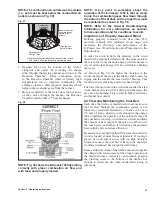
Fig. 50
5. Inspect all heat exchanger chambers to make sure
that the fly ash or any deposits were removed.
Repeat step 4 if necessary.
NOTE: Using a light and mirror will aid with the
inspection of the chambers.
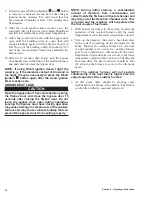
Fig. 51
Содержание e-Classic 1450 IR
Страница 17: ...15 Section 1 Outdoor Furnace Installation...
Страница 29: ...27 Section 1 Outdoor Furnace Installation Fig 30 Fig 31...
Страница 30: ...28 Section 1 Outdoor Furnace Installation Fig 32 Fig 33...
Страница 66: ...64 E CLASSIC 1450 WIRING DIAGRAM Section 6 General Information...
Страница 67: ...65 Section 6 General Information E CLASSIC 1450 WIRING DIAGRAM OPTIONAL POWER IGNITION...
Страница 69: ...67 NOTES...
Страница 70: ...68 NOTES...
Страница 71: ...69 NOTES...


