3.
Setting
up
‐
Connecting
‐
Wireless
In
order
to
connect
your
CEIVAlife
frame
and
CEIVA
wireless
adapter
to
your
wireless
internet
connection,
please
make
sure
you
have
the
wireless
network
settings
listed
below.
If
you
are
unsure
how
to
access
your
network
settings,
please
contact
your
wireless
router
company
and
they
will
be
able
to
show
you
how
to
access
your
wireless
network.
The
network
settings
must
be
entered
into
your
CEIVA
frame
exactly
as
they
appear
in
your
wireless
network
or
your
frame
will
not
connect.
Network
Name/SSID
Network
Key
How
to
Connect
1.
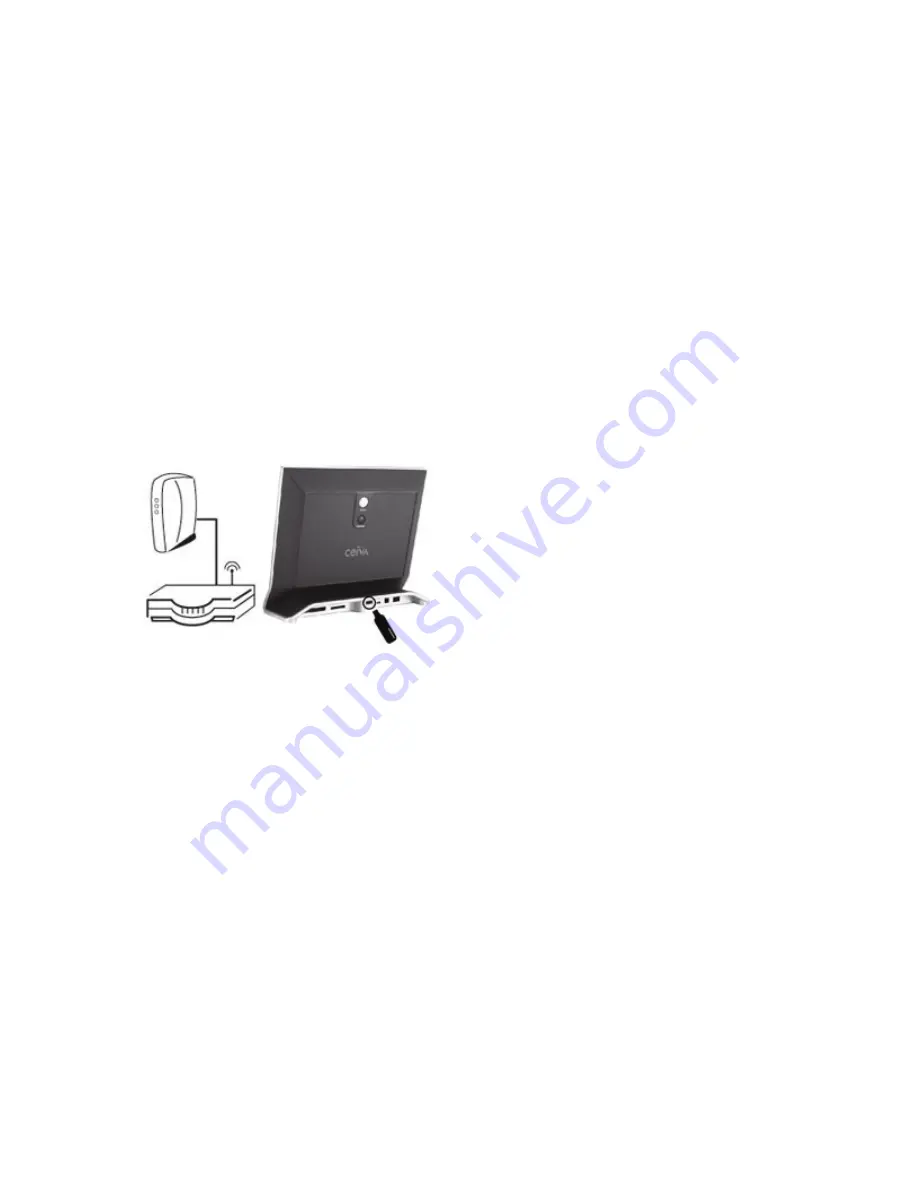
Plug
the
CEIVAlife
Wireless
adapter
directly
into
your
CEIVA
frame’s
C
‐
Port
1
2.
Press
the
Menu
button
on
the
front
of
your
CEIVAlife
to
activate
Menu
Mode.
3.
On
the
main
menu
screen,
choose
Settings
by
pressing
the
Select
button
4.
On
the
Settings
screen,
choose
Connection
Settings
5.
On
the
Connection
Settings
screen,
choose
How
To
Connect
6.
On
the
How
To
Connect
screen,
choose
Wireless
and
press
the
Select
button
7.
Press
the
Select
button
again
to
save
your
selection
8.
From
the
Setup
Wireless
screen,
press
Select
on
Select
Wireless
Network
9.
The
frame
will
automatically
scan
for
available
networks
and
display
them
on
the
following
screen,
the
Select
Wireless
Network
screen
10.
On
the
Select
Wireless
Network
screen,
use
the
left
and
right
buttons
to
scroll
through
available
networks.
11.
If
you
do
not
see
your
network
in
the
list,
press
Select
when
Refresh
is
highlighted
to
scan
again
12.
Press
the
Select
button
to
choose
a
network
Содержание CEIVAlife LIF408A
Страница 116: ......


