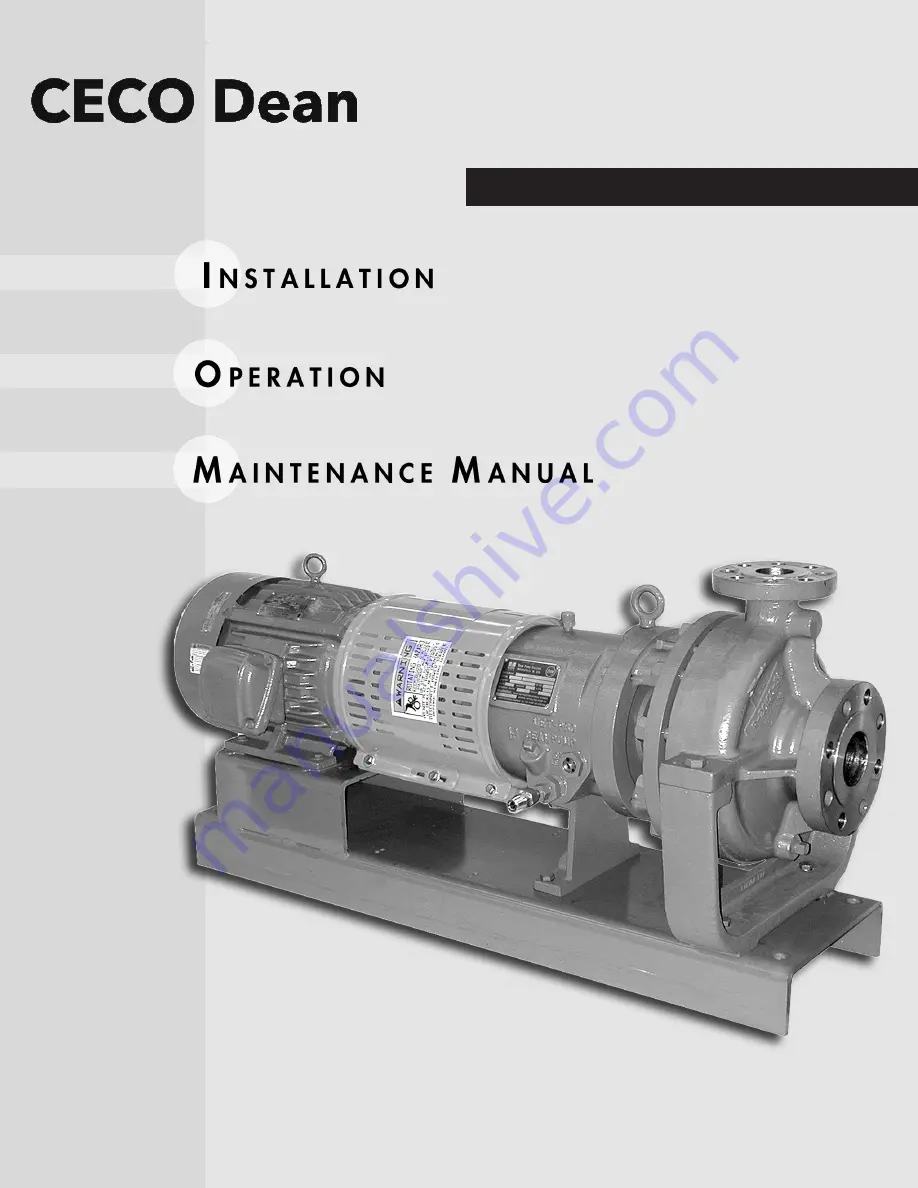
Horizontal Process Pumps
Instruction Manual MC 1.5.40
DO NOT INSTALL, OPERATE, OR SERVICE THIS PUMP BEFORE READING THE ENTIRE MANUAL
D
EAN
P
UMP
®
S
ERIES
R5000
Страница 1: ...Horizontal Process Pumps Instruction Manual MC 1 5 40 DO NOT INSTALL OPERATE OR SERVICE THIS PUMP BEFORE READING THE ENTIRE MANUAL DEAN PUMP SERIES R5000...
Страница 2: ...rication 7 Starting the Pump 8 Filling 8 Operating 8 Pump Start Up Check List 8 9 Spare Parts 9 Ordering Spare Parts 9 Pump Section Views 10 Pump Parts List 10 Disassembly and Assembly Procedures 11 1...
Страница 3: ...our factory or the replacement F O B our factory as the case may be or any Dean Products which shall have been deter mined by us after notice to us and inspection by us within the war ranty period to...
Страница 4: ...er 2 AISI 1020 13 Fibre Sheet Non Asbestos Fibre 3 316SS ASTM A744 Grade CF8M 14 Buna N Rubber 4 AISI 4140 ASTM A193 B7 Steel 15 Steel Finned Stainless Steel Tube with Steel End Fittings 5 ASTM A194 G...
Страница 5: ...base plate and pump mounting is 1 Place baseplate with pump and driver mounted thereon on the pump foundation 2 Use wedges under the baseplate edges at each foundation bolt to properly support and lev...
Страница 6: ...ed before the baseplate is grouted to the foundation and again before the pump is first started If the baseplate mounting instructions have been carefully followed no difficulties in making the alignm...
Страница 7: ...movement of the shaft measured at the shaft coupling when the pump is mounted on its baseplate and that baseplate is fully bolted to a properly designed foundation and is fully grouted in place For a...
Страница 8: ...ll do no harm Mechanical seal gland cooling flow should be adjusted to about 1 2 GPM Bearing housing cooling flow rate when not in series with the stuff ing box cooling should be adjusted to 1 2 GPM T...
Страница 9: ...factur ing plant Connection 7 is for the Automatic Oiler Bull s Eye Oil Level Indicator which is shipped in a box in the coupling guard assembly and must be installed into one of these two connections...
Страница 10: ...ections on both sides so that you can place the oiler on the side that is most easily viewed The pump was shipped with a plastic shipping protector in one of the connections and the other is plugged F...
Страница 11: ...direction of rotation to be observed A direction of rotation arrow is shown on the front of the pump casing If rotation is incorrect change the wiring connections and recheck rotation Operating the pu...
Страница 12: ...PARTS These points must be checked after pump installation and before starting up the pump 1 Read instruction manual thoroughly and understand it 2 Review pump order head sheet for the service rating...
Страница 13: ...sing Capscrew 9 Bearing Housing Foot 10 Shaft Sleeve 10K Shaft Sleeve Key 12 Impeller Bolt 12A Impeller Washer 12B Impeller Lock Washer 12C Impeller Washer Pin 13 Seal Chamber Gland Packing Gland 14 G...
Страница 14: ...the pump Hook a lifting hoist to the lifting eye s of the motor and take the slack out of the cable or chain Make sure that all of the components of the lifting apparatus are capable of lifting the w...
Страница 15: ...saw or otherwise cut parts to remove them Explosion and or fuming could occur causing personal injury death and or equipment damage Do not hammer on any parts Personal injury and or damage to equipmen...
Страница 16: ...ring 75B over the shaft before pressing on the last bearing s I Place a new bearing lock washer 31A onto the pump shaft 29 Tighten the bearing lock nut 31 against the lock washer to 75 ft lb while hol...
Страница 17: ...proximately 90 from the blind hole w Replace the coupling key into the keyway at the coupling end of the pump shaft 29 x If the pump and driver are independently mounted to a com mon baseplate place t...
Страница 18: ...ull contact with the base lightly tighten the casing stud nuts 5C and the bolts that retain the motor sup port 83 to the bearing housing 26 al Tighten the casing stud nuts 5C evenly to 105 ft lb am Ti...
Страница 19: ...Shaft Sleeve 10K Shaft Sleeve Key 12 Impeller Bolt Nut on R440 12A Impeller Washer 12B Impeller Lock Washer 12C Impeller Washer Pin 13 Seal Chamber Gland Packing Gland 14 Gland Stud 15 Gland Nut 17 La...
Страница 20: ...essure in the system when the pump was stopped the quality type and condition of the isolation valves the thermal expan sion values of the fluid and the pump material and the change in the vapor press...
Страница 21: ...onary 95A and gland 13 Remove the mechanical seal stationary 95A from the gland 13 f Remove the four capscrews securing the cradle spacer 7 to the bearing housing 26 and remove the cradle spacer g Rem...
Страница 22: ...t lb j Replace the bearing housing cooling coil after the shaft has been reinstalled Use a new gasket and tighten the cooling coil cap screws snugly and evenly to avoid oil leakage Torque cap screws t...
Страница 23: ...e stuffing box may be packed either with or without a lantern ring also known as a seal cage or lantern gland as the service of the pump dictates When the pump suction pressure is above 100 psig a lan...
Страница 24: ...ints at 90 intervals until the stuffing box is nearly full 5 Put the packing gland in place and pull up the gland stud nuts firmly Back the gland stud nuts off to finger tightness 6 Rotate the pump sh...
Страница 25: ...ump casing back cover 22 carefully into place secure it with the two capscrews and then guide the seal gland insert and gaskets together with the gland carefully into position Reassemble the pump Now...
Страница 26: ...ng away from the insert 315 Lubricate the outside diameter of the seat rings 328 the inside of the casing back cover 22 and the inside of the mechanical seal gland 300 if the seat rings 328 are Grafoi...
Страница 27: ...ly top quality tools Stop the pump Turn off the power supply electricity steam etc to the pump driver motor turbine engine etc and lock the switching device so that it cannot be restarted Tag the swit...