100 0284 002 CBC ADD1 4/2012
Printed in the U.S.A.
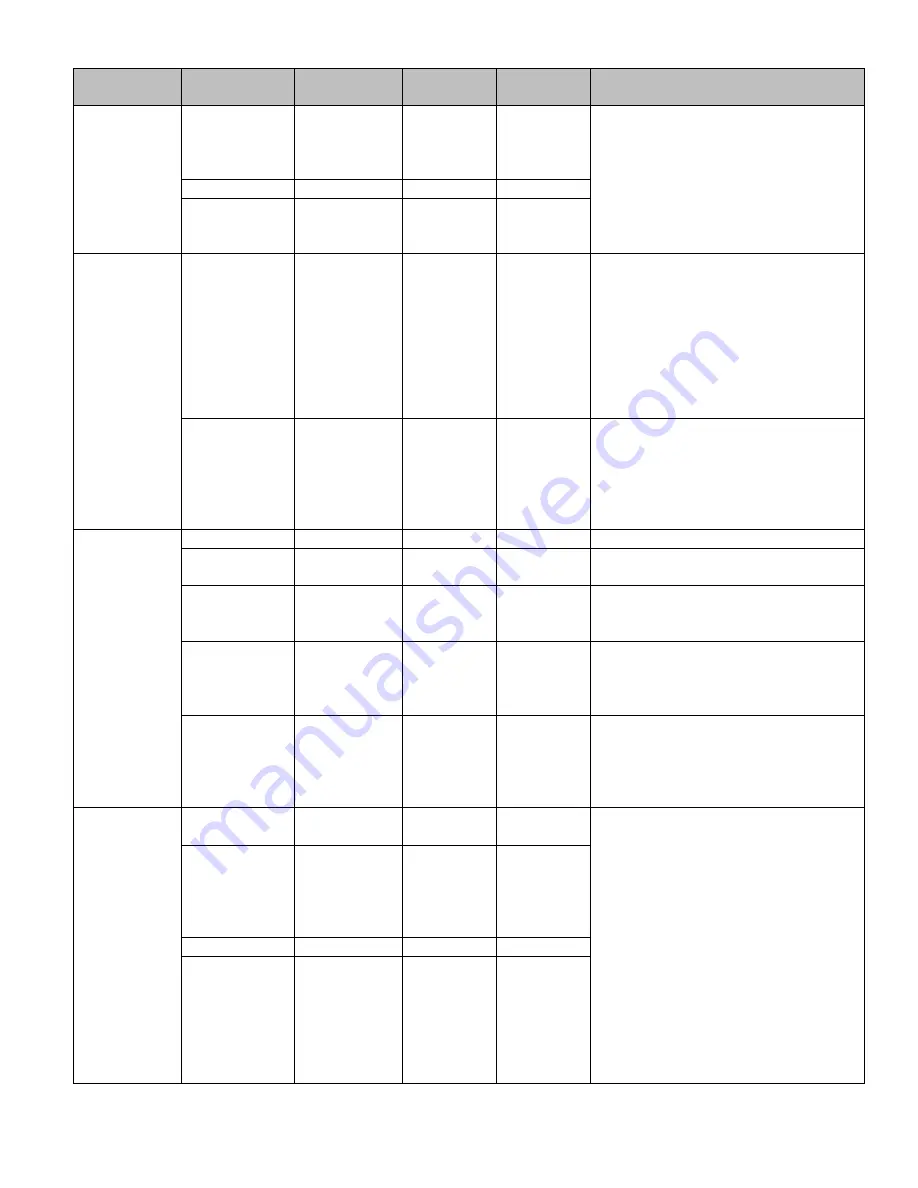
Section
Menu Item
Sub-Menu
Item
Default
Selection
Description
WB (White
Balance)
WB Mode
-
ATW
ATW
Manual
AWC (Push)
AWC
Auto-Tracking White balance (ATW)
causes the camera to automatically adjust
when the scene changes (i.e. morning vs.
afternoon sunlight). If the scene has
static lighting (i.e. hallway), the color
settings can be adjusted using the Manual
White Balance or the R-Y/B-Y gain
options.
R-Y Gain
-
100
0~100
B-Y Gain
-
100
0-100
Day & Night
D&N Mode
(Auto, Ex-CDS,
see
Description)
Auto
Auto
Color
B&W
EX-CDS
In Auto mode, the camera will
automatically switch between Color and
Black & White mode depending on the
light levels. Entering the Auto sub-menu
lets the user adjust the threshold at which
the image switches from Color to B&W
(and vice versa). This camera is not
equipped with the Ex-CDS feature; choose
Auto instead.
C_SUP, A_SUP
-
35 / 32
0~100
The Sense Up feature provides an
improved image in low light
environments. C_SUP (Cancel Sense Up)
and A_SUP (Activate Sense Up) determine
at which light threshold the feature is
activated/canceled.
Function
Mirror
-
Off
Off
Flips the image horizontally
Sharpness
-
020
0 ~ 30
Controls how crisp the image appears in
high contrast areas.
Monitor
-
Mode1
Mode1,
Mode2
Switch between the Monitor Modes to
choose the best option for your particular
monitor.
Gamma
(User)
0.45
0.45
0.60
1.00
User
Set the Gamma level which is the baseline
for image brightness. The User setting
allows fine tuning of the Gamma setting.
LSC
(Set Level)
Off
Off
On
Lens Shading Compensation adjusts for
light reflecting off the lens around the
perimeter of the image. Selecting On and
pressing the button allows the user to
adjust the degree of compensation.
Motion
Motion
-
Off
Off
On
The camera allows up to three motion
detection zones, or “Areas”. Motion
detected in an activated Area will cause
the Area to turn red to highlight the
motion event (Trace) or display an icon
(Icon). The red area (or Icon) is overlaid
on the image so the red area will show up
on the recorded image. The length of
time (Hold Time) determines how long
the area stays red (or shows icon) after
the event.
Area Select
-
Area1
Area1
Area2
Area3
Area4
Sensitivity
-
25
0 ~ 30
Display
-
Trace
Off
Icon
Trace


