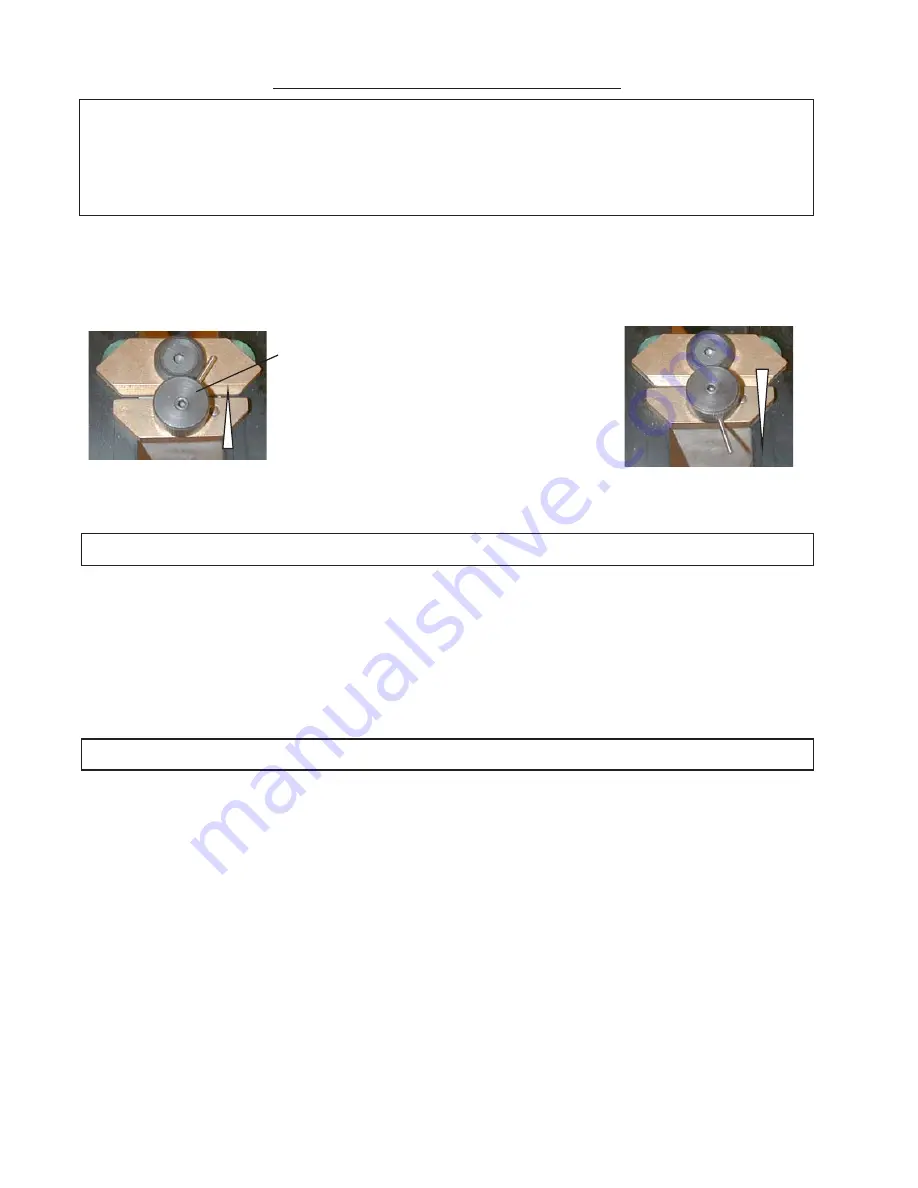
The stapling points are defined (see Defining the stapling point, page 5).
The joint angle has been checked (see Setting the joint angle, page 6).
The distance between the top of the moulding and the bottom of the top clamp is outside
permissible maximum. (See Choice of top presser, page 6).
Correct size wedges (normal wood or hard wood) have been loaded in the machine.
UNDERPINNING THE FRAME
Unscrew the knob of the top clamp, then
move the rebate clamp against the 2
mouldings, without forcing. Lock the
rebate clamp knob again, without pushing
it. Clearance of around 1 mm is left to
make it easier to move the mouldings dur-
ing assembly.
Position the first moulding against the right stop and slide it up to the left stop.
Keeping the first moulding secure, position the second moulding against the left stop, then slide
it into contact with the first moulding.
Position the rebate clamp:
Move the sliding table forwards or backwards to stop P2 or P1 (page 5).
Then:
CS 88
Keeping the mouldings secure, slowly push down the pedal.
When the rebate clamp comes into contact with the moulding, speed up the movement so that
the wedge is inserted more easily.
To stack wedges*
- Release the pedal until the top clamp begins to lift.
- Push the pedal down again.
* When stacking wedges, the sliding table should be locked in place.
CS 89
Keeping the moulding secure, gently push the pedal so that the two mouldings are secured by the
rebate clamp.
Then press the pedal down fully to insert the wedge.
If there is a second stapling position, keep your foot pressing down on the pedal, move the slid-
ing table to the second position, raise your foot slightly then push fully down to insert the second
wedge.
Then release the pedal completely.
Note: If several wedges are inserted, raise your foot slightly to keep horizontal pressure on the
mouldings, then push fully down: the second wedge is inserted and pushes the first wedge fur-
ther in.
8
Содержание CS 88
Страница 17: ......


