114
1
2855551
1
1
2
2855552
1
5
~
~
~
~
1999
2867890
1
220
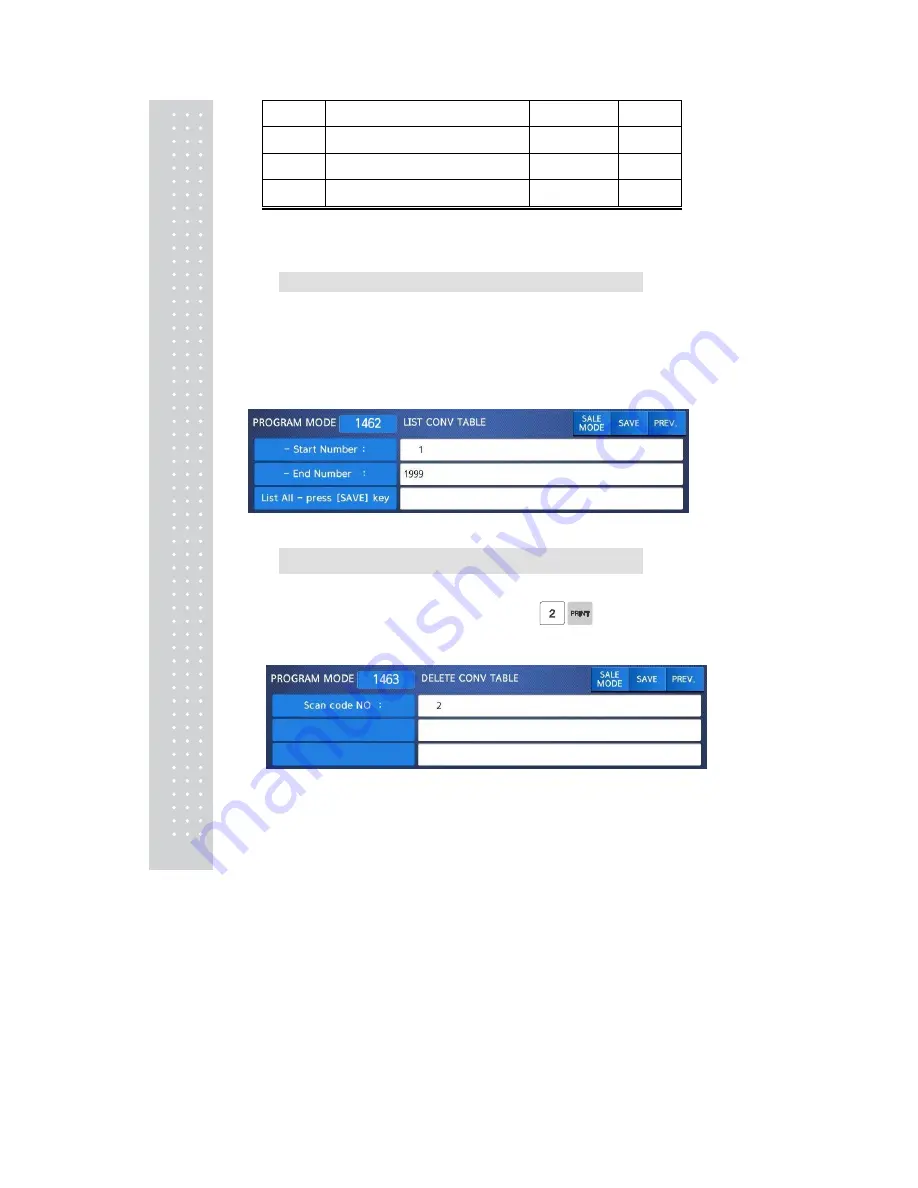
2.11.6.2 List Scanner Conversion Table (Menu code 1462)
( MENU → 4. Store Data Table → 6. Scanner → 2. List Conv Table )
1. Set the list range
•
Set the list range to be checked
EX) Scanner Conversion Table No. 1~1999
• Press Print Key to List Conversion Table No.'s on screen. After Conversion Table No.'s are
listed on the screen, pressing the TEST key will print the Conversion Table No.'s.
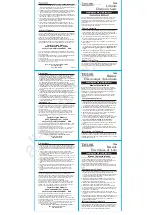
2.11.6.3 Delete Scanner Conversion Table (Menu code 1463)
( MENU → 4. Store Data Table → 6. Scanner →
3. Delete Conv Table )
1. Enter the number of Conversion Table to be deleted
EX) Delete Conversion Table no. 2
Note: There is no confirmation request when deleting a Table No. Pressing the PRINT key
will cause the Conversion Table No. entered to be deleted.
Содержание CL7200 series
Страница 1: ...2 ...
Страница 8: ...9 1 GENERAL 1 1 PRECAUTIONS ...
Страница 13: ...14 1 4 NAMEAND FUNCTIONS OVERALLVIEW ...
Страница 14: ...15 DISPLAY Frontdisplayfortheoperator Frontdisplayfortheoperatorwithfunctionkey ...
Страница 15: ...16 Backdisplayforcustomers ...
Страница 24: ...25 1274 Tare Key ...
Страница 40: ...41 ...
Страница 45: ...46 ...
Страница 50: ...51 ...
Страница 78: ...79 ...
Страница 121: ...122 ...
Страница 145: ...146 Setting Configuration Permission ...
Страница 152: ...153 ...
Страница 159: ...160 5 ClearAll Clear all reports of period 1 and 2 ...
Страница 161: ...162 Sample Scale Report ...
Страница 163: ...164 Sample PLU Report ...
Страница 165: ...166 Sample Miscellaneous Report ...
Страница 172: ...173 Sample Clerk Report ...
Страница 178: ...179 3 3 2 Weighed Tare Entry Place the empty container on the platter making sure that the weight is stable EX 0 15 kg ...
Страница 179: ...180 Press TARE key ...
Страница 183: ...184 Press PRINT key to print label ...
Страница 185: ...186 Press PRINT key to print label ...
Страница 197: ...198 Press the PRINT key Markdown STRIKE THROUGH is printed on label as figure ...
Страница 200: ...201 Note You can set four markdown information in menu 1720 of program mode See chapter 2 13 3 ...
Страница 202: ...203 Call up a PLU and place item on the platter Press ADD key PLU is cleared automatically ...
Страница 211: ...212 If price is not same void list screen is shown on the display automatically ...
Страница 213: ...214 Enter 6 00 Press PRINT key then you can select payment type again Select Payment type 0 cash and press PRINT key ...
Страница 224: ...225 Note To use Fixed Price Key you have to set this key in menu 1880 of program mode See chapter 2 14 8 ...
Страница 226: ...227 Note To use DISCOUNT key you have to set this key in menu 1880 of program mode See chapter 2 14 8 ...
Страница 228: ...229 APPENDIX 1 Label Format There are fixed label format and user label format Fixed Label Format ...
Страница 229: ...230 1 1 Label Format Sample 1 2 3 4 5 6 ...
Страница 230: ...231 7 8 9 10 11 12 13 14 ...
Страница 231: ...232 15 16 17 18 19 20 ...
Страница 232: ...233 21 22 23 24 ...
Страница 233: ...234 25 26 27 28 29 30 ...
Страница 234: ...235 31 32 33 34 35 36 37 38 ...
Страница 235: ...236 39 40 41 42 43 44 45 ...
Страница 236: ...237 1 2 Label Format s field Sample 1 Label sample 1 2 Label sample 2 ...
Страница 238: ...239 3 Window Character Set Information ...
Страница 239: ...240 MEMO ...
Страница 240: ...241 MEMO ...
Страница 241: ...242 MEMO ...
Страница 242: ...243 MEMO ...
Страница 243: ...244 MEMO ...
Страница 244: ...245 MEMO ...
Страница 245: ...246 MEMO ...
Страница 246: ...247 MEMO ...
Страница 247: ...248 ...
Страница 248: ...249 뒷표지 ...


