background image

1

HZ1457−E

Assembling manual

carport  KS/KSS-series

Thank you very much for choosing our company's products.

Please be sure to thoroughly read these instructions for assembly in order to properly 

and smoothly assemble or attach this product.
Construction shall be implemented by professionals. Problems may occur if the product 

is installed by someone without the proper knowledge.

Notice

Please be sure to return the instruction manual in its original package to the 

owner after explaining product operation procedures,maintenance and inspection 

methods.

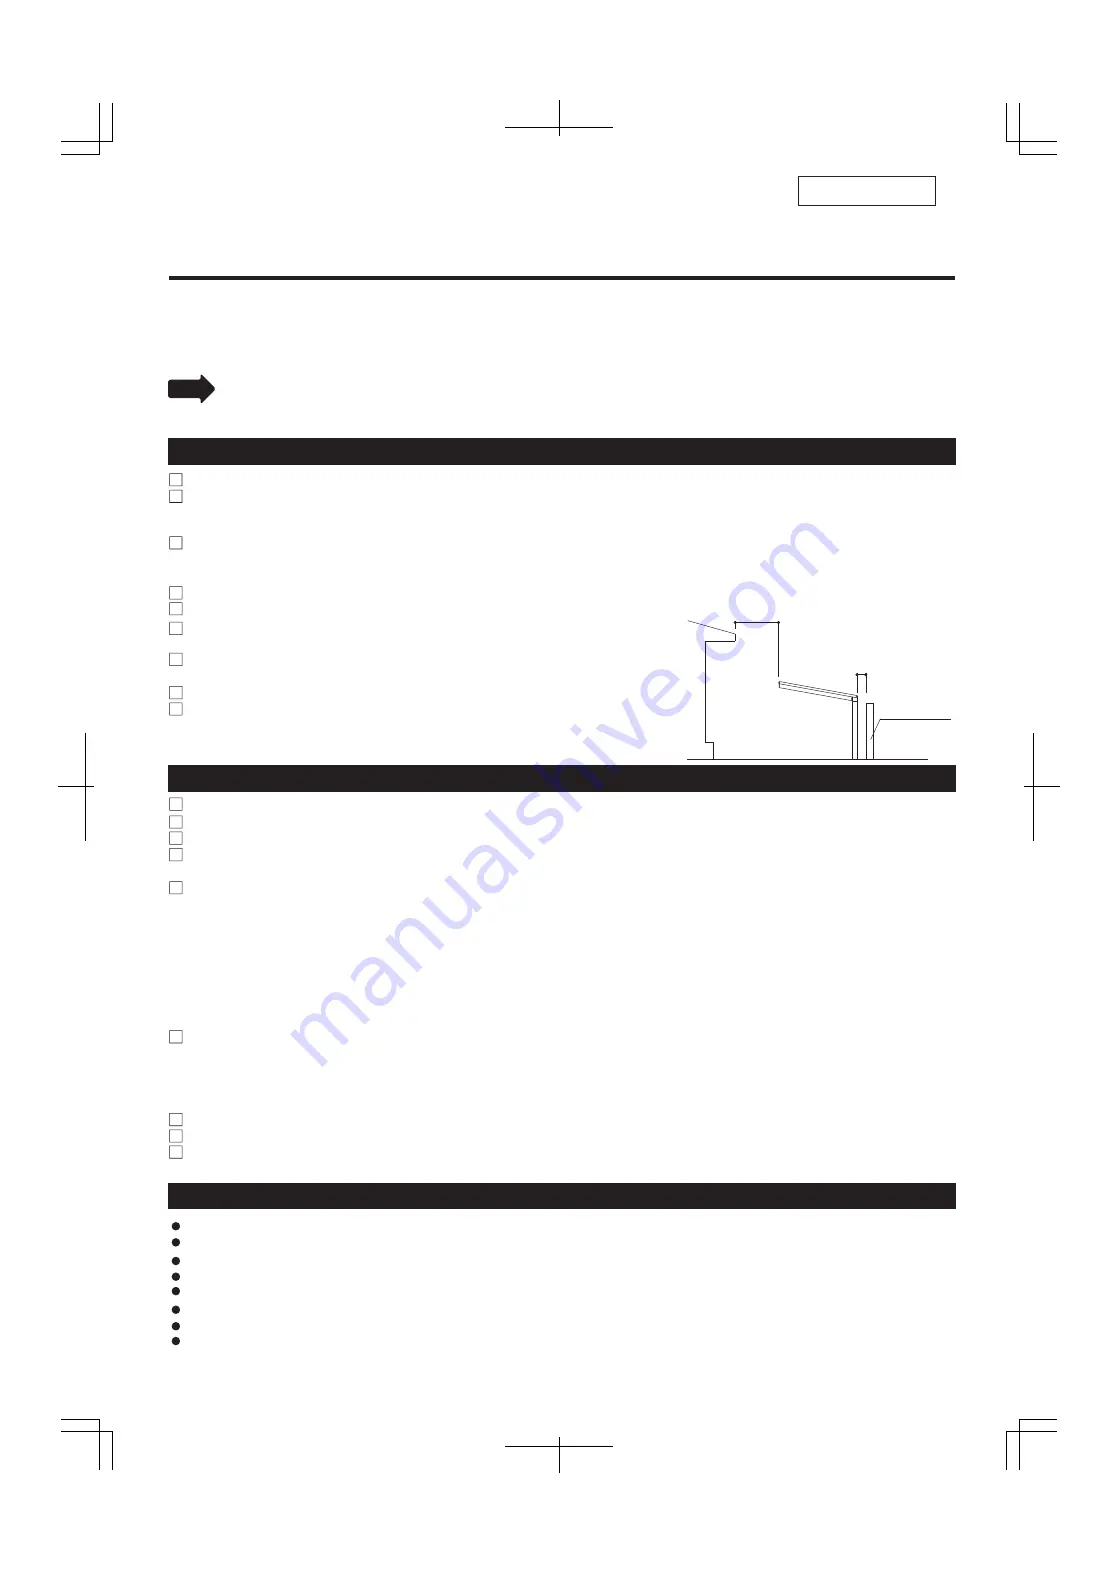
enough space

space move than 10cm

concrete 

wall etc

The carport is a simple garage. Do not change or remodel it for storage, recreational or residential purposes.
This product is for general areas. The snow accumulation strength are 2-post type 600N/m

2

(61.2kg/m

2

) and 

3-post type 900N/m

2

(91.8kg/m

2

), which corresponds to 20cm (2-post type) and 30cm (3-post type) of 

snowfall.Do not install in heavy snow area.
Do not install it in the place where snow slides down from the building roof directly.
When installing it besides concrete wall, etc., leave a 10 cm or larger gap between the post and the wall due to 
not clash each other during strong wind.
Be sure to provide extra support post (optional) when installing it in strong wind area.
When installing it with side panel, be sure to set up support post.
When installing it with side panel, recommending to installing its front 
frame face to the building due to reduce the wind effect.
Positioning the posts so that they do not affect underground objects 
(water supply, drain pipes, etc.).
When moving the posts, please follow the company specifications.
Install it so that the exhaust from burning appliances (hot-water supply, 
air heating, etc.) or the car exhaust don t hit directly or remain in the 
products. It may cause the aluminum surface to corrode.

Precautions during installation

Precautions during construction

Follow the instructions and be sure that all the specified screws and bolts for assembly are tightened securely.
Do not use anything other than the specified parts or optional parts.
The foundation should comply with or exceed dimension specifications.
Allow sufficient curing time for the concrete (4 to 7 days) and do not place heavy objects on it or subject it to 
vibrations during the curing period.
Be sure to keep the note below to prevent aluminum materials corrode.

Do not use sea sand for the foundation since it contains salt and may cause corrosion.
Do not use a cement enhancer, water-reducing agent or cryoprotectant. They may cause the posts to corrode.
Immediately wipe off any mortar or stains from the surface of aluminum parts since they may cause corrosion.
Do not let aluminum parts come in contact with other metals such as copper or iron. Provide insulation with vinyl 
tape, by painting,etc,. if necessary. Otherwise the product may corrode.
Be sure to provide gravel for the foundation to allow drainage, insert water drainage holes (φ5) at the base of the 
posts and foundation. Failure to do so may lead to water accumulation inside the posts and damage them if the 
water freezes and expands inside.

Be sure to put the sealant glue as the following.

Wipe off any stains from the sealing part.
Be sure to apply a sealant, as specified.
After putting the sealant glue on the hole made in its all wall body, fully tighten the screw.
Seal completely deep enough and finish the surface with a pallet.

After construction, check the products to see if the bolts, screws, nuts,etc. loosen or any dangerous places exist.
Be sure to check if the product has scratches, dents or dint.
Be sure to explain product operation procedures,maintenance and inspection methods to the owner.

Electric drill, Drill

Ratchet wrench, Adjustable end wrench

Electric Screwdriver

Measure, Level, Plumb bob, Cutter, Pillar, Plastic hammer

Foundation materials (Cement, Aggregate,etc)

Sealant, Caulk gun, pallet

Cropper or Saw

Please prepare tools and materials as needed

Necessary tools and materials for installation

Содержание KCRY-W51A-4

Страница 1: ...construction Follow the instructions and be sure that all the specified screws and bolts for assembly are tightened securely Do not use anything other than the specified parts or optional parts The foundation should comply with or exceed dimension specifications Allow sufficient curing time for the concrete 4 to 7 days and do not place heavy objects on it or subject it to vibrations during the cur...

Страница 2: ...0 100 100 100 D 2430 84 160 H 1900 2300 2800 2068 2468 2968 2497 2897 3397 D 2727 84 160 H 1900 2300 2800 2068 2468 2968 2549 2949 3449 D 3035 84 160 H 1900 2300 2800 2068 2468 2968 2604 3004 3504 Dimension position of posts and base dimension Dimension position of post length dimension W and post standard position post could be changed as the dimension of KS series 2 post type snowfall 20cm KSS s...

Страница 3: ...50 W58 B 1250 C 1350 1500 D27 D30 Base dimension In case of concrete floor In case of no concrete floor or no correspond to above condition Depth direction Depth direction Length direction Length direction A more than 300 more than 350 W51D30 or W58D27 or W58D30 A more than 300 more than 350 W51D30 or W58D27 or W58D30 550 650 W51D30 or W58D27 or W58D30 The projections which prevent floating at 4 r...

Страница 4: ...23B 1 KSH 23C 1 KSH 28E 1 KSH 28F 1 KSY W43B 3 KSY W43A 4 KCRY W51B 3 KCRY W51A 4 KCRY W58D 3 KSY W58D 4 KSSY W51A 3 KSSY W51A 4 KSSY W58B 3 KSSY W58B 4 KSY W51D 4 2 1 1 3 4 1 L 300 1 L 400 1 L 600 1 L 800 1 ー L 2500 1 1 1 1 KST 4324 KST 4327 KST 4330 KST 5124 KST 5127 KST 5130 KST 5824 KST 5827 KST 5830 KST 5127 4 2 2 KST 4324 KST 4327 13 12 KST 5124 KST 5127 18 16 KST 5824 KST 5827 KST 4330 KST ...

Страница 5: ... KSY MCP30 1 KSY MCP24 3 KSY MCP27 3 KSY MCP30 3 KSY MCP24 4 KSY MCP27 4 KSY MCP30 4 roof panel when P GB4612 polycarbonate AO when CP GB4575 heat protection polycarbonate AO when MCP GA6254 heat protection polycarbonate SI KSB A KSSB A 2 KSB A 3 KSSB A 2 KSB A 3 KSSB A 4 KSB A 6 KSSB A 11 10 KSB A 16 15 KSSB A snow label GL PCB ー KSB A 1 KSSB A beam depth set beam set drilling screw 4 10 8 beam s...

Страница 6: ...stand Insert post into the base hole and fix with support stand not to fall down Check if it is flat and vertical and cast concrete beam cap beam parts box parts box corner cap parts box hexagon bolt M8 25 with washer spring washer parts box anchor rod post Put the corner bracket through the corner cap into the post and fix with hexagon bolt M8x25 Connect between post and beam with corner bracket ...

Страница 7: ... box parts box register label front frame gutter attachment bracket corner cap small truss screw 5 14 10 parts box small truss screw 5 14 10 length set parts box seal Fixing Drawing Screw the front frame gutter attachment bracket on the beam Set the front frame on the beam and fix with drilling screw Installation of front frame in case post is moved According to the post position puncture the φ4 5...

Страница 8: ...iled figure of gutter sealing part Distinguish between the front frame side and gutter side of the side frame if there is cutout or not and with the hole pitch Find the front frame side and gutter side with the below picture indicates the sealing part sealing step1 step1 step1 Insert Insert step2 step3 front frame side Detailed figure of the gutter sealing part gutter side step3 beam depth set bea...

Страница 9: ... it on the body picture A In case of installing the main frame other than post standard position put the seal on the unnecessary hole picture B main frame main frame U shaped gutter U shaped gutter seal parts box beam beam guide hole fin Put the fin of the main frame into the side frame toward the gutter side and screw on beam using guide hole Be sure to install the main frame with the fin of it f...

Страница 10: ...l A A cross section B B cross section When installing panel please be noted as below Sort the panel equally side frame roof rafter clearance attach to the end gutter post post interval vertical flat post Before installing panel Installation of panel In case diagonal dimension of roof does not come out loose the screw which fix front frame gutter main frame and beam and adjust them Check post inter...

Страница 11: ...set A part detail sealing A part Remark If the screw of installing the roof retainer middle part is tighten too much the screw will run idle tightening torque less than15kgf cm If the screw head leans when installing the roof retainer it will cause water leakage water will enter from the screw head clearance So install it not to make clearance roof retainer roof retainer panel rubber channel gutte...

Страница 12: ...r when cleaning as well as for water proof Do sealing work all around The length of the round gutter is different according to the post position Cut to the proper length onsite Crush with wood hammer and driver only at the place for installing gasket In case it could not crush use electric drill There is the corner bracket inside the top of the post When installing the saddle at the place make a h...

Страница 13: ...the roof panels front frame side front frame side Roof cutting dimension 100mm Cutting dimension mm Cutting dimension fomula Depth dimension D The below indicates the cutting dimension XA in case that the roof cutting dimension X is 100mm The below indicates the cutting dimension XA in case that the roof cutting dimension X is 100mm Decide the cutting dimension XA by the cutting dimension fomula D...

Страница 14: ... the cutting dimension XA in case that the roof cutting dimension X is 100mm The below indicates the cutting dimension XA in case that the roof cutting dimension X is 100mm 5 End roof retainer processing 4 Roof retainer processing After processing install the body according to the manual of The below indicates the cutting dimension XA in case that the roof cutting dimension X is 100mm 6 Roof panel...

Страница 15: ...nter post in case of 3 post type Cutting of the front frames Cutting of the gutter Cutting of the main frames Cutting of the panels 1 Front frame processing Cut the materials as the same length as the cutting length of the roof Y Cut the materials as the same length as the cutting length of the roof Y φ3 U shaped gutter φ3 U shaped gutter 40 cutting on site Y 2 3 post type 2 Gutter processing Leng...

Страница 16: ...ngth as the cutting length of the roof Y Cut the materials as the same length as the cutting length of the roof B φ3 U shaped gutter 21 cutting on site 3 Main frame processing 4 Roof panel processing After processing install the body according to the manual of ...

Отзывы: