Eos –Gate Installation and operation manual
All the information provided with this document are property of Carlo Gavazzi Controls SpA
19
6 Eos-Gate installation
6.1 hysical installation
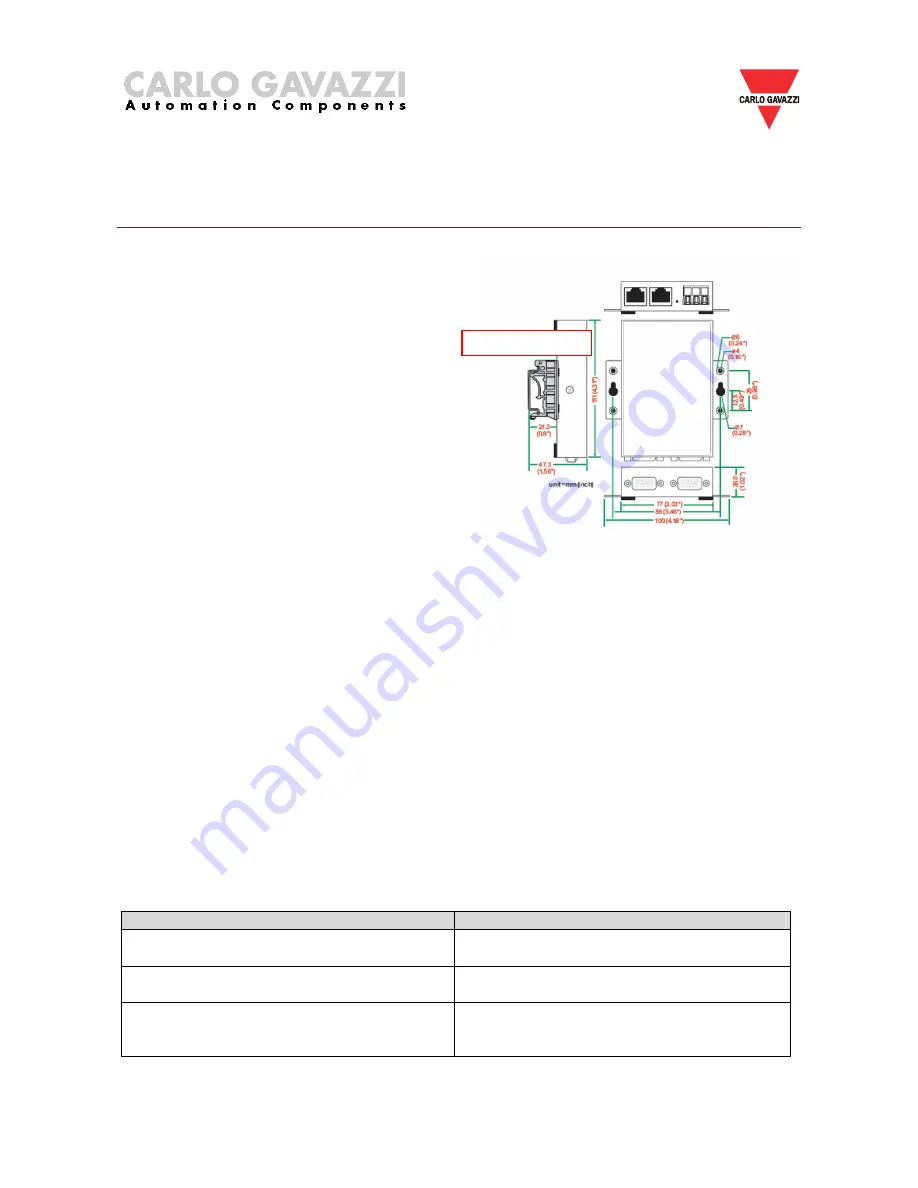
The Eos-Gate is designed to be installed:
1. By using DIN rails
2. Wall-mounted
In the first case the 2 special plastic DIN rail
adaptors supplied in the Eos-Gate package must
be used.
Observe the specified limits in terms of
environmental conditions of use, with a special
care for the ambient temperature.
6.2 Wiring
As far as wiring is concerned refer to the relevant information in the previous section and in the
appendix. To proceed with the software configuration of the Eos-Gate, the following conditions
must be true:
1. The Eos-Gate is connected to one or more Eos-Array / Eos-Array lite devices (up to 10) by
means of a RS-485 serial line (serial port 1)
2. The Eos-Gate is connected to one AC meter by means of a RS-485 serial line (serial port 1)
3. The Eos-Gate is connected to a PC by means of either an Ethernet LAN or a direct
connection through a cross-over using the Ethernet port 1 .
(1)
4. The Eos-Gate is connected to internet by means of an Ethernet LAN and is reachable by
internet for web connections over TCP/IP (port 80) using the Ethernet port 1.
(1)
(1)
Points (3) and (4) are to be considered as alternatives
6.3 Internet access prerequisites
According to the requested service level, if the Eos-Gate is placed behind a Firewall to protect the
network, the following prerequisites have to be satisfied:
Needed feature
Prerequisite
Data transmission to the web portal
TCP ports 80,443,53 opened IN
(1)
to enable
HTTP,HTTPS,DNS
Eos-Gate remote configuration using
configuration manager
TCP ports 80,443 opened OUT
(1)
to enable the
Eos-Gate to act as a web server
Eos-Gate remote access for support service
TCP port 22 (SSH) opened OUT
(1)
to enable
the Eos-Gate to be accessed by SSH
connections
Notes:
(1)
IN: firewall rule to allow connections from inside the LAN to outside; OUT: the opposite
DIN rail adaptor


