5
WING ASSEMBLY
AILERON INSTALLATION
2
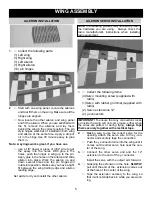
Start with one wing panel. Locate the ailerons
and trial fit them on the wing. Make sure all the
hinges are aligned.
Now locate the other aileron and wing panel
and fit the aileron. When you are satisfied with
the fit, remove the ailerons and lay them
behind the wing in the correct position. The pin
style hinges work best if installed in both wing
and aileron at the same time. Apply a drop of
oil in the hinge.Use 30 minute epoxy to glue
them in.
Note: A syringe works great, if you have one
use a 1/8” dowel or piece of 3/32” wire to get
the epoxy into the holes. With glue in the
holes, push the hinges in wing up to the pin.
Apply glue in the holes on the aileron and slide
aileron into place. Work the aileron up and
down several times and the pin hinges will
rotate into position. Make sure you have a tight
fit between the wing trailing edge and aileron
leading edge.
Set aside to dry and install the other aileron.
AILERON SERVO INSTALLATION
Note:
The following pictures may not exactly match
the hardware you are using. Always check the
radio manufacturer's instructions when installing
radio equipment.
1.
Collect the following items:
(4)Servo mounting screw (supplied with
radio)
(1)Servo with rubber grommet (supplied with
radio)
(2) Servo extensions 12”
(2) y-connectors
IMPO
RTANT!
To ensure that any connections locat-
ed inside the wing will not come loose, either when
the wires are pulled, or during flying,
always tape
them securely together with electrical tape.
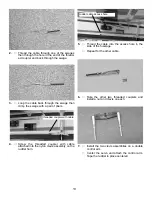
2.
Making sure to use the correct servo for the
opening, attach the servo wire to the y-con-
nector and securely tape the connection.
Push the y-connector wire into the wing until it
comes out the other servo hole near the cen-
ter of the wing.
3.
Connect the other servo and and the 12”
extension to the end of the y-connector.
Install the servo with the output arm forward.
4.
Grasping the extension in the hole,
SLOWLY
pull until the end of the extension comes out
of the hole at the center of the wing..
Tape the extension securely to the wing, so
that it will not slide back in while you are work-
ing.
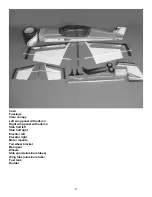
1.
Collect the following parts:
(1) Left wing
(1) Right wing
(1) Left aileron
(1) Right aileron
(10) pin hinges

