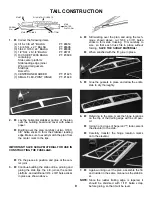
13.
Next, cut 45º slots on each side of each hole to
accommodate the hinge webs.
NOTE:
The CGM hinge slotting kit (Item # 600) is handy
for this process.
14.
Move the elevator close to the edge of the table
and support the thin edge with wing rib scrap, as
shown.
Carefully cut hinge slots, as, at the proper loca-
tions.
15.
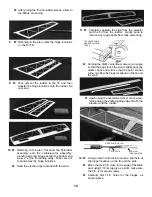
Repeat the slotting method for the fin and rud-
der.
16.
Referring to the above diagrams, assemble the
beveling tool. First glue the narrow strip to the
handle, taking care to keep it square. Then glue
the wide strip to the handle and the narrow strip.
When the glue has dried, cut a strip of 100-200
grit sandpaper to size and tack-cement the
sandpaper to the tool, as shown.
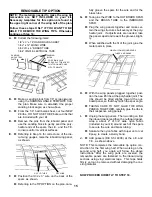
17.
Tape the T.E. of the elevator to the work surface.
Using the beveling tool, sand the L.E. to the
centerline. Then turn the parts over and bevel
the other side.
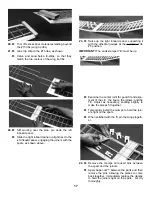
Repeat this process for the rudder. When fin-
ished the pieces should look like the drawing
below.
THIS COMPLETES THE TAIL CONSTRUCTION.
PUT THE PIECES ASIDE UNTIL THEY ARE NEED-
ED LATER.
B E V E L I N G -
COMPLETED
11
SCRAP PLY
WING SHIM
END VIEW THOUGH ELEVATOR

