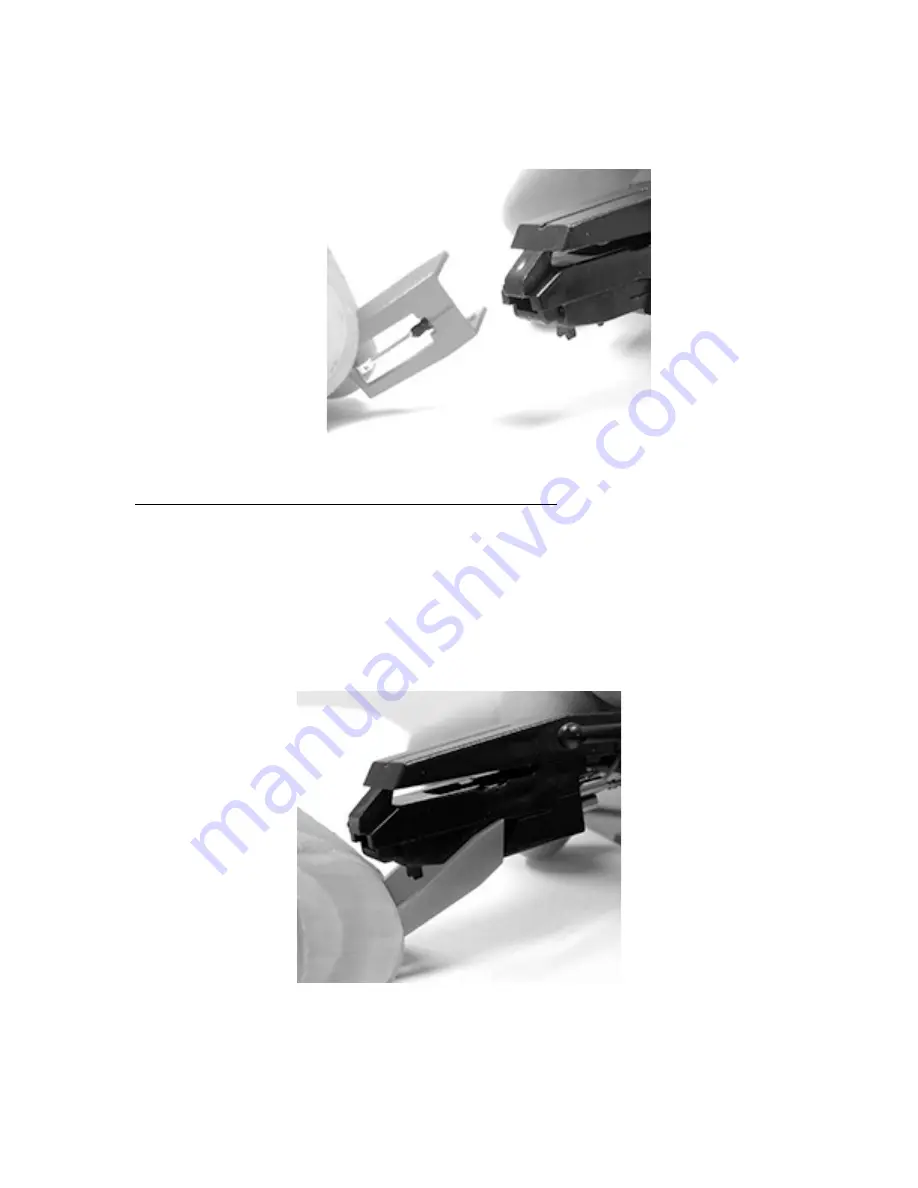
4. Carefully remove the entire Stylus Assembly from the Cartridge by pulling
the Stylus Assembly away from the CARTRIDGE
(14)
(fig 4a)
.
FIG 4a
INSTALLING THE NEW STYLUS (NEEDLE)
NOTE:
DO NOT DIRECTLY TOUCH THE STYLUS (NEEDLE)
(15)
DURING
INSTALLATION, OR YOU MAY CAUSE PERMANENT DAMAGE TO THE
STYLUS
(15)
.
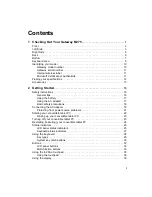
1. Hold the front tip of the Stylus Assembly with your thumb and index finger
and insert the rear edge of the Stylus Assembly on the CARTRIDGE
(14)
as shown in Fig 5a.
FIG 5a


