Click
OK
when the confirmation message appears.
When a message prompting you to change the media type appears, select a media type from the list
and click
OK
.
3.
Check the paper size
Check the
Page Size
list. When you want to change it, select another page size from the list. The list
displays only sizes that can be used for borderless printing.
4.
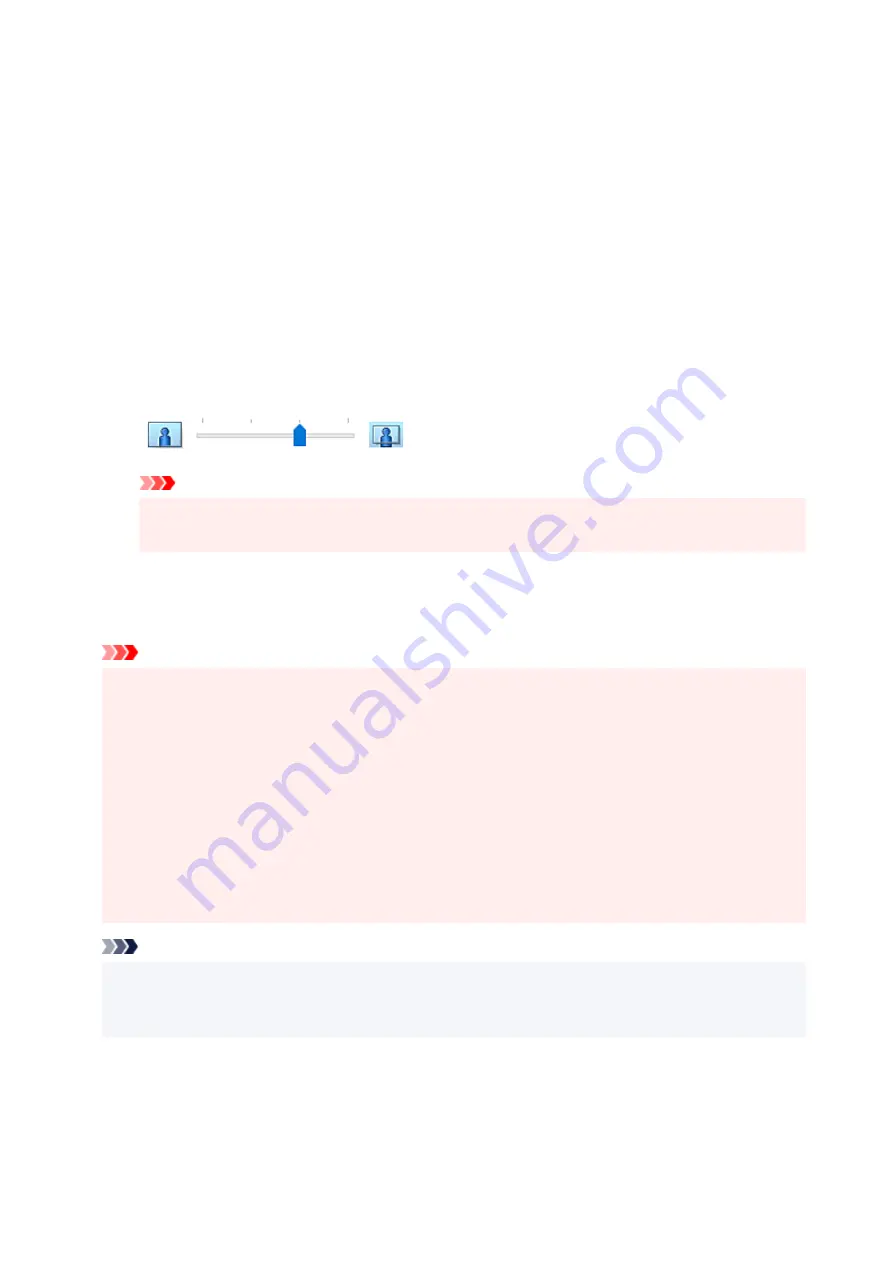
Adjust the amount of extension from the paper
If necessary, adjust the amount of extension using the
Amount of Extension
slider.
Moving the slider to the right increases the amount extending off the paper, and moving the slider to
the left decreases the amount.
It is recommended to set the slider at the second position from the right for most cases.
Important
• When the
Amount of Extension
slider is set to the rightmost position, the back side of the
paper may become smudged.
5.
Click
OK
When you execute print, the data is printed without any margins on the paper.
Important
• When a page size that cannot be used for borderless printing is selected, the size is automatically
changed to the valid page sizes for borderless printing.
• When
Borderless
is selected, the
Printer Paper Size
,
Duplex Printing
,
Stapling Side
settings, and
the
Stamp/Background...
button on the
Page Setup
tab appear grayed out and are unavailable.
• When
Envelope
,
High Resolution Paper
, or
T-Shirt Transfers
is selected from the
Media Type
list
on the
Main
tab, you cannot perform borderless printing.
• Depending on the type of the media used during borderless printing, the print quality may deteriorate
at the top and bottom of the sheet or stains may form.
• When the ratio of the height to the width differs from the image data, a portion of the image may not
be printed depending on the size of the media used.
In this case, crop the image data with an application software according to the paper size.
Note
• When
Plain Paper
is selected for
Media Type
on the
Main
tab, borderless printing is not
recommended. Therefore, the message for media selection appears.
When you are using plain paper for test printing, select
Plain Paper
, and click
OK
.
241
Содержание TS700 Series
Страница 1: ...TS700 series Online Manual English ...
Страница 83: ... TR9530 series 83 ...
Страница 105: ...Placing a Printable Disc Before Placing a Printable Disc Placing a Printable Disc Removing a Printable Disc 105 ...
Страница 112: ...4 Store multi purpose tray under cassette How to Detach Attach Multi purpose Tray 112 ...
Страница 123: ...Replacing Ink Tanks Replacing Ink Tanks Checking Ink Status on the LCD Ink Tips 123 ...
Страница 134: ...Adjusting Print Head Position 134 ...
Страница 146: ...Safety Safety Precautions Regulatory Information WEEE EU EEA 146 ...
Страница 171: ...Main Components Front View Rear View Inside View Operation Panel 171 ...
Страница 217: ...Information about Paper Supported Media Types Paper Load Limit Unsupported Media Types Handling Paper Print Area 217 ...
Страница 225: ...Printing Printing from Computer Printing from Smartphone Tablet Printing from Digital Camera Paper Settings 225 ...
Страница 235: ...Custom Size Others 235 ...
Страница 245: ...Note Selecting Scaled changes the printable area of the document 245 ...
Страница 263: ...In such cases take the appropriate action as described 263 ...
Страница 297: ...Printing Using Canon Application Software Easy PhotoPrint Editor Guide 297 ...
Страница 312: ...Network Communication Problems Cannot Find Printer on Network Network Connection Problems Other Network Problems 312 ...
Страница 345: ...Other Network Problems Checking Network Information Restoring to Factory Defaults 345 ...
Страница 350: ...Problems while Printing from Smartphone Tablet Cannot Print from Smartphone Tablet 350 ...


