30
Before Use
Basic Guide
Advanced Guide
1
Camera Basics
2
Auto Mode /
Hybrid Auto Mode
3
Other Shooting Modes
4
P Mode
6
Playback Mode
7
Wi-Fi Functions
8
Setting Menu
9
Accessories
10
Appendix
Index
5
Tv, Av, and M Mode
Indicator Display
When the camera is in the following states, the indicator on the backside
-
-
Display off (
-
Starting up, recording to or reading from the memory card
-
During any kind of connecting
-
During long exposures (
-
During Wi-Fi connection and during data communication
●
When the indicator blinks green, never turn the camera off, open
the memory card/battery cover, or shake or jolt the camera. This
may corrupt images or damage the camera or memory card.
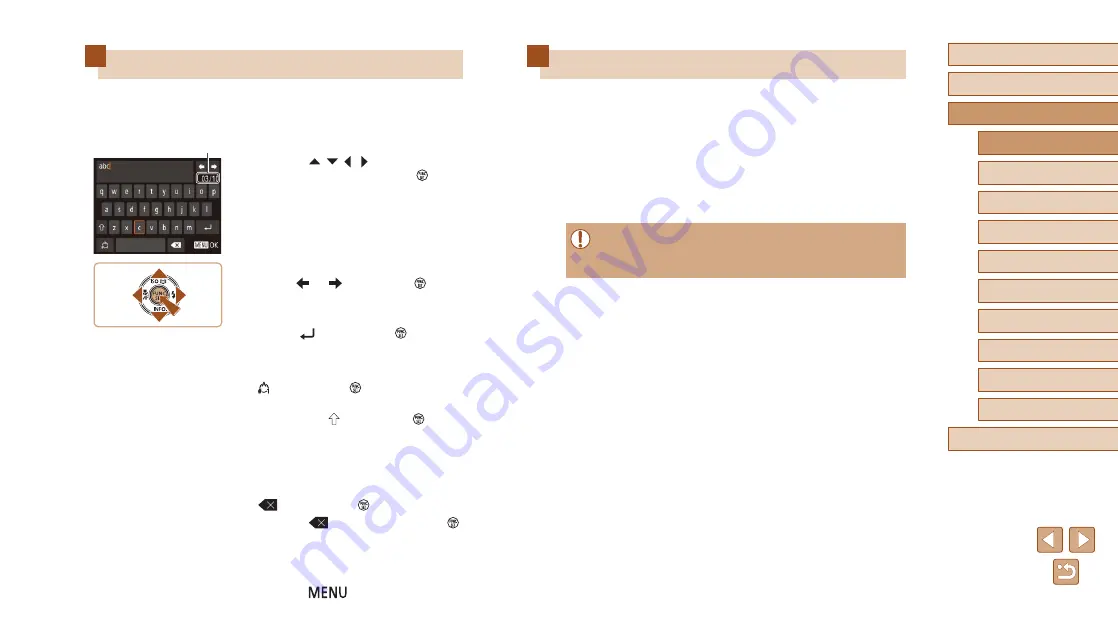
On-Screen Keyboard
Use the on-screen keyboard to enter information for Face ID (
Wi-Fi connections (
111), etc. Note that the length and type of
characters you can enter varies depending on the function you are using.
Entering Characters
●
Press the [ ][ ][ ][ ] buttons to choose
a character, and then press the [ ]
button to enter it.
●
The amount of information you can enter
(1) varies depending on the function you
are using.
Moving the Cursor
●
Choose [ ] or [ ] and press the [ ] button.
Entering Line Breaks
●
Choose [ ] and press the [ ] button.
Switching Input Modes
●
To switch to numbers or symbols, choose
[ ] and press the [ ] button.
●
To switch between uppercase and lowercase
letters, choose [ ] and press the [ ] button.
●
Available input modes vary depending on
the function you are using.
Deleting Characters
●
To erase the previous character, choose
[
] and press the [ ] button.
●
Choosing [
] and holding down the [ ]
button will erase five characters at a time.
Confirming Input and Returning to the
Previous Screen
●
Press the [
] button.
(1)


