


3
ENGLISH
9
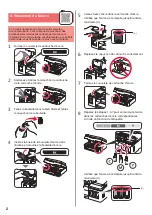
Close the scanning unit / cover
.
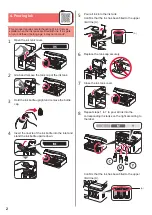
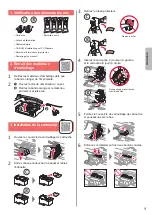
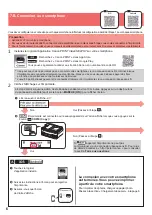
5. Turning on Printer
1
Connect the power cord.
Back
Do not connect any cables except the power cord
yet.
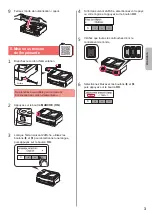
2
Press the
ON
button.
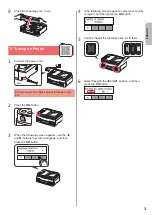
3
When the following screen appears, use the
[
and
]
buttons to select a language, and then
press the
OK
button.
4
If the following screen appears, select your country
or region, and then press the
OK
button.
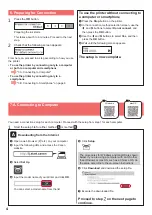
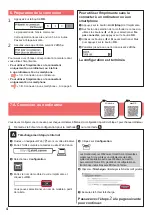
5
Confirm that all the ink tanks have ink in them.
6
Select
Yes
with the
[
and
]
buttons, and then
press the
OK
button.
Содержание PIXMA G4610 Series
Страница 19: ...RMC Regulatory Model Code K10472...


